**Applies to: Medulla – Agent Version: All Environment: On-Premise / Private SaaS / Shared SaaS Category: Medulla Agent / Support**
##### **Why do some workstations appear offline even though they are powered on?** - Check the medullaagent and medullanetnotify services on the offline workstations. If the services are indeed "running" but the workstation appears offline on the interface (grayed-out), please contact Support or your Administrator. - If there are errors in the agent logs (on the device) "C:\\Program Files\\Medulla\\var\\log\\xmpp-agent-machine.log", please report them to Support or your Administrator. ##### **Why are the inventory reports or reported information incomplete or incorrect?** - Make sure the MAC address of the device that is not reporting its inventory is not already in use. To check if a device is having trouble reporting its inventory, note that it is impossible to deploy to the device—even if it appears online on the interface (blue computer icon)—as the deployment icon for the device in the "Actions" menu will be grayed out. # GPO**Applies to:**Medulla – Agent **Version:** All **Environment:** On-Premise / Private SaaS / Shared SaaS **Category:** Medulla Agent
### Deploying the Medulla Agent via GPO #### What is the best method for deploying the Medulla agent on all computers in an Active Directory domain? The recommended method is to use a**scheduled task via Group Policy Preferences (GPP)** with the**"Apply once and do not reapply"** option. This method is: \- Compatible with any EXE file (no MSI required) \- Executed only once per workstation \- Run with SYSTEM (administrator) privileges \- Officially supported by Microsoft \- Reliable and avoids repeated reinstallations #### How do you set up this method? ##### Step 1: Prepare the installation file 1\. Copy the installer to an accessible network share: *(Make sure the path is accessible to "Everyone" or "Domain Computers" with read permissions).* > \\\\SERVER\\DEPLOYMENT\\Medulla-Agent-windows-FULL-latest.exe Create a PowerShell script like this: > $SetupPath = "\\\\SERVER\\DEPLOYMENT\\Medulla-Agent-windows-FULL-latest.exe" > $Arguments = "/S" > > $ServiceName = "medullaagent" > > $ServiceStatus = Get-Service -Name $ServiceName -ErrorAction SilentlyContinue > > if ($ServiceStatus) { > Write-Output "The $ServiceName service already exists. Installation canceled." > Exit 0 > } > > try { > Start-Process -FilePath $SetupPath -ArgumentList $Arguments -Wait -NoNewWindow -ErrorAction Stop > } > catch { > Write-Error "Installation error: $\_" > Exit 1 > } 2\. Configure permissions on the share: \- **Read**for the **Domain Computers** group ##### Step 2: Create the GPO 1\. Open the**Group Policy Management** console 2\. Create a new GPO, for example: `Medulla Agent Deployment` ##### Step 3: Configure the scheduled task 1\. Edit the GPO and navigate to: > Computer Configuration > → Preferences > → Control Panel > → Scheduled Tasks 2\. Right-click →**New** →**One-time task (Windows 7 or later)** 3\. In the **General** tab **:** \- Name: `Install Medulla Agent` \- Account: **SYSTEM** \- Run with highest privileges 4\. In the**Actions**tab: - **Action:** Run a program. - **Program/script:** `powerhselle_install_path/powershell.exe` - **Add arguments:** `-ExecutionPolicy Bypass -File "\\Server\Share\YourScript.ps1"` *(Make sure the path is accessible by "Everyone" or "Domain Computers" for reading).* ##### Step 4: Apply the GPO 1\. Link the GPO to**the Organizational Unit (OU)**containing your workstations 2\. On a test workstation, run: > gpupdate /force 3\. Restart the workstation or wait for the next policy updateNote: It is always mandatory for workstations to restart after installing the agent; the default GPO does not automatically restart the workstation. Therefore, keep in mind that each workstation must be restarted after installing the agent.
#### Why not use a startup or logon script? Traditional scripts (Startup Script or Logon Script) have several drawbacks: \- Risk of multiple executions \- Complexity in detecting whether the installation has already been performed \- Permission issues depending on the execution context \- Less reliable than GPP scheduled tasks The GPP scheduled task method resolves all these issues. #### What does the "Apply once and do not reapply" option do? This option ensures that: \- The task runs**only once**on each workstation \- Even if the GPO remains active for years, the installation does not run again \- No need for complex detection scripts \- No accidental reinstallation This is equivalent to a "fire and forget" deployment. With the **"Apply once and do not reapply"** option, it is essential to verify that the agent has installed correctly. If the installation failed during the process, it will not run again. You can choose not to enable this option ( **"Apply once and do not reapply"**) to prevent agent installation issues, but keep the IF section in the PowerShell script that checks whether the **medullaagent** service **is** present (by default, already included in the script above): > if ($ServiceStatus) { > Write-Output "The $ServiceName service already exists. Installation canceled." > Exit 0 > } #### How do you verify that the deployment worked? ##### On a client machine: 1\. Verify that the scheduled task has been created: > Control Panel → Administrative Tools → Task Scheduler Look for the task `Installation Agent Medulla` 2\. Check the Medulla Agent installation logs 3\. Verify that the workstation appears in the Medulla console ##### On the domain controller: Use GPO reports to see which computers have applied the policy. #### Can I use this method to update the agent? By default, the agent updates itself automatically, but if not, yes, with a few caveats: \- If you create a **new GPO** with a new task name, it will run once on all workstations (if "Apply once" is enabled) \- If you change the EXE file path in an existing task with "Apply once," it will **not** run **again (** that is the purpose of this option) For updates, it is best to: 1\. Create a new GPO with a new task name for each major version 2\. Or use Medulla’s built-in update system #### What are the prerequisites? \- An Active Directory domain controller (Windows Server 2008 R2 or later) \- A network share accessible for reading by the workstations \- The Medulla agent installer with silent installation option (`/S`) \- Permissions to create and link GPOs #### How long does it take for all workstations to be deployed? Deployment occurs as group policies are updated: \- By default: every**90 minutes**(with a random delay of 0 to 30 minutes) \- Upon workstation restart \- With `gpupdate /force` (immediate) For a quick deployment across a fleet of 100 workstations, expect it to take about**2 to 4 hours**, depending on network traffic. #### Run the installation after logging in A GPO is typically run before the user logs in with SYSTEM privileges. This can be inconvenient for the user, who may think their computer has frozen. ##### Solution 1: The "At logon" Scheduled Task The user arrives at their desktop, and the installation launches silently in the background with SYSTEM privileges. 1. In your **Computer** GPO (not User), go to: **Preferences** > **Control Panel Settings** > **Scheduled Tasks**. 2. New > **Scheduled Task (at least Windows 7)**. 3. **General tab:** - **User account:** `NT AUTHORITY\SYSTEM` (or just type `SYSTEM`). - Check **Run with maximum permissions**. 4. **Triggers tab:** - New > **At logon**. - You can select "Any user". 5. **Actions tab:** - Program: `powershell_install_path/powershell.exe/powershell.exe` - Arguments: `-ExecutionPolicy Bypass -File "\\Server\Share\SCRIPT_POWERSHELL.ps1"` SCRIPT\_POWERSHELL.PS1 corresponds to the script at the top of the page that allows you to install the agent silently. --- ##### Solution 2: The "Asynchronous" option If you want to keep your current script (in "Startup Scripts") but just stop the "Please wait..." screen from appearing: 1. Go to the GPO: **Computer Configuration** > **Administrative Templates** > **System** > **Scripts**. 2. Look for the setting: **Run startup scripts asynchronously**. 3. Set it to **Enabled**. Note: If you create a task with an "On login" trigger and check **"Apply once and do not reapply**, **"** the GPO will create the task once, but**the task itself will remain on the PC and continue to run at every login.** So be sure to keep the**IF** condition**in** the script that checks for the presence of the **medullaagent** service **(**already included by default in the script above): > if ($ServiceStatus) { > Write-Output "The $ServiceName service already exists. Installation canceled." > Exit 0 > } #### Additional Resources \- \[Official Microsoft documentation on Group Policy Preferences\](https://docs.microsoft.com/fr-fr/previous-versions/windows/it-pro/windows-server-2012-R2-and-2012/dn581922(v=ws.11)) \- \[Medulla deployment documentation\](https://medulla-project.org/) \--- **Created**: December 2024 **Author**: Medulla Documentation **Version**: 1.0 # Reconfigure my agent**Applies to:**Medulla – Agent **Version:** All **Environment:** On-Premise / Private SaaS / Shared SaaS **Category:** Medulla Agent
You can reconfigure the agent to change the DNS name it uses to communicate, but it is also possible to modify several other settings. Here is the agent's location on the server: `/var/lib/pulse2/clients/` You will find a script named: **generate-pulse-agent.sh.** If you run it with the **--help** parameter, you will see all the configurable settings: **./generate-pulse-agent.sh --help** Usage: ./generate-pulse-agent.sh \[--conf-xmppserver=<XMPP server configuration>\] \[--conf-xmppport=<XMPP server port>\] \[--conf-xmpppasswd=<XMPP server password>\] \[--aes-key=<32-character AES PSK>\] \[--xmpp-passwd=<XMPP server password>\] \[--chat-domain=<XMPP domain>\] \[--inventory-tag=<Tag added to the inventory>\] \[--minimal \[--base-url=<URL for downloading agent and dependencies from>\]\] \[--disable-vnc (Disable VNC Server)\] \[--vnc-port=<Default port 5900>\] \[--vnc-password=<DES-encrypted VNC password>\] \[--ssh-port=<Default port 22>\] \[--disable-rdp (Disable RDP setup)\] \[--disable-inventory (Disable Fusion Inventory)\] \[--disable-geoloc (Disable geolocation, for example on machines that do not access the internet)\] \[--linux-distros (Supported Linux distributions)\] \[--updateserver (Download URL for agent updates)\] ##### Examples: **XMPP Server** To reconfigure the machine's contact DNS entry (the server the machine must contact): `./generate-pulse-agent.sh --conf-xmppserver monserver.domain.fr` **SSH Port** To change the server's SSH contact port: `./generate-pulse-agent.sh --ssh-port 2022` If you change the SSH port, also follow this documentation: [https://docs.medulla-tech.io/books/medulla-faq/draft/497](https://docs.medulla-tech.io/books/medulla-faq/draft/497) **Disable VNC** To disable VNC on your agents: `./generate-pulse-agent.sh --disable-vnc` **Disable RDP** To disable RDP on your agents: `./generate-pulse-agent.sh --disable-rdp` # Generate Windows and Linux agents**Applies to: Medulla – Agents Version: All Environment: On-Premise / Private SaaS / Shared SaaS Category: Agents / Support**
Before generating agents for your Windows or Linux workstations, it is important to define your attachment strategy in GLPI: - Either one agent per GLPI entity, - Or a global agent, which will report all machines to the parent entity. #### Generate an agent per entity To generate a separate agent per GLPI entity: `generate_medulla_agent.sh all force` Then verify that each entity has its own agent: `ls /var/lib/pulse2/medulla_agent/*` Each entity is associated with a tag. You will find a directory for each tag containing the corresponding agents. #### Generate a global agent To generate a single agent per operating system (linked to the parent GLPI entity): `/var/lib/pulse2/clients/generate-pulse-agent.sh` Then verify the presence of the agents: `ls /var/lib/pulse2/clients/win/` `ls /var/lib/pulse2/clients/lin/` #### Generate an agent without GLPI inventoryThis option requires Medulla and the agent version 5.5.2 or higher.
`/var/lib/pulse2/clients/generate-pulse-agent.sh --disable-inventory` #### Managing entities with a global agent If you are using a global agent but want to distribute machines across different GLPI entities, two options are available: - Manually move the machines in GLPI, - Set up automatic rules in GLPI (by subnet, name, or other criteria). # Agents for the MINT Linux distribution**Applies to:**Medulla – Agent **Version:** lower than 5.5.1 **Environment:** On-Premise / Private SaaS / Shared SaaS **Category:** Medulla Agent
In version 5.5.1 of Medulla, support for the Linux Mint distribution will be native. For versions prior to 5.5.1, to install the Medulla agent on the Linux Mint distribution, simply follow the steps below. All commands must be entered as root. To do this, type: once logged into your user account. Alternatively, add `sudo` before each command. ``` sudo su - ``` You will be prompted for a password; enter it. Download the agent installation script from your Linux machine ``` wget https://serveur/downloads/lin/Medulla-Agent-linux-MINIMAL-latest.sh ``` Type the following commands: ``` chmod u+x Medulla-Agent-linux-MINIMAL-latest.sh ``` Modify the script by adding the linuxmint section in the following locations: Lines 50-51: ``` case "$DISTRO" in debian|ubuntu|zorin) ``` Modify the line by adding |linuxmint after zorin. ``` case "$DISTRO" in debian|ubuntu|zorin|linuxmint) ``` Then Lines 215-216 ``` case "$DISTRO" in ubuntu|zorin) ``` Edit the line by adding |linuxmint after zorin ``` case "$DISTRO" in ubuntu|zorin|linuxmint) ``` Add the following command after line 63: ``` apt update ``` Save your script. Run the command to execute the installation script: ``` ./Medulla-Agent-linux-MINIMAL-latest.sh ``` The installation will proceed, and the following result will appear on your machine. [](https://docs.medulla-tech.io/uploads/images/gallery/2026-04/wgNmi2KrFwyejYfM-image.png) # Uninstalling the Medulla Agent (Versions prior to 5.5.2)**Applies to:** Medulla – Agent **Version:** lower than 5.5.2 **Environment:** On-Premise / Private SaaS / Shared SaaS **Category:** Medulla Agent
To uninstall the Medulla agent: Click the Windows Start menu, then Settings [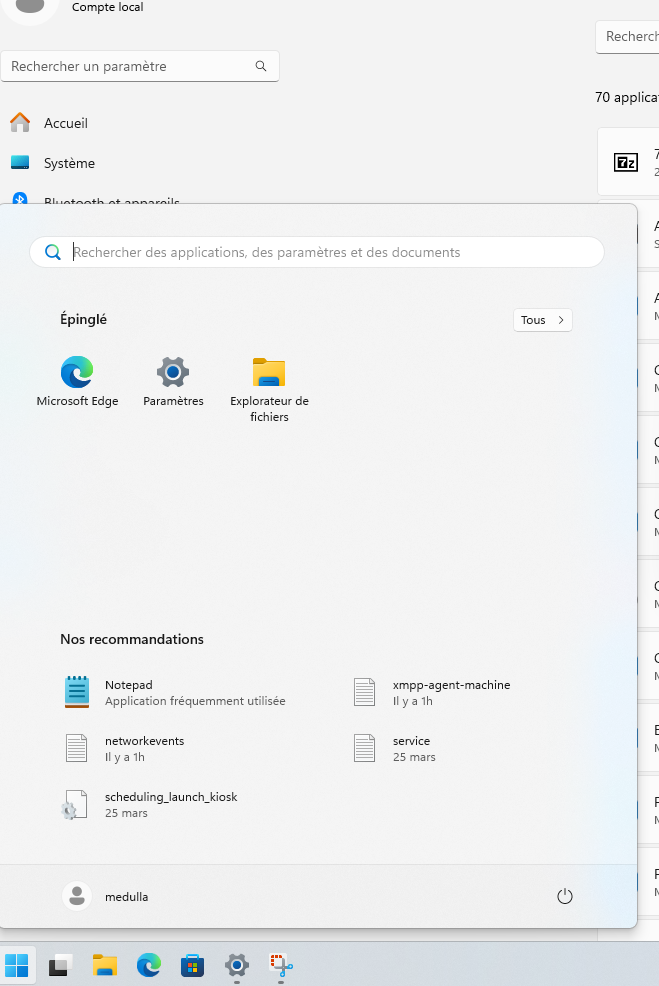](https://docs.medulla-tech.io/uploads/images/gallery/2026-04/bFpwVhHczHefjsTL-screenshot-2026-04-23-152446.png) Then go to the left-hand menu in Settings and click on Apps: [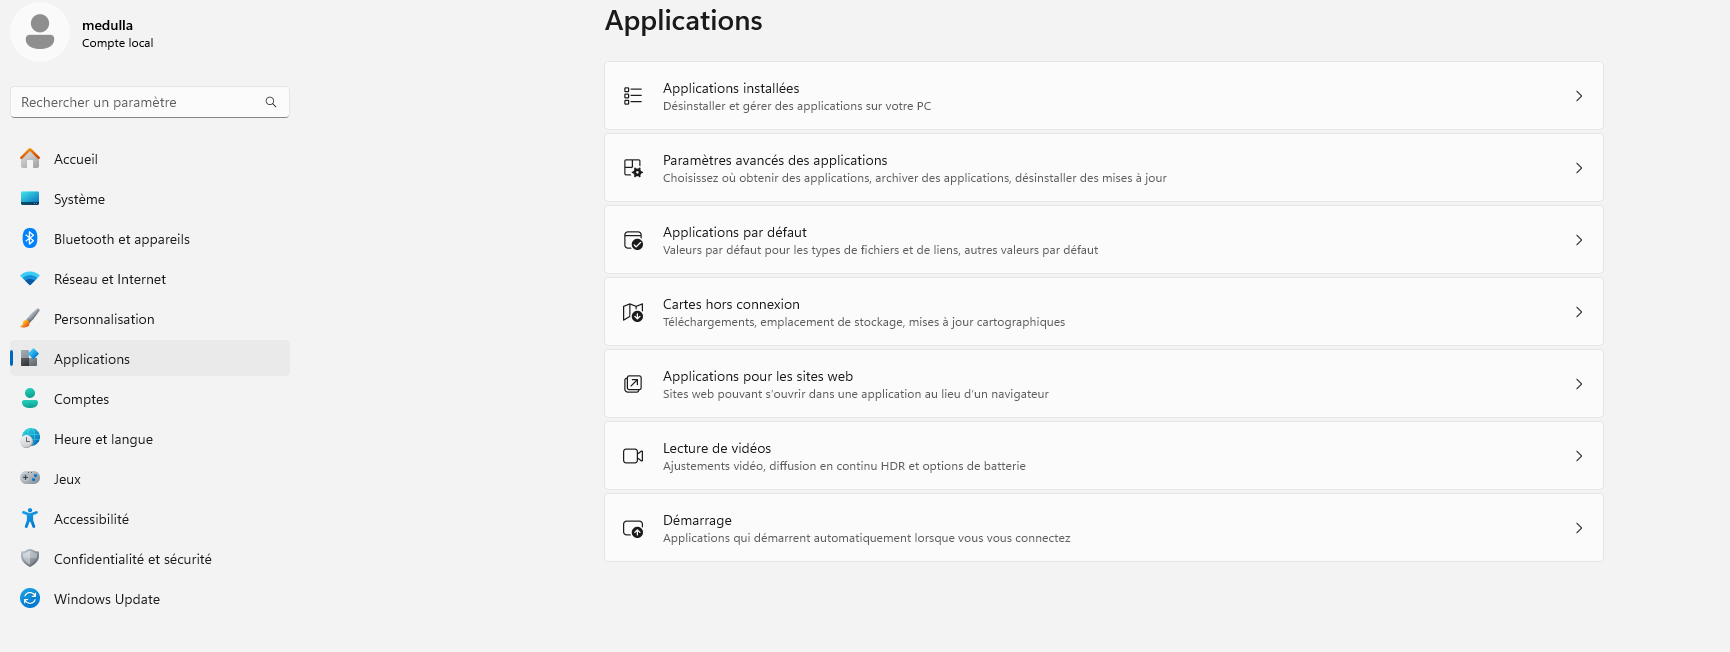](https://docs.medulla-tech.io/uploads/images/gallery/2026-04/vXeWKSmAIbN8eFRD-screenshot-2026-04-23-152554.png) Click on the right-hand menu under Installed Apps Scroll down through your apps to find the Medulla Agent entry. [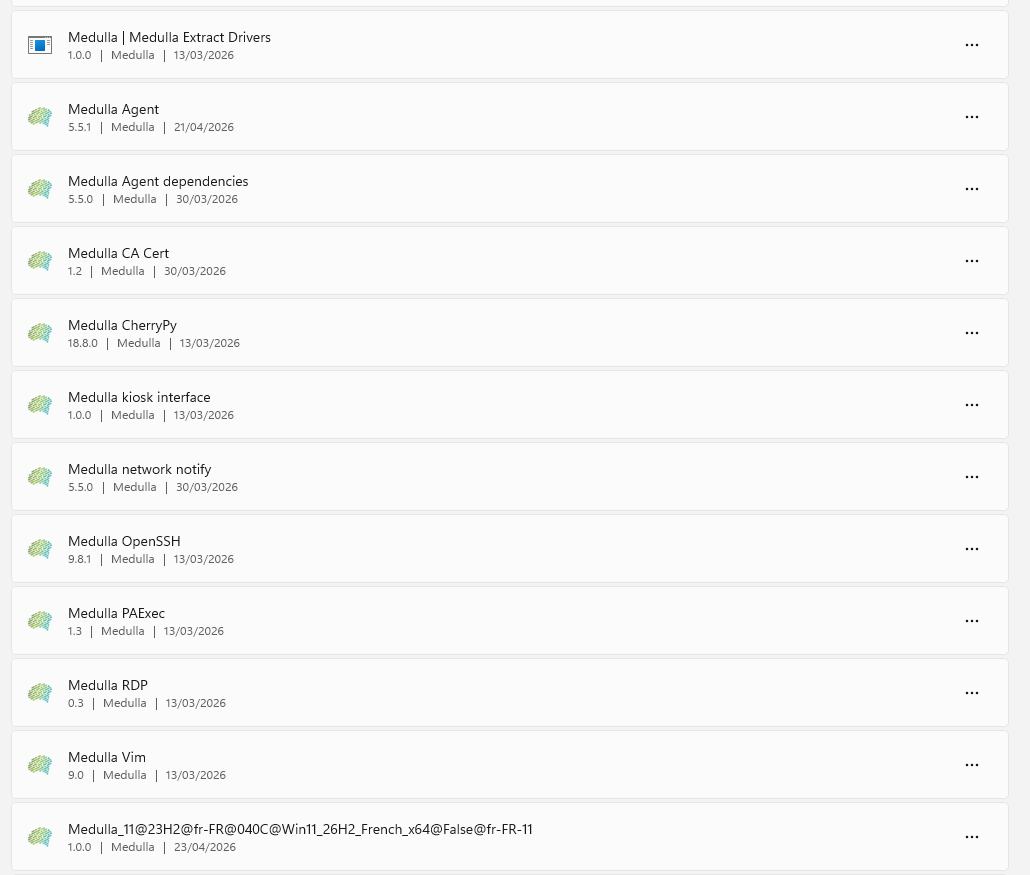](https://docs.medulla-tech.io/uploads/images/gallery/2026-04/2qp4JUCJ2IVMtPRi-screenshot-2026-04-23-152634.png) Click on [](https://docs.medulla-tech.io/uploads/images/gallery/2026-04/cXr62stTjDAw9HIf-screenshot-2026-04-23-152723.png)A drop-down menu opens with Edit / Uninstall. Click on Uninstall You will be asked to confirm; click the Uninstall button again [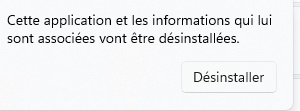](https://docs.medulla-tech.io/uploads/images/gallery/2026-04/3v2cchLEyXGXQTur-screenshot-2026-04-23-152755.png) The Medulla Agent will uninstall its components via an executable that will appear on your screen: [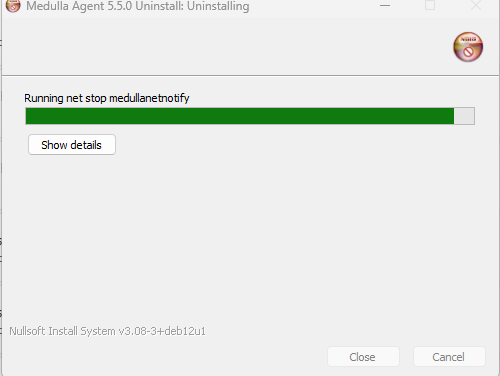](https://docs.medulla-tech.io/uploads/images/gallery/2026-04/GlFrI5aD3AXWwqKU-screenshot-2026-04-23-152830.png) Once uninstallation is complete, click the Close button [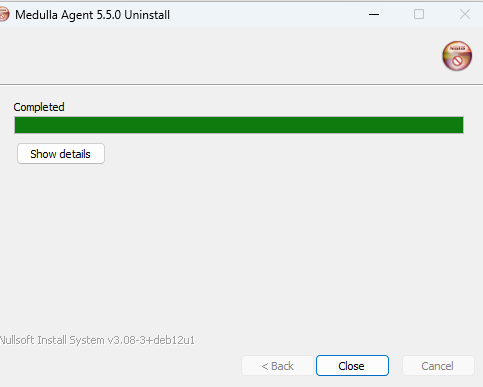](https://docs.medulla-tech.io/uploads/images/gallery/2026-04/1GdNp7LKEC4yDAPD-screenshot-2026-04-23-152917.png) In the Applications menu, you will only see these two entries: [](https://docs.medulla-tech.io/uploads/images/gallery/2026-04/6z0UGMFSQVfkpbxu-screenshot-2026-04-23-152940.png) These are two registry entries. To remove them: Return to the Windows Start menu. Type " ***regedit*** " in the search bar and ***press Enter*** Navigate down the tree: HKEY\_LOCAL\_MACHINE\\SOFTWARE\\Microsoft\\Windows\\CurrentVersion\\Uninstall Look for the first registry key, "Medulla Extract Drivers." Right-click on the folder icon for this key, click "Delete," and then confirm. [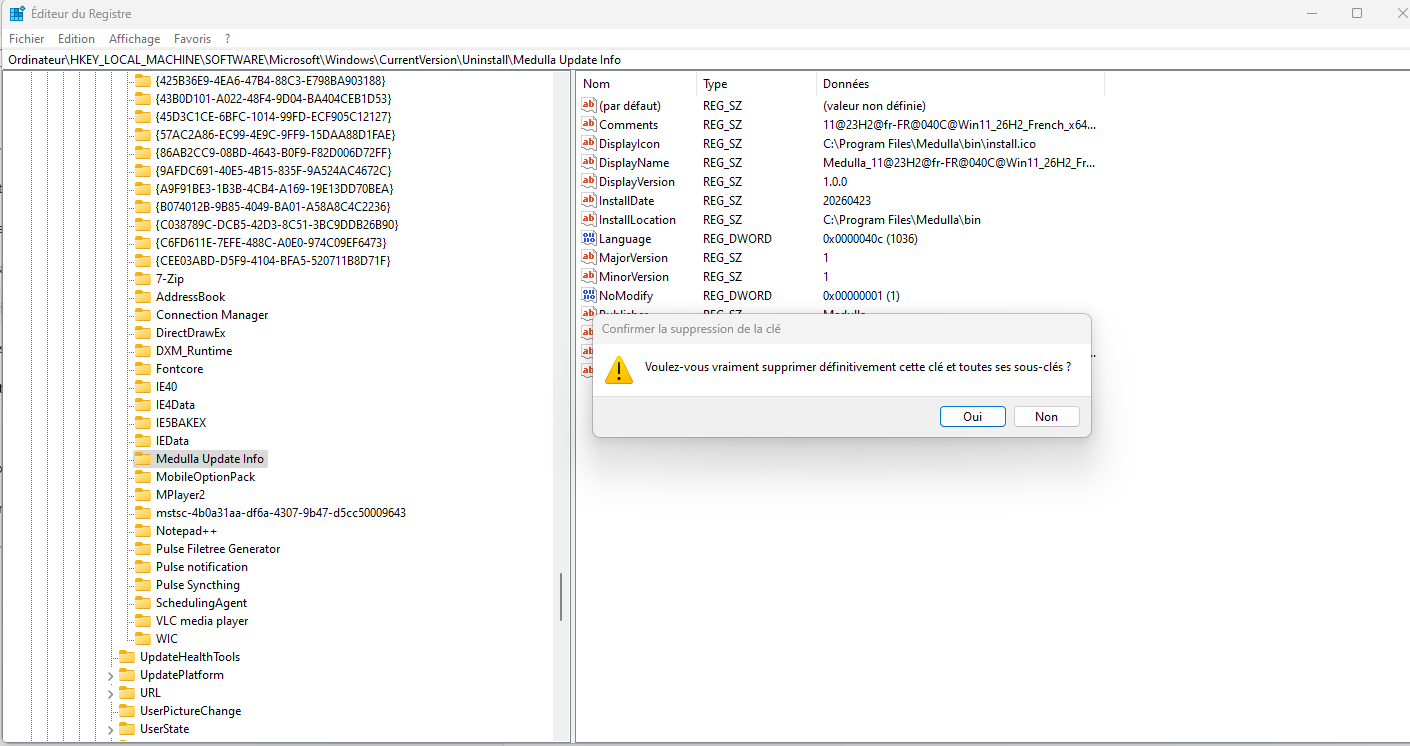](https://docs.medulla-tech.io/uploads/images/gallery/2026-04/vX8hGHS9ddy18luv-screenshot-2026-04-23-155414.png) Do the same for "Medulla Update Info." # Uninstalling Medulla Agent Version 5.5.2 and later**Applies to:**Medulla – Agent **Version:** 5.5.2 and later **Environment:** On-Premise / Private SaaS / Shared SaaS **Category:** Medulla Agent
### Windows: A script is available on your Medulla server: [https://votreserveur/downloads/win/uninstall-medulla-agent-windows.ps1](https://votreserveur/downloads/win/uninstall-medulla-agent-windows.ps1) Open a PowerShell console with administrator privileges. Make sure PowerShell is configured to run scripts: ``` Set-ExecutionPolicy RemoteSigned -Scope CurrentUser ``` Answer \[A\] "Yes to all"