Chapter 3: Kiosk
Kiosk
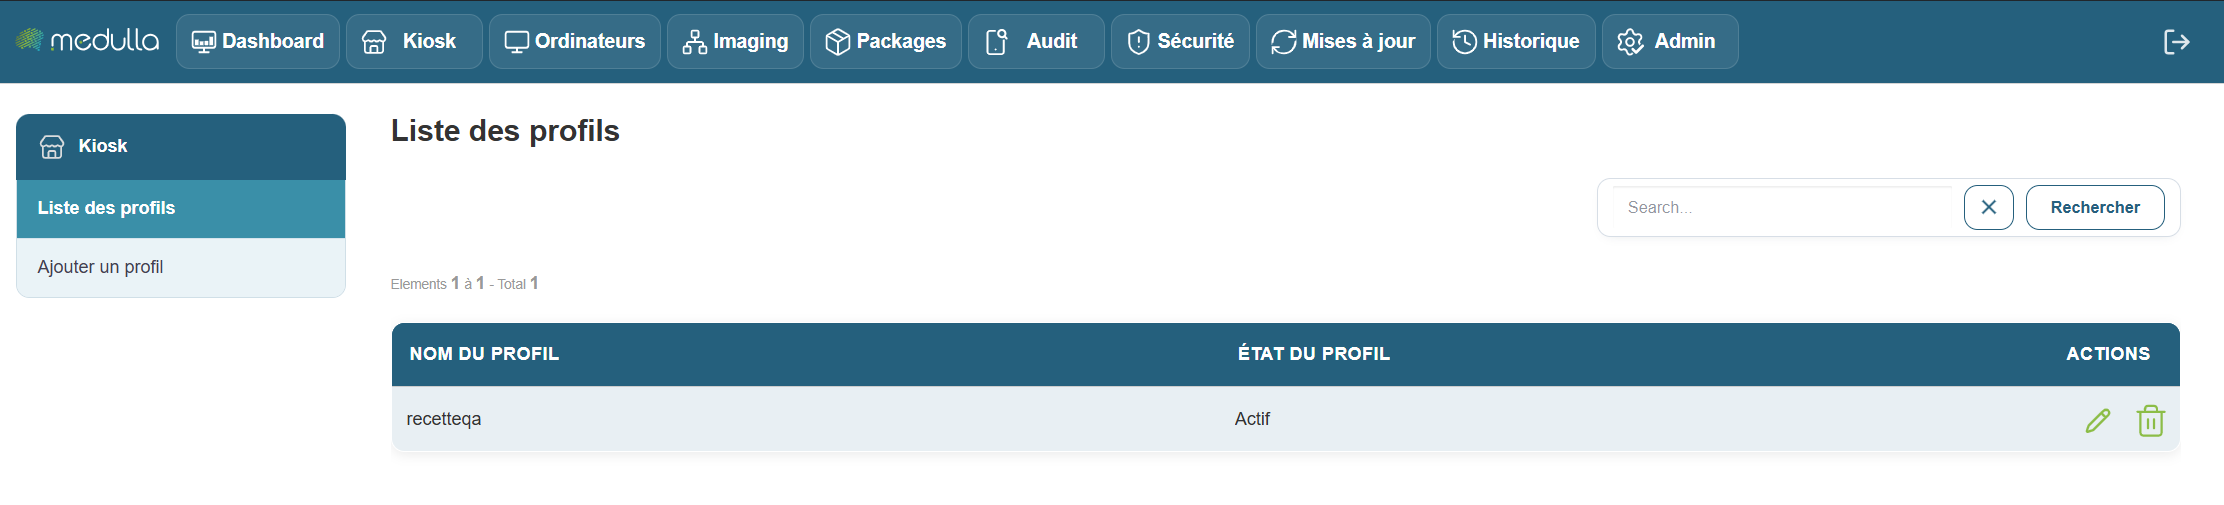
When you arrive at theKiosk interface’s main page, you are immediately directed to the Profile List section, located in the center of the page. This is the first thing you will see upon arriving at this page.
The Profile List Section
This section is located in the center of the screen and displays all user profiles that have already been created. Depending on the number of existing profiles, you will see different information:
Existing Profiles
If profiles have already been created, each profile will appear in a list with information such as:
- Profile Name: The name given to the profile when it was created.
- Profile Status: Indicates whether the profile is Active or Inactive.
- Management options: You can edit or delete a profile if necessary.

No profiles created
Don’t worry—creating a profile is quick and easy. Follow the steps below to add a new profile in Kiosk. We’ll walk through it together, step by step.
Add a profile
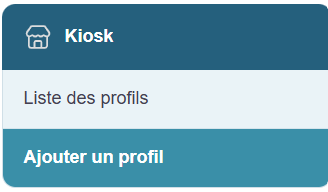
To create a new profile, start with the section on the left side of the page.
Steps for creating a profile
Click "Add Profile"
You will find a link labeled “Add a profile.” Click on it to access the profile creation page.
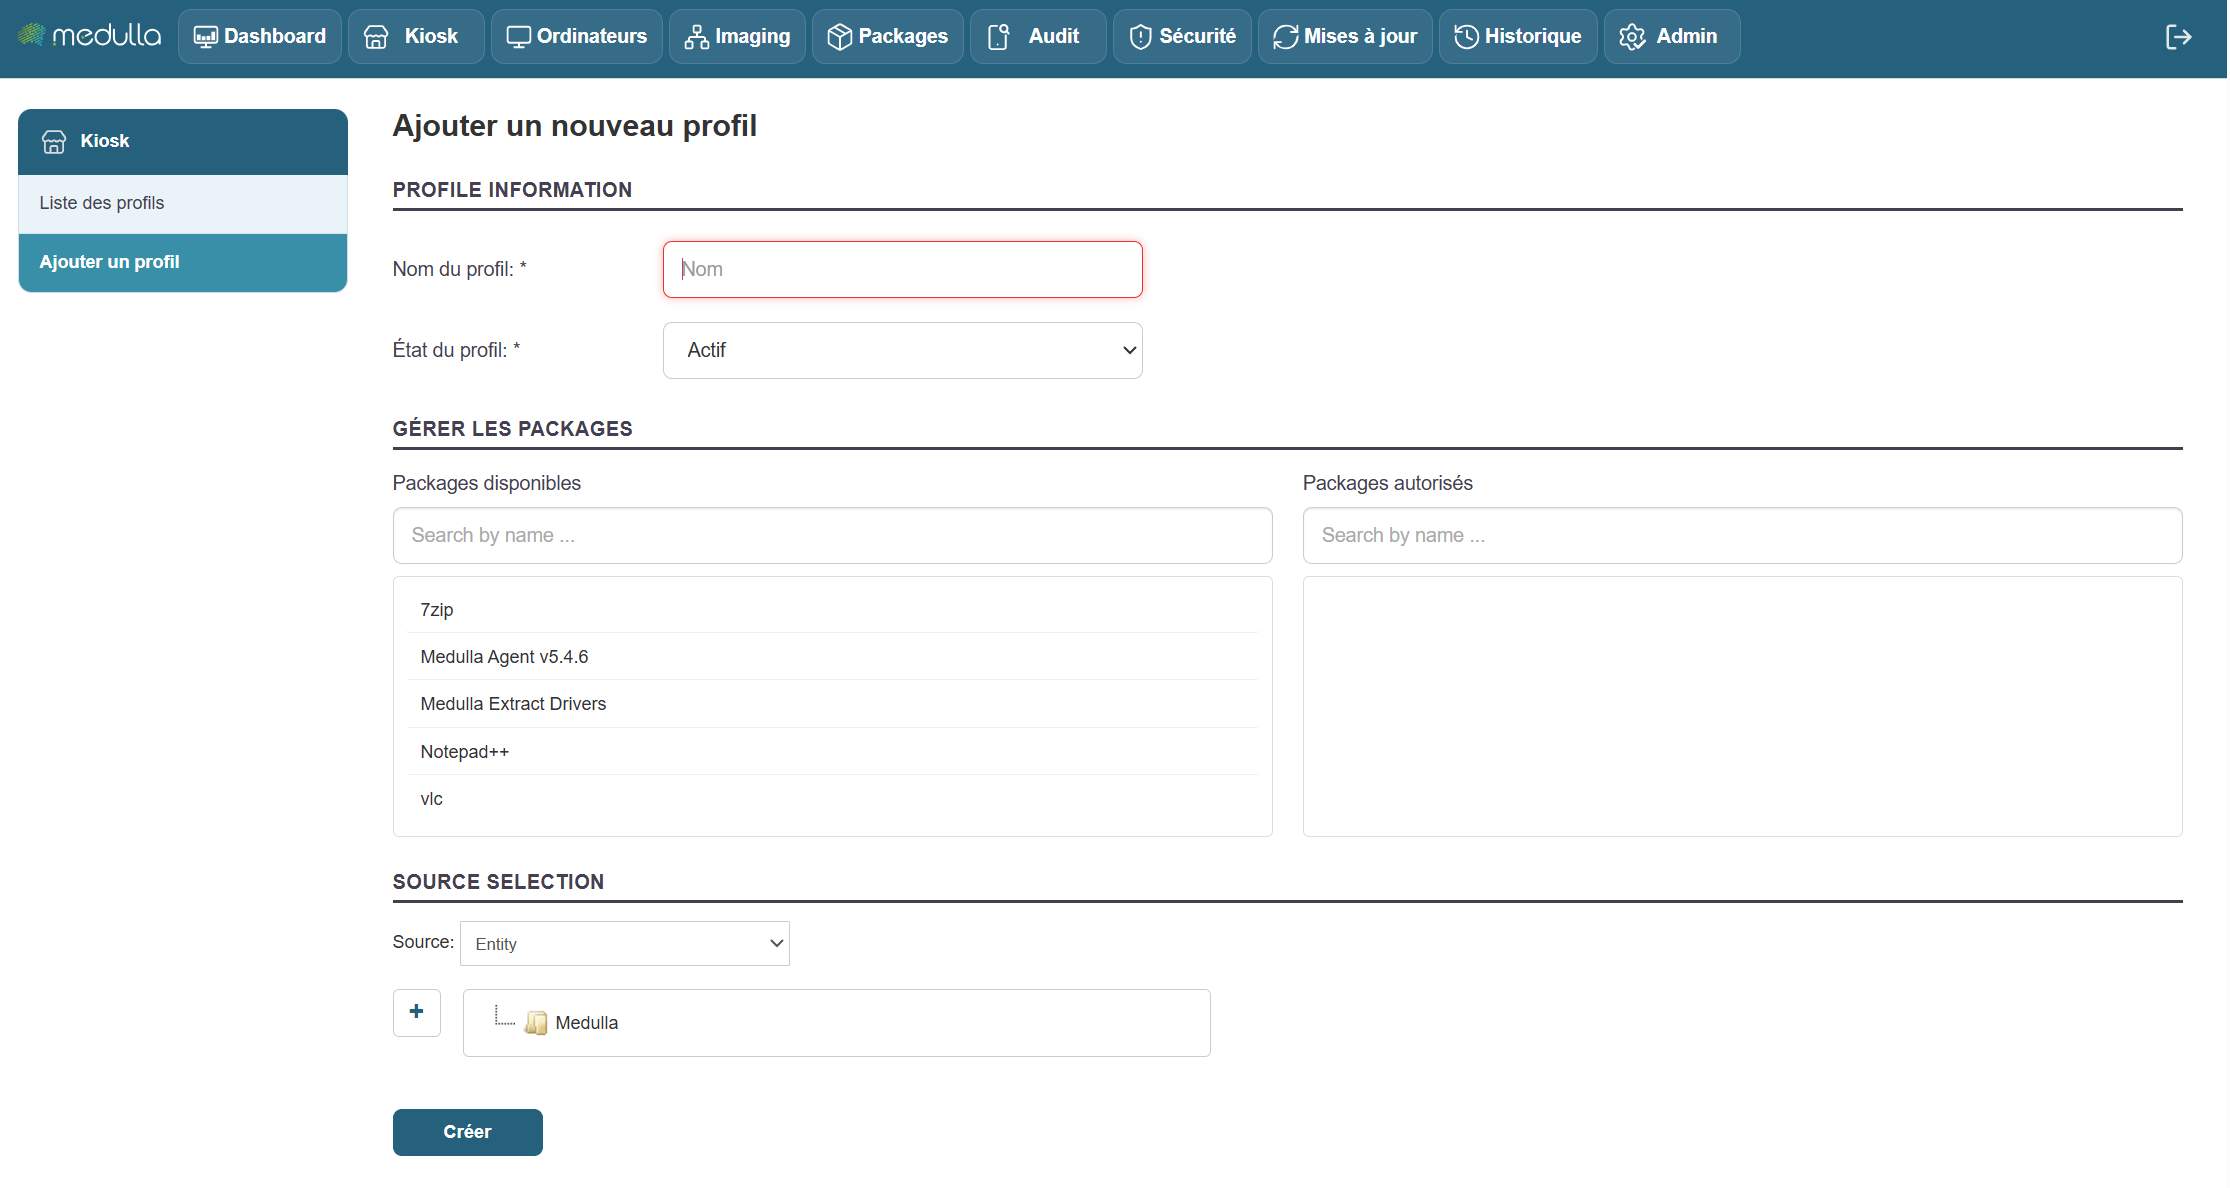
Fill out the creation form
Once on the page, you’ll see the form to fill out in the center of the screen. This is where you’ll set up your profile information.
Information to provide
-
Profile name
Enter a name for the profile. This name will then appear in the list of profiles.
Examples: User1, HRProfile. -
Profile status
Select the profile status when creating it:-
Active: The profile will be immediately operational.
-
Inactive: The profile will be created but will remain inactive (it will need to be activated later).
-
-
Manage packages (associated applications)
There are two sections for managing applications:-
Available packages: List of applications you can add.
Use the “Search by name…” field to search for a specific application. -
Authorized packages: List of applications already added to the profile.
To add an application, select it from “Available packages.” It will then be added to “Authorized packages.”
-
-
Application sources
At the bottom of the form, choose the source(s) of the applications to associate:-
Entity
-
LDAP
-
Group
- OR User
- Or Machine
-
Finalization
Once all the information has been entered, click the “Create” button to confirm the creation of the profile. The new profile will then be added to the Profile List, visible in the center of the home page.
When adding packages to a Kiosk profile, it is essential that an inventory be associated with the package.
Without this association, the packages cannot be assigned.
When deploying packages via Convergence, they must also be linked to an inventory.
Without this link, the deployment cannot be performed.
Medulla Kiosk
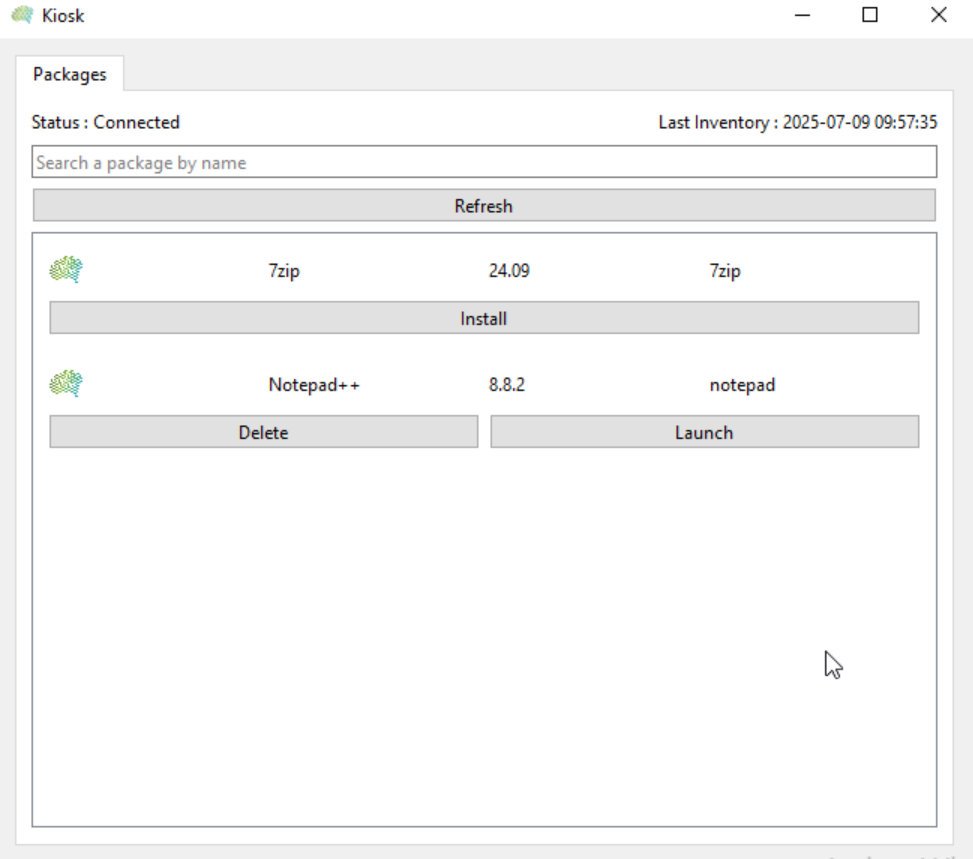
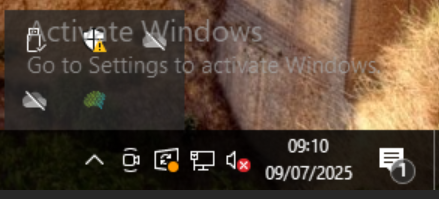
Once profiles have been created in the Medulla interface, users whose computers are connected to Medulla will see an icon representing the Medulla logo in their system tray: 
Double-click the icon to open the kiosk and view the applications that the Medulla administrator(s) have made available:
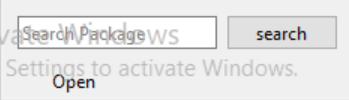
You can also right-click and then click the "Open" button:

Next, the user simply selects the relevant package and clicks the "Install" button.
The user then has several options available:

You can schedule a deployment date and time, then click the "Later" button (e.g., Today at 5 p.m.); at that time, the deployment will be carried out on the date and time scheduled by the user.
Or click "Now" to start the deployment immediately.
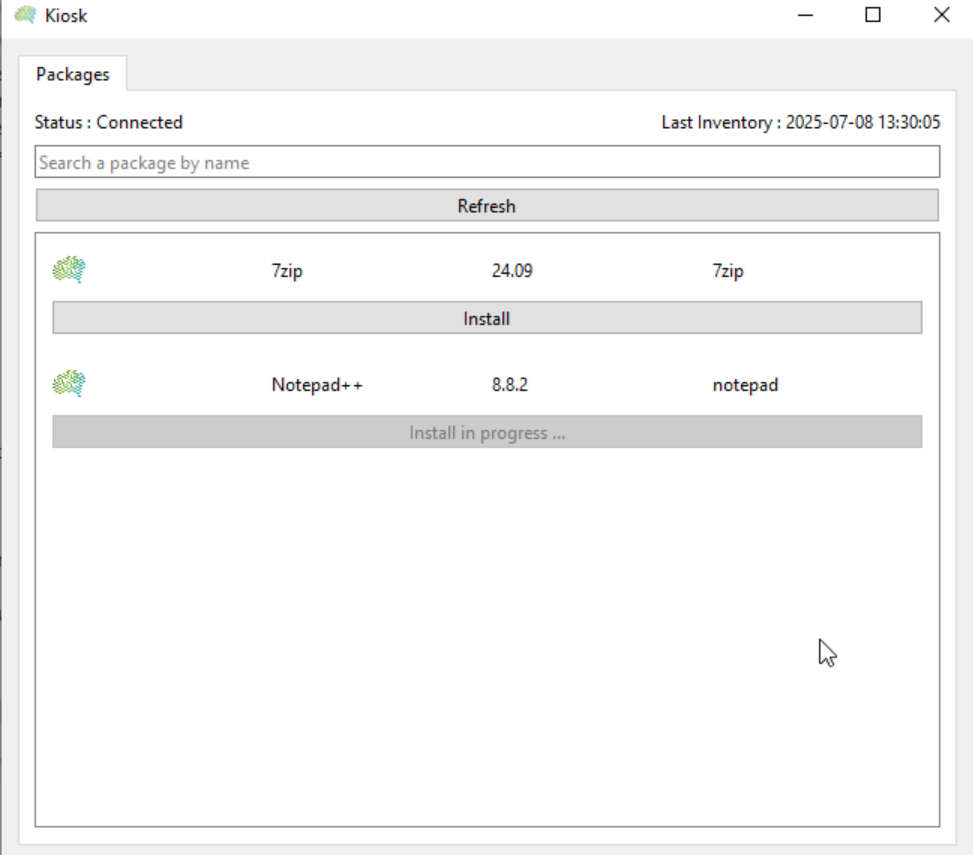
The user will then see the "Install" button change to "Install in Progress. "
Once the "Install" action has been clicked, the Medulla agent will send the installation request to the Medulla server, and the server will handle the installation as a normal deployment.
In the Medulla console, the administrator will find the deployment in the Audit tab with the command name followed by @Kiosk@, which identifies deployments via the kiosk.

The user will see their kiosk window change to display the "Launch" button and the "Delete" button, which allows them to remove the program.