Chapter 7: Imaging II
- Imaging profiles
- Add a profile
- List of profiles
- Imaging Configuration
- Sysprep Response File Manager
- Imaging groups
Imaging profiles
Medulla features imaging profile management. These profiles allow you to associate a master with one or more postinstall configurations, enabling you to link the master and the profile either to specific machines, to imaging groups, or to apply it directly at the server level.
This simplifies the deployment of workstations via Medulla’s imaging module.
How do I create a profile for a machine and associate it with a master?
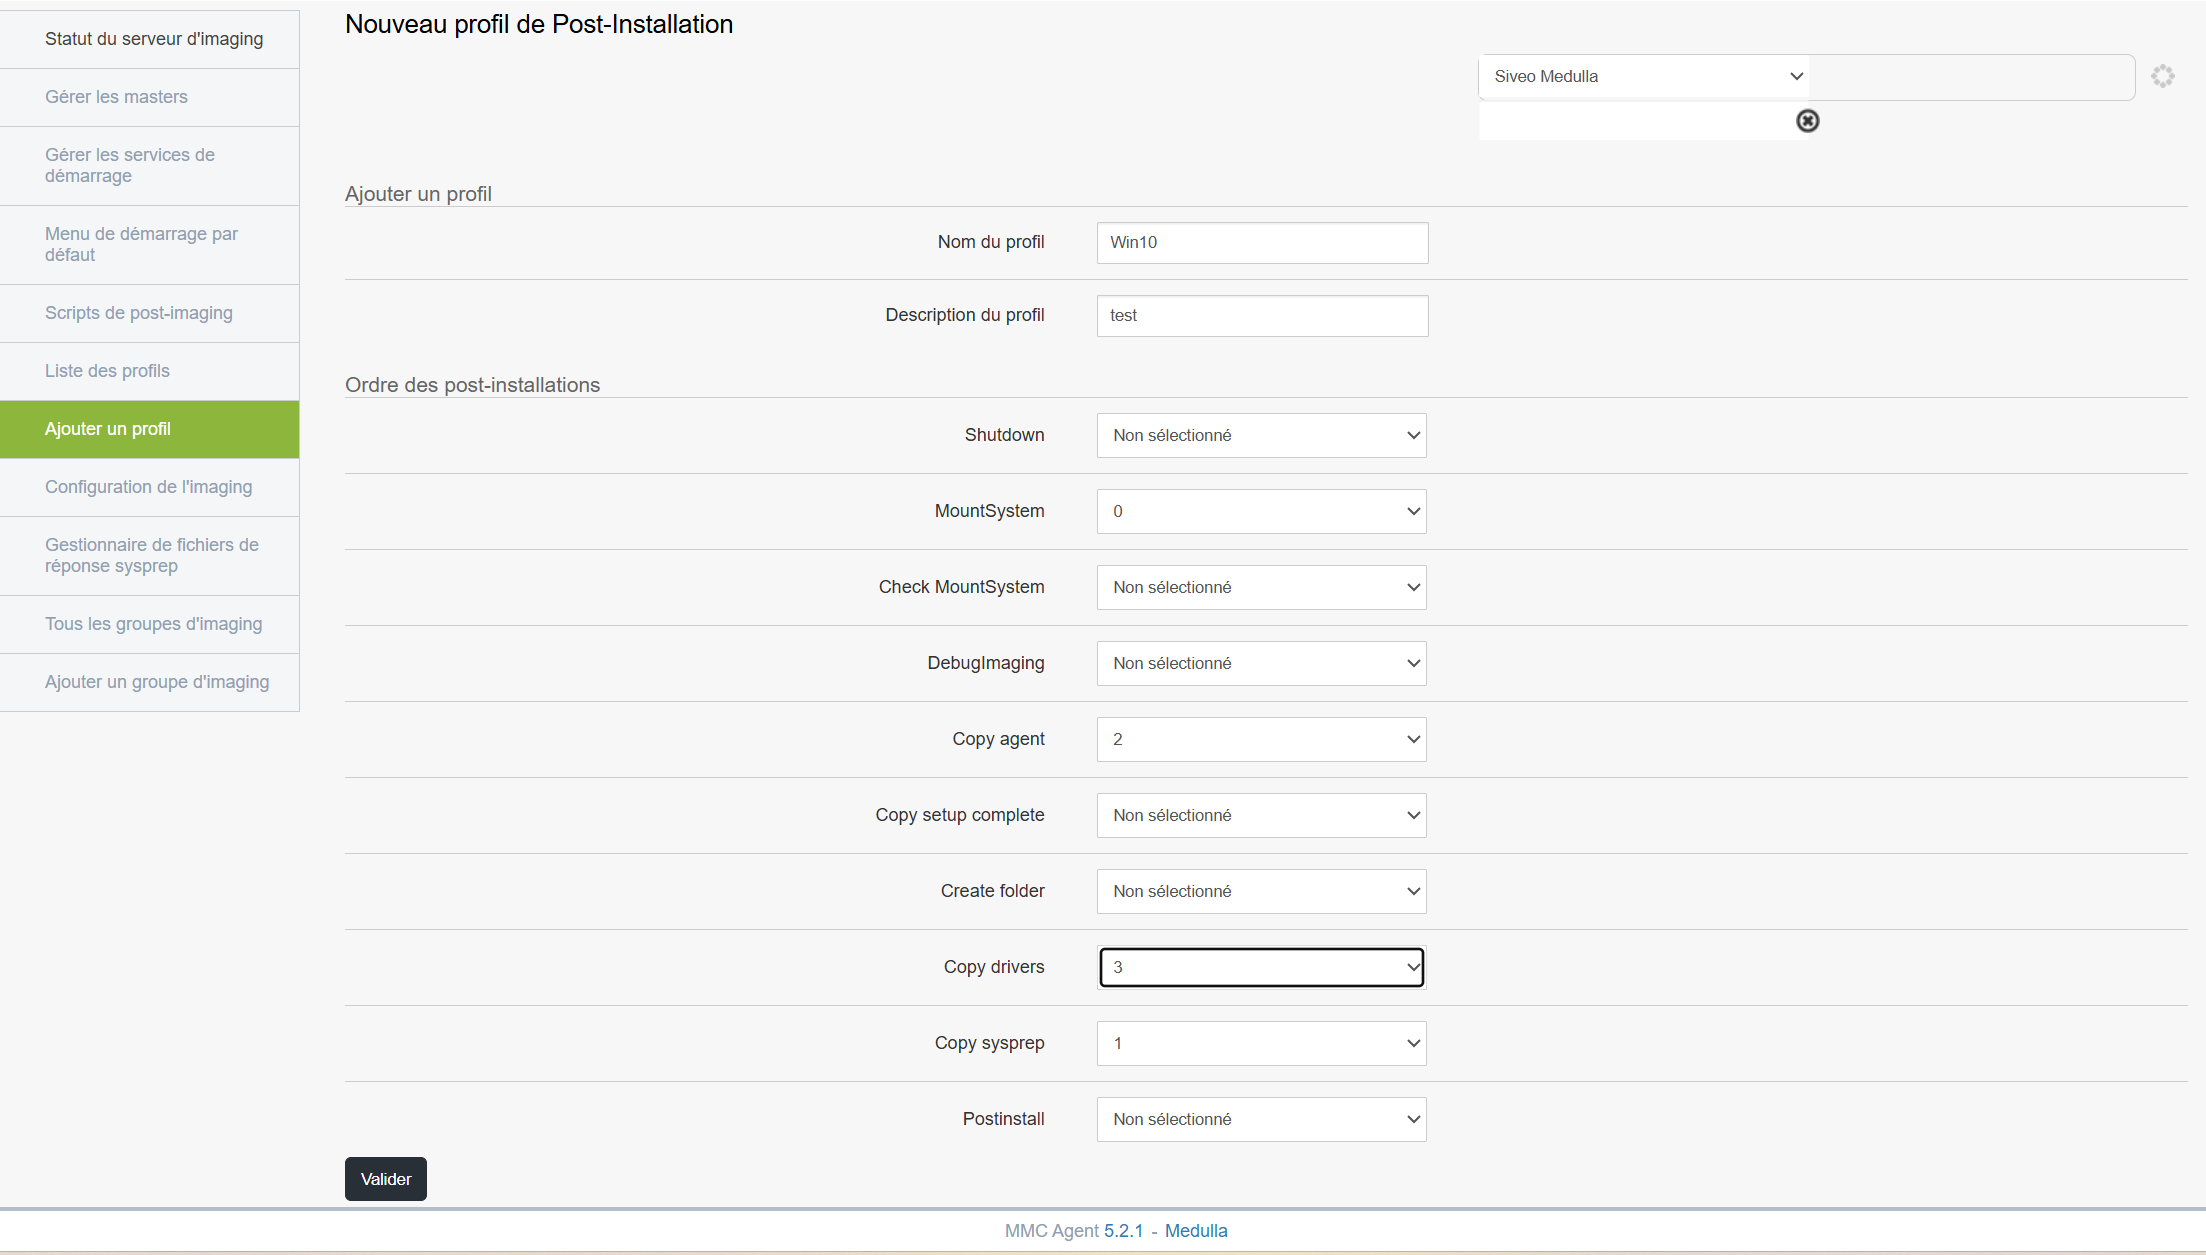
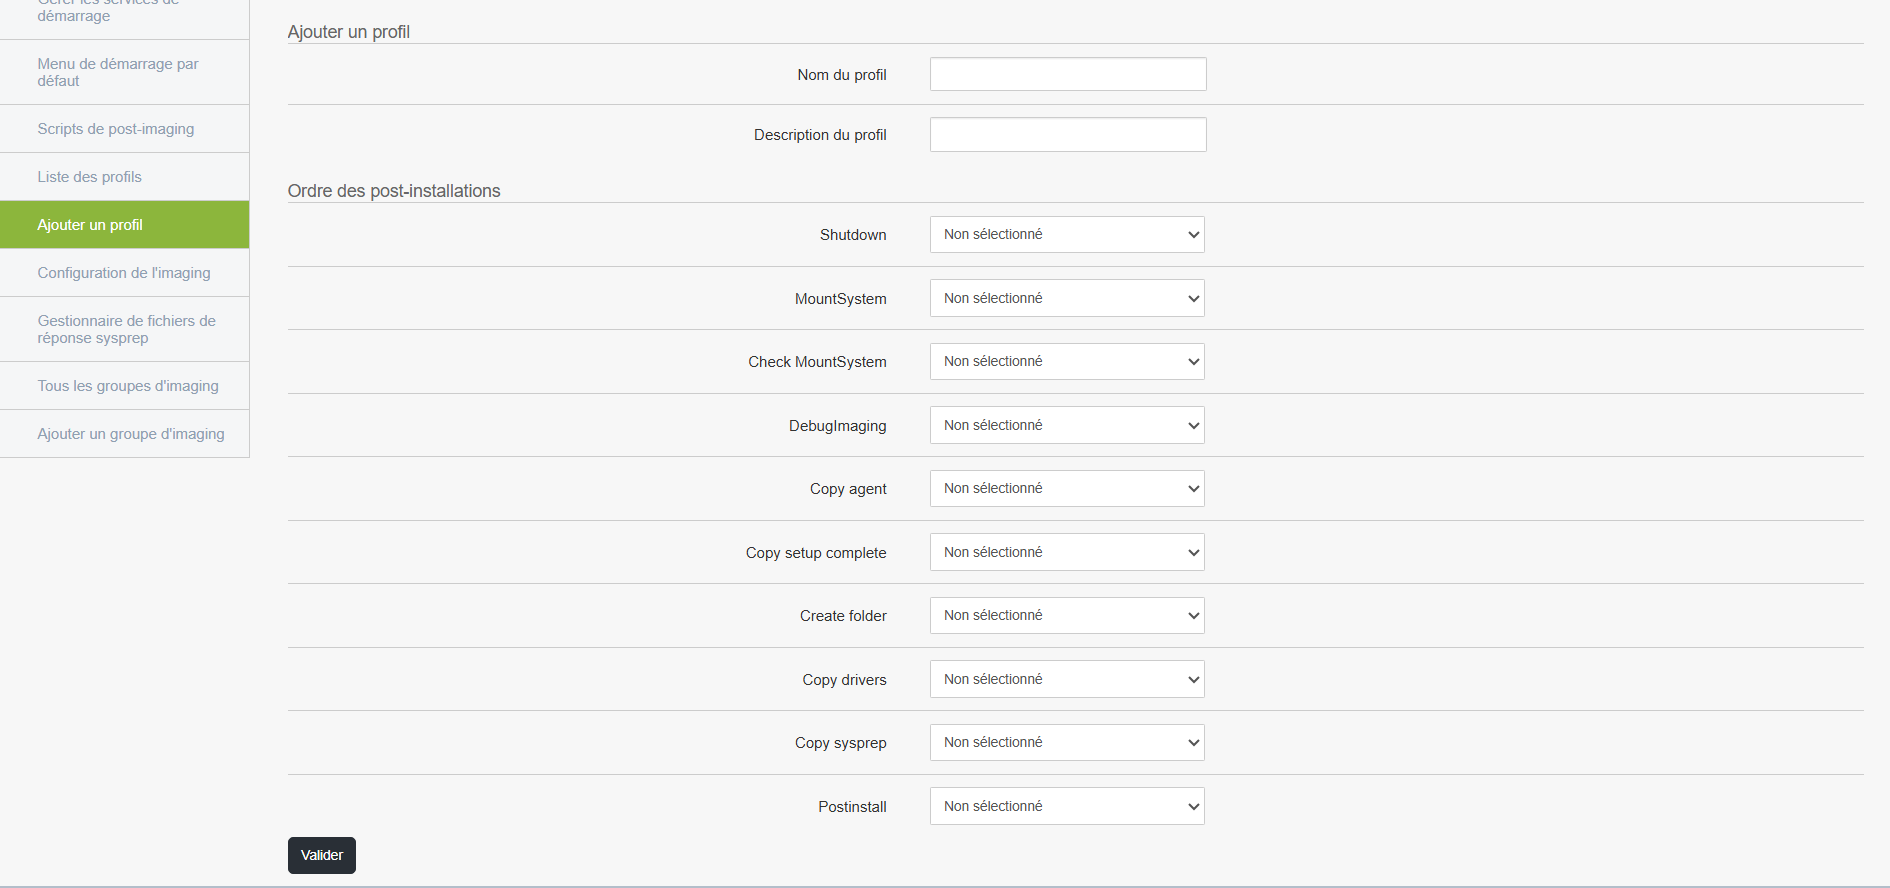
Click on Add a Profile.
Fill in the fields:
- Profile Name
- Description
In the Order section, select the post-installations you want to associate with the profile and arrange them in the order of execution from 0 to 10 (0 being the first step and 10 the last).
Click Save once you are finished.
Once the profile is validated, follow the steps below depending on how you want to associate your profile:
Associate a master with a profile on a machine:
In the Computers tab, click the left-hand menu: All GLPI Computers.
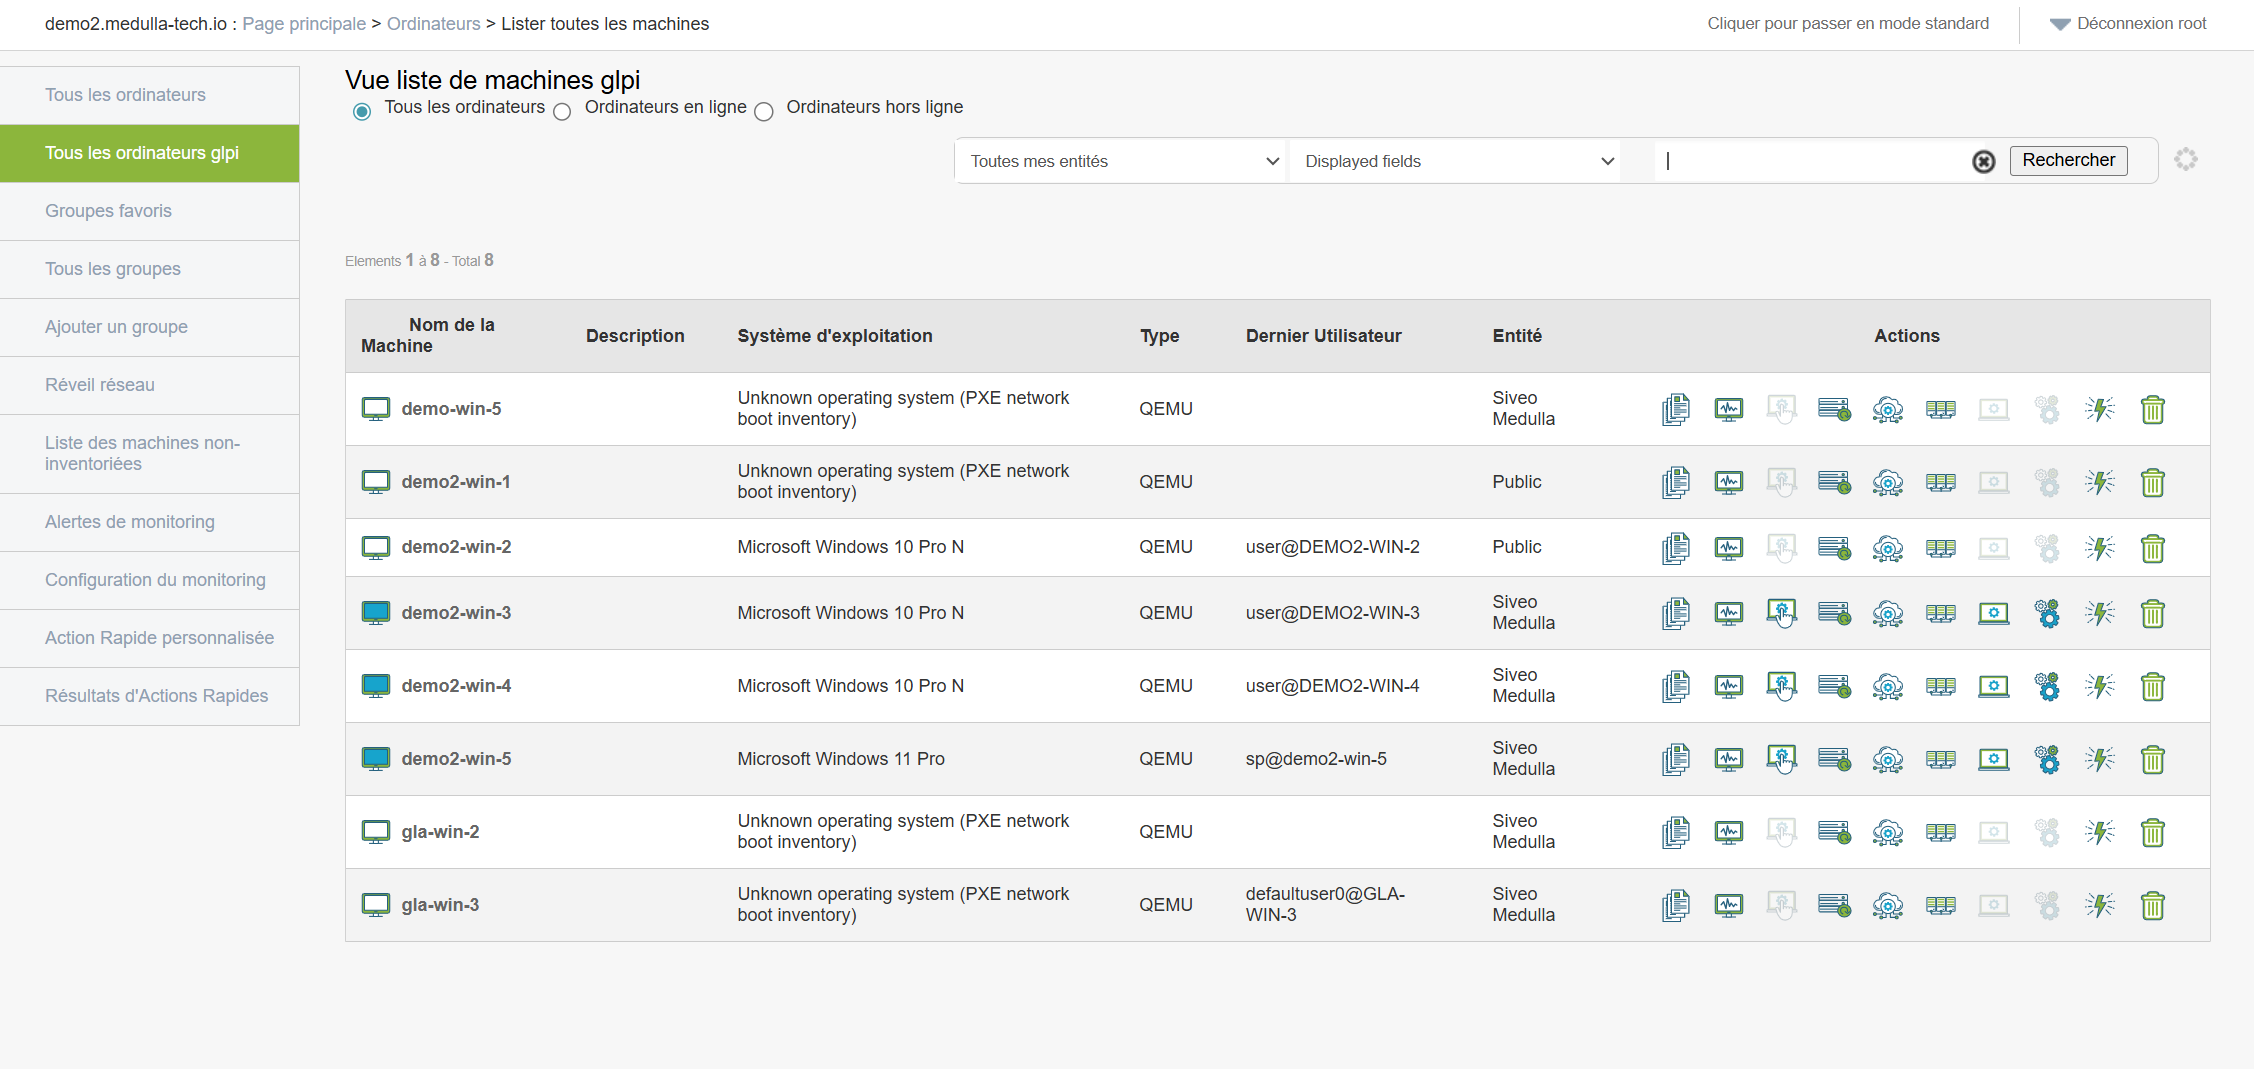
Select your machine and click the Imaging button: 
In the interface above, we have no master associated with the machine. To associate a master and a profile with this machine, follow the steps below: click on Image and Masters
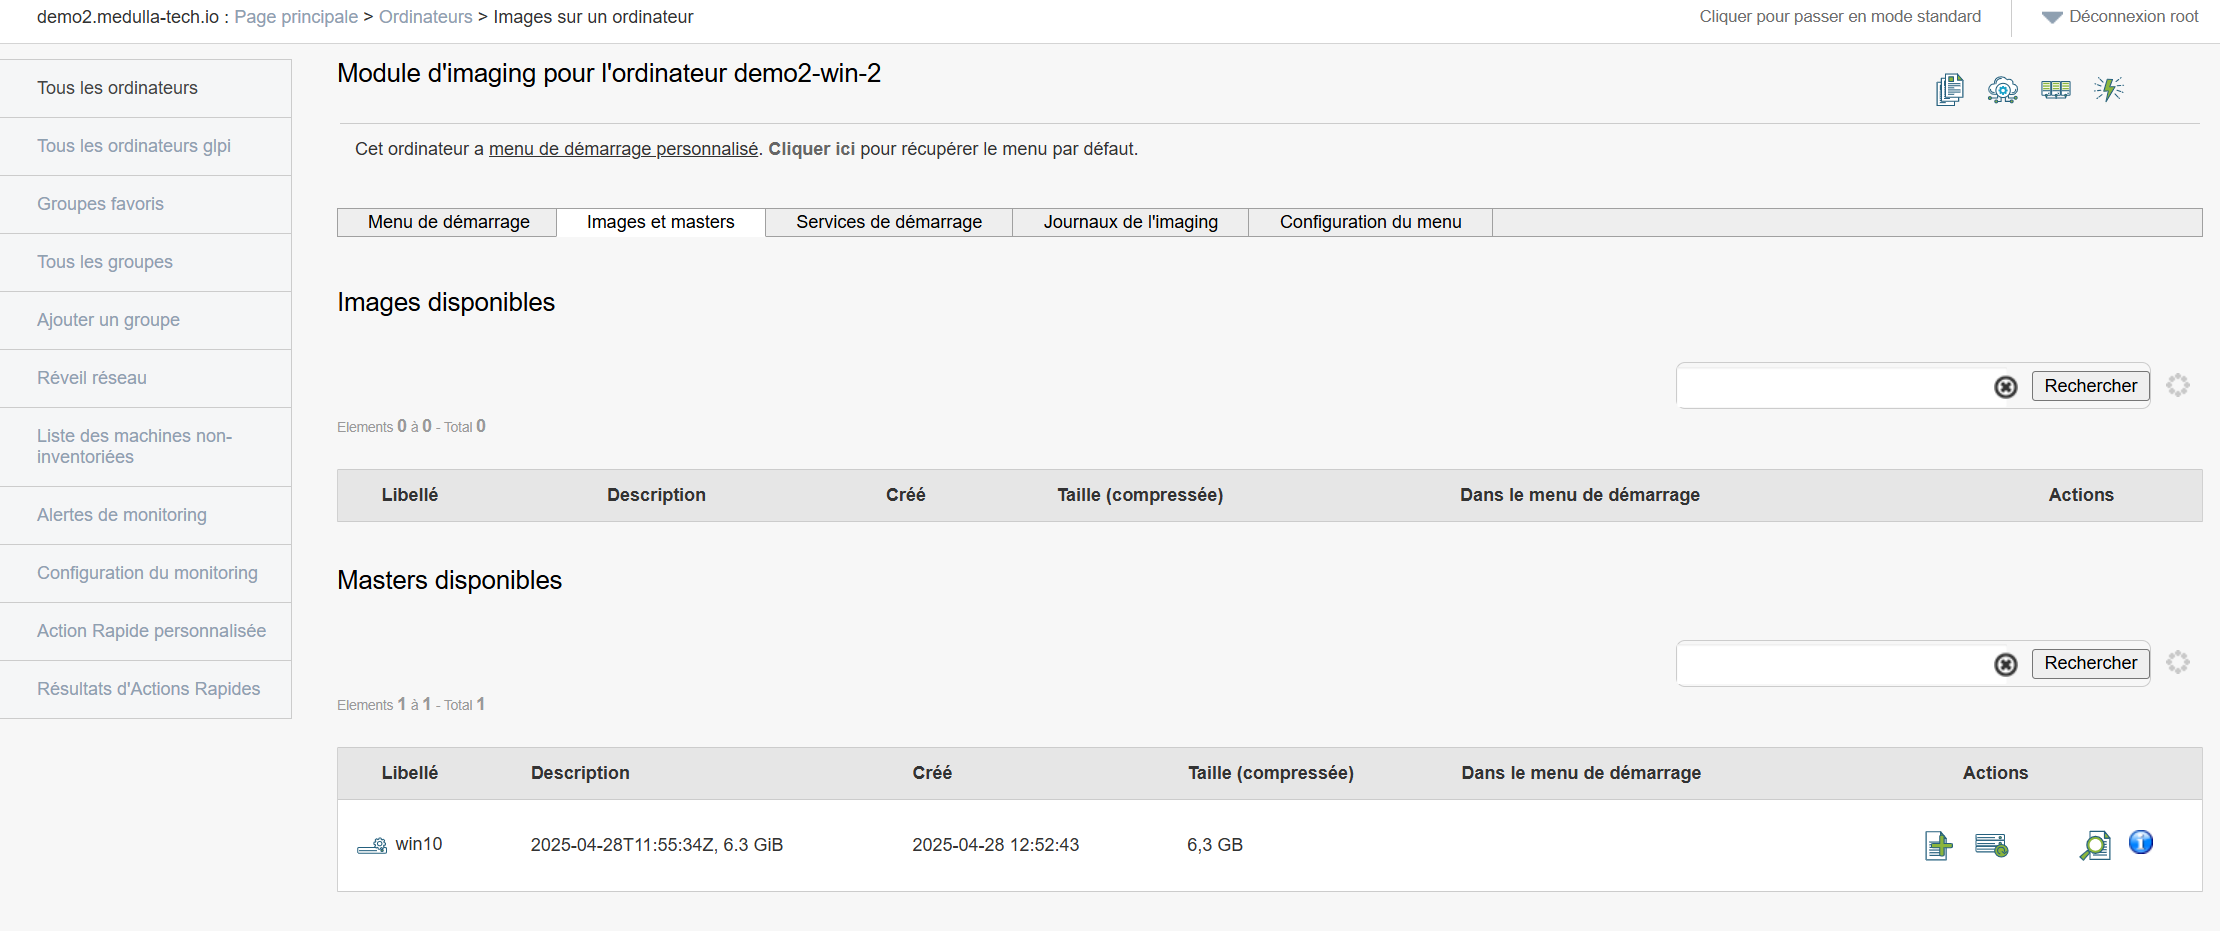
In the Available Masters section, click the Next button on the line of the master you want to select: 
A pop-up will appear as shown in the example below:
You can make your selection and click Confirm.
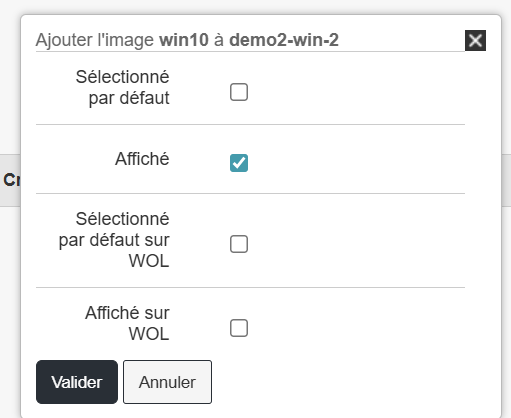
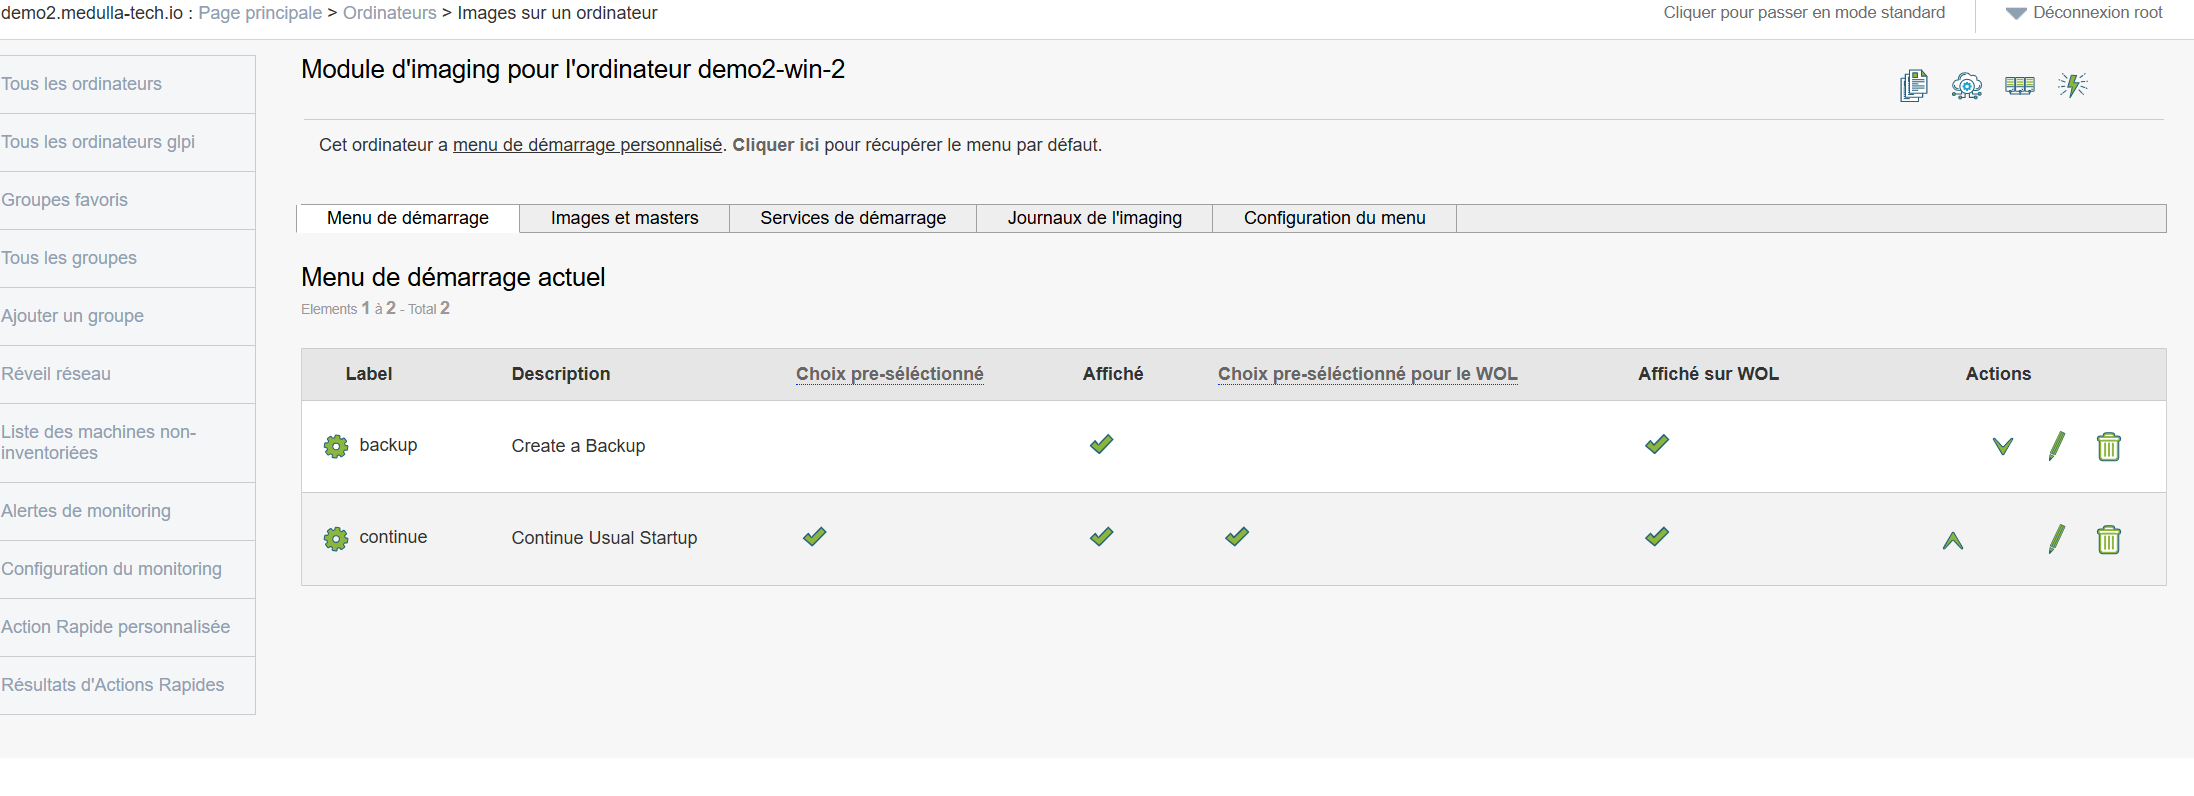
After that, the row changes and displays a small green checkmark in the " Added to Startup Menu" field:

Return to the Startup Menu tab;
Click the "Edit" button for the master you just added: 
Check the profile you want to associate with the master for this machine: In my example, I selected the OfficeProfile.
Then click "Confirm."
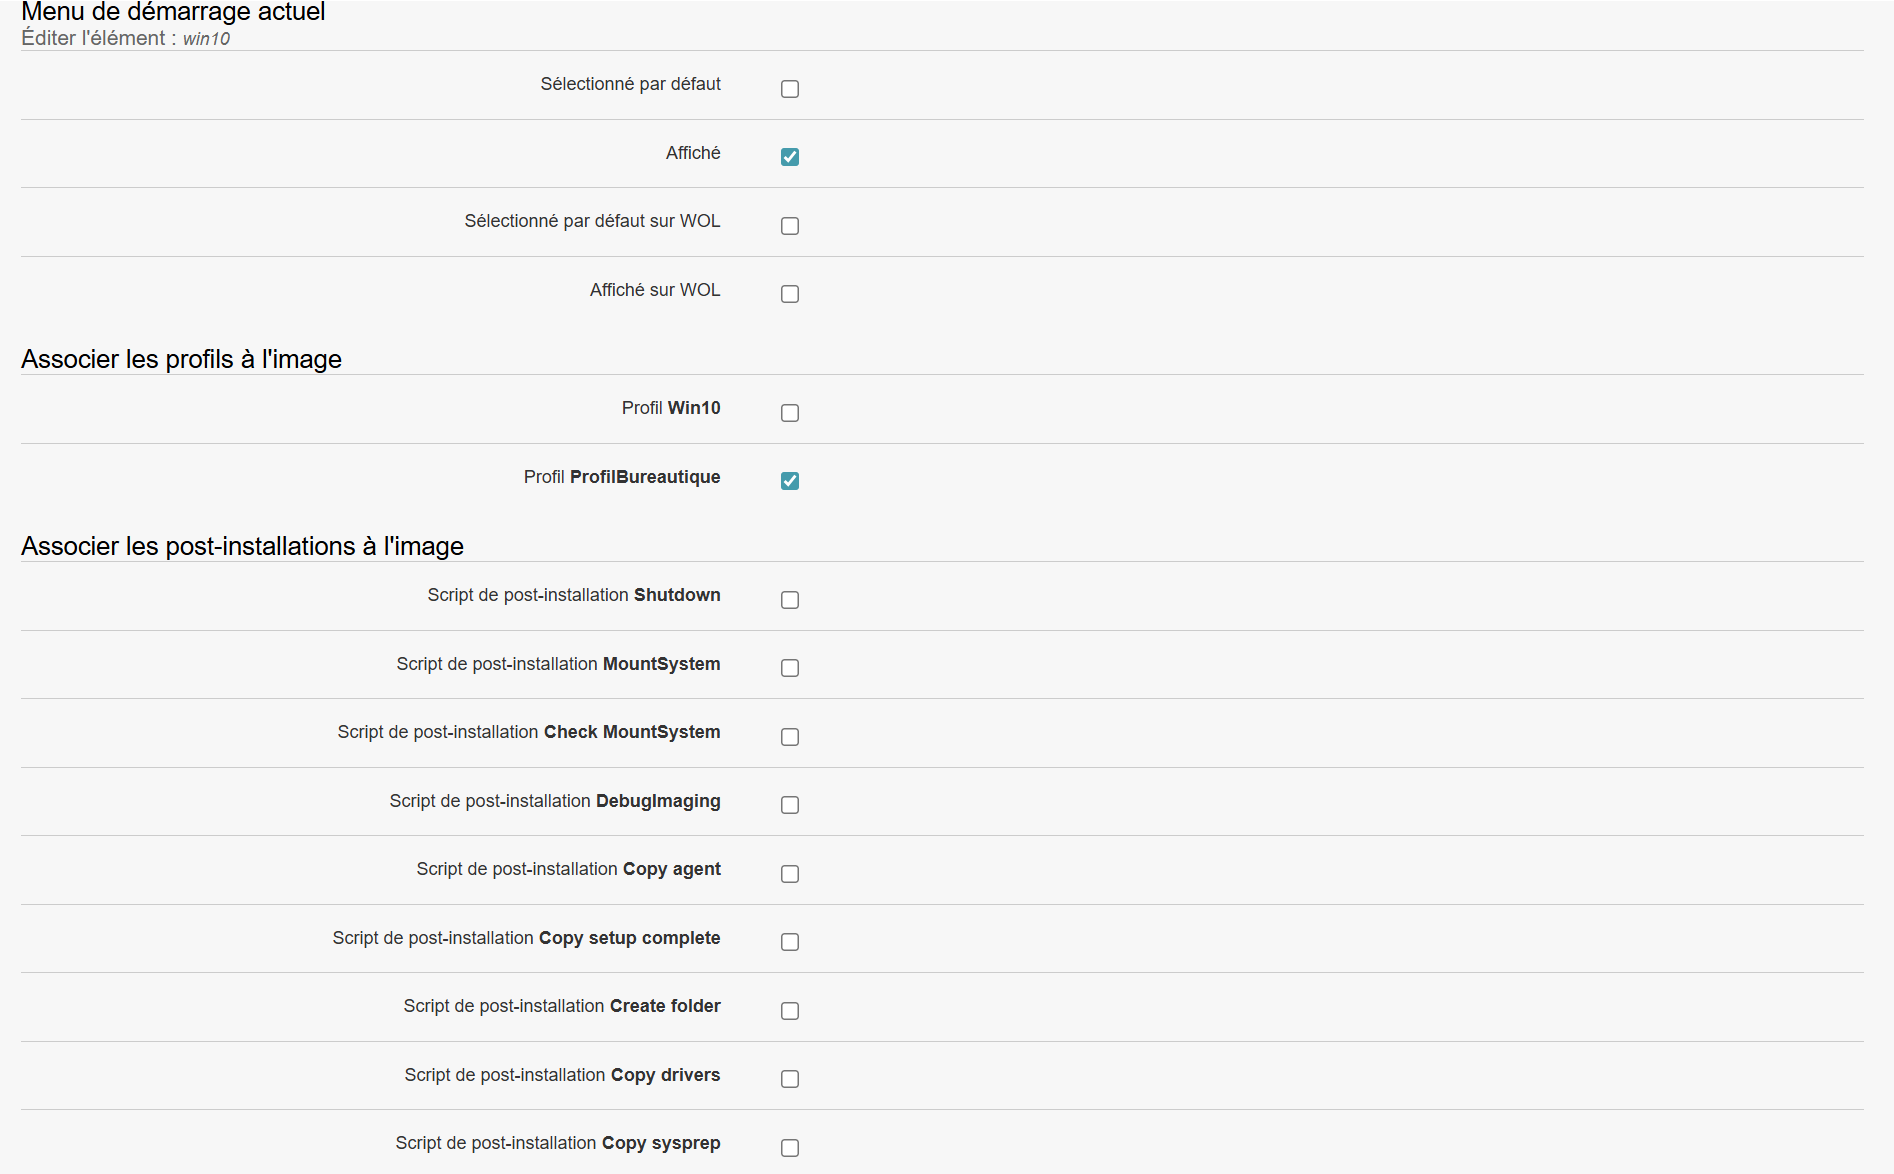

The master is now associated with one or more post-installations.
Next, boot your machine via PXE, and Medulla will automatically offer the master with the associated profile.
You can perform the same steps on an imaging group or via the default boot menu of the imaging server.
Add a profile
A profile allows you to associate post-installation actions with a master and to add this profile to the machine’s boot menu when booting the machine via PXE.
Accessing and editing a profile
From the management interface, you can:
- Add a new profile
- Edit an existing profile
- Delete a profile if necessary
List of available post-installation actions
Here are the actions that can be configured in the desired order.
All are disabled by default; you must select them manually if you wish to apply them:
-
Shutdown: automatically shuts down the machine once all steps are complete.
-
MountSystem: mounts the system partitions, useful for accessing certain files before deployment is complete.
-
Check MountSystem: Verifies that the system has been successfully mounted.
-
DebugImaging: Enables a diagnostic mode to analyze the imaging process (primarily used by technicians).
-
Copy agent: Copies the Medulla agent to the computer, required for remote management.
-
Copy setup complete: adds a file or script to run at the end of the installation.
-
Create folder: creates one or more custom folders on the computer.
-
Copy drivers: Copies the necessary drivers to the target machine.
-
Copy sysprep: installs files related to Windows system preparation (Sysprep).
-
Postinstall: entry point to run a custom script or command once installation is complete.
Using the profile
-
Create or modify a profile according to the specific needs of your organization or the target computer.
-
Select the desired actions in the appropriate order of execution.
- Associate the profile with a master
- Run this profile when the machine you want to install boots up.
This profile will then be associated with a deployment task, so that the selected steps are automatically applied after installation.
List of profiles
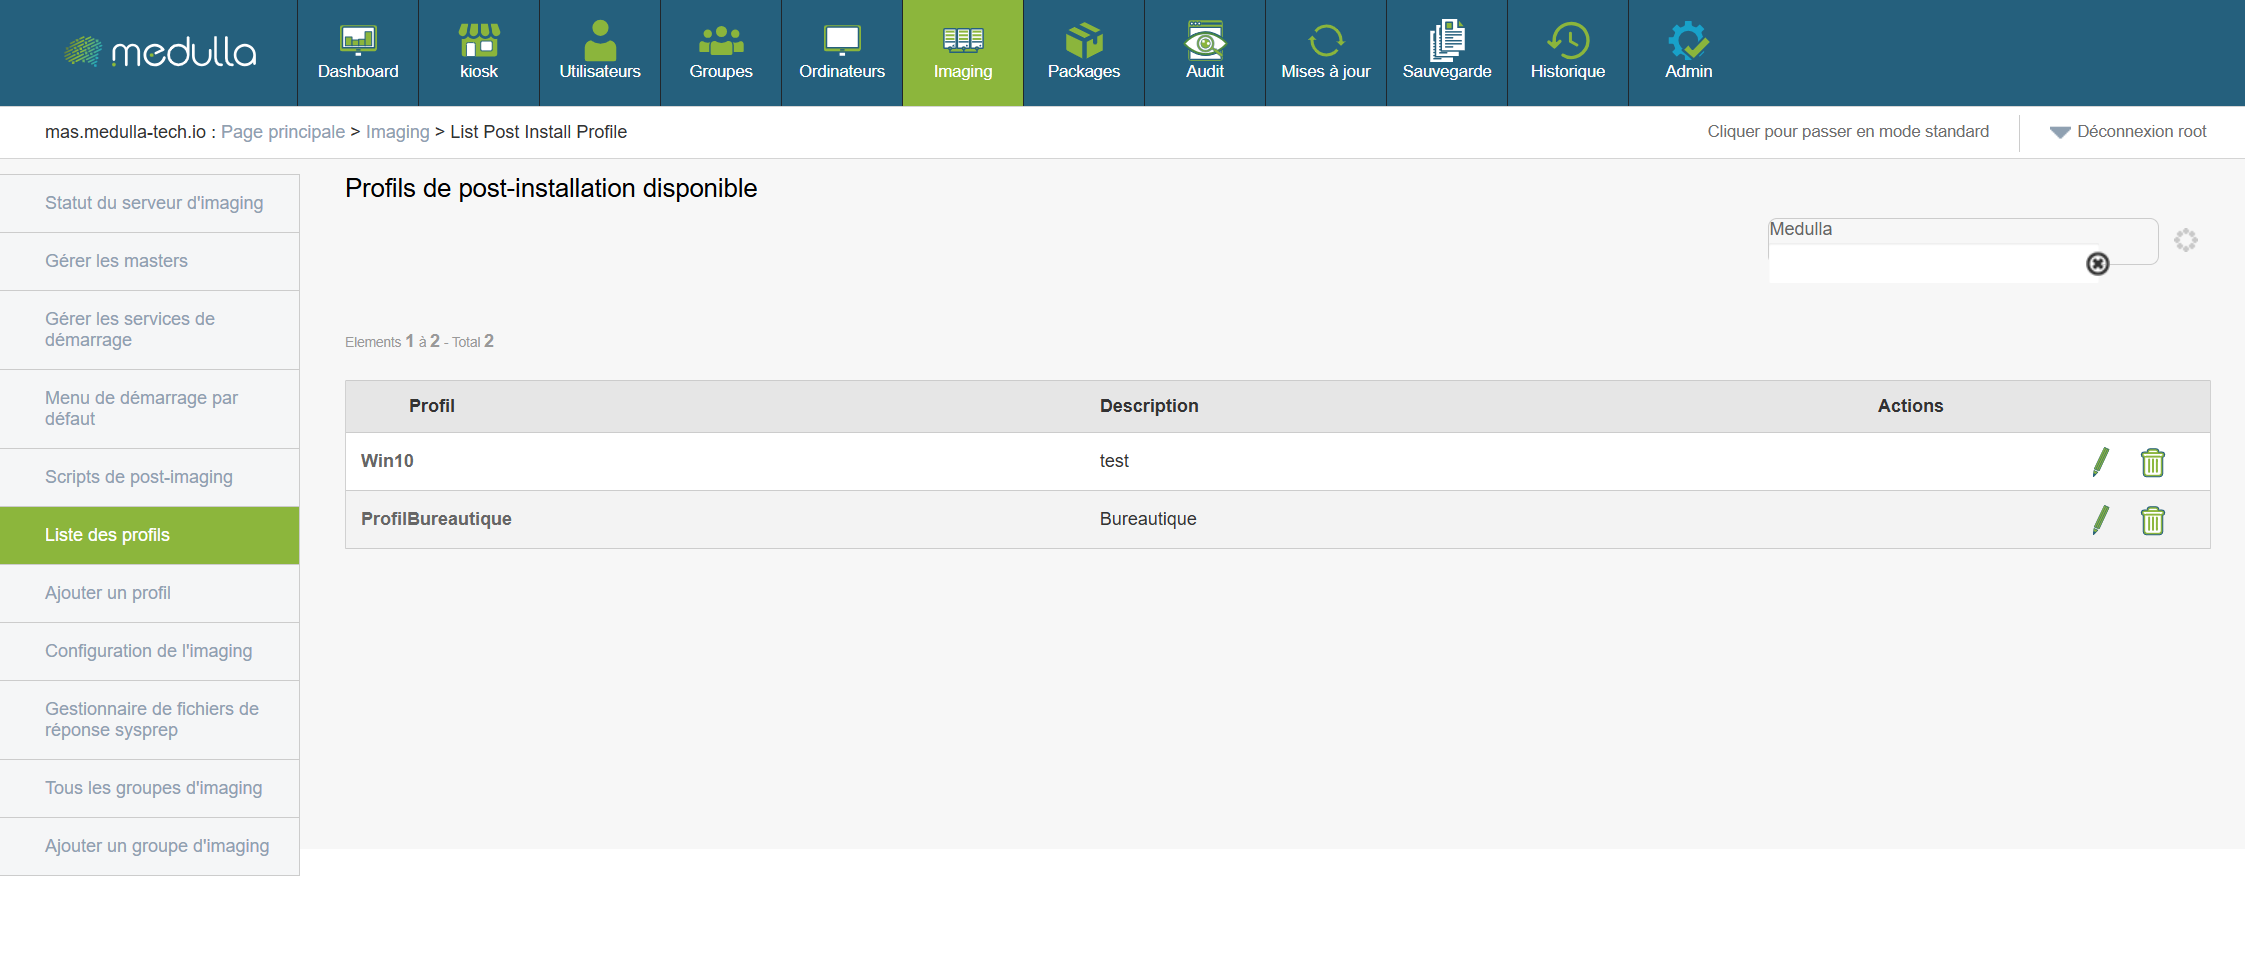
Displays all user profiles created for imaging.
Central area displaying profiles
- Name
- Status (Active/Inactive)
- Available actions: Edit, Delete
Imaging Configuration
Allows you to adjust the global settings of the imaging environment (e.g., servers used, policies, etc.)
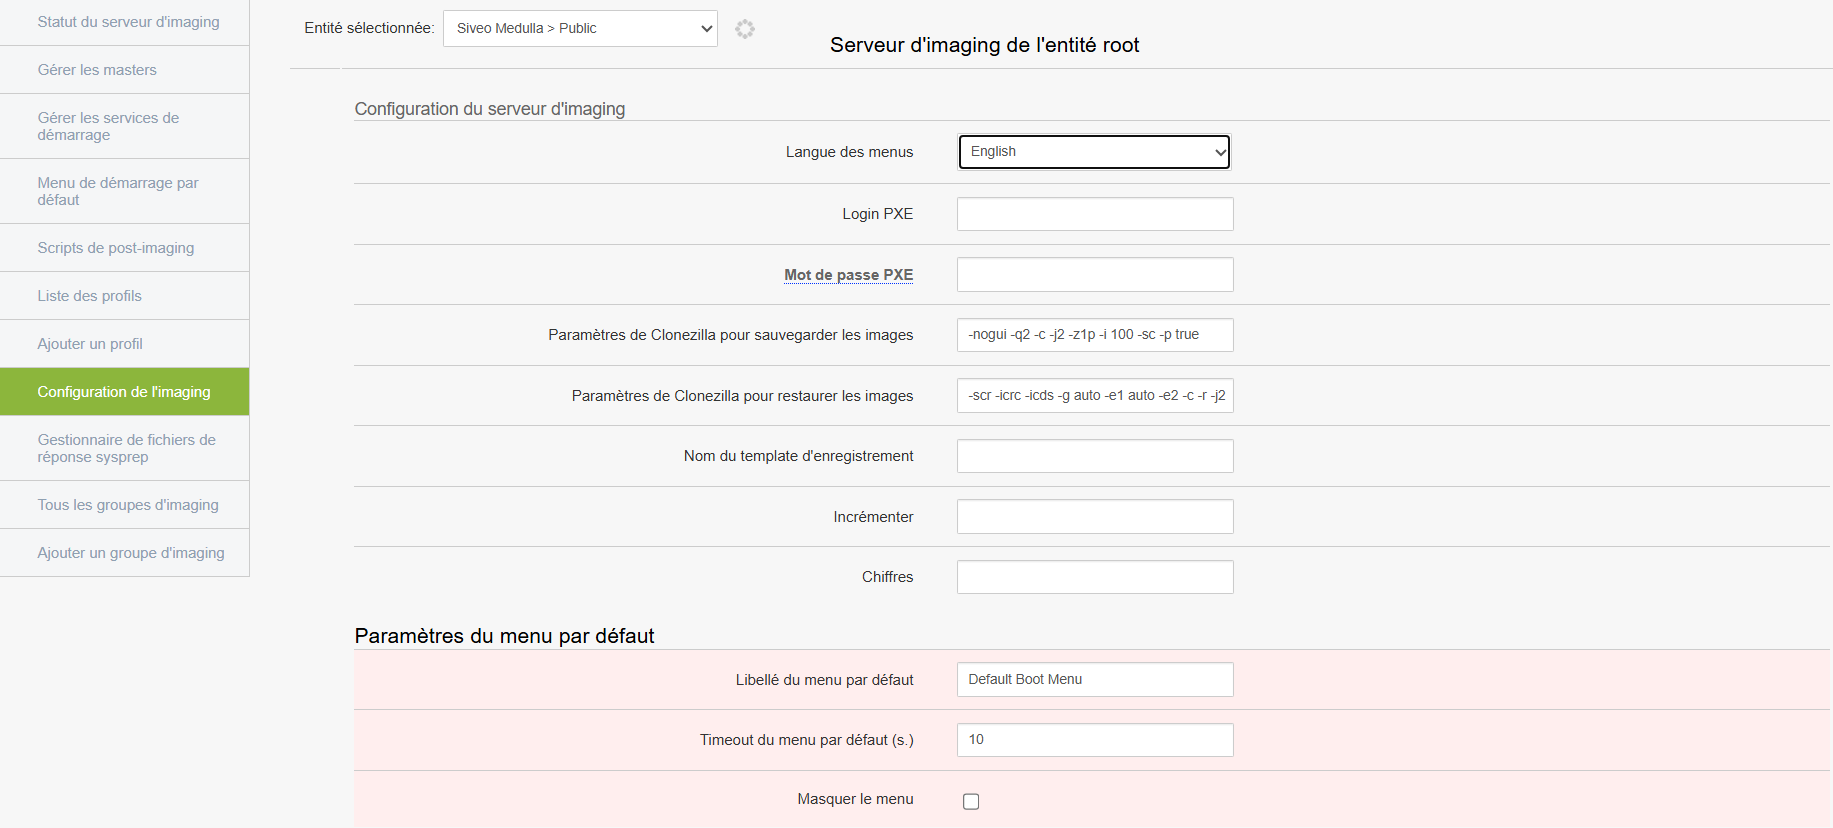
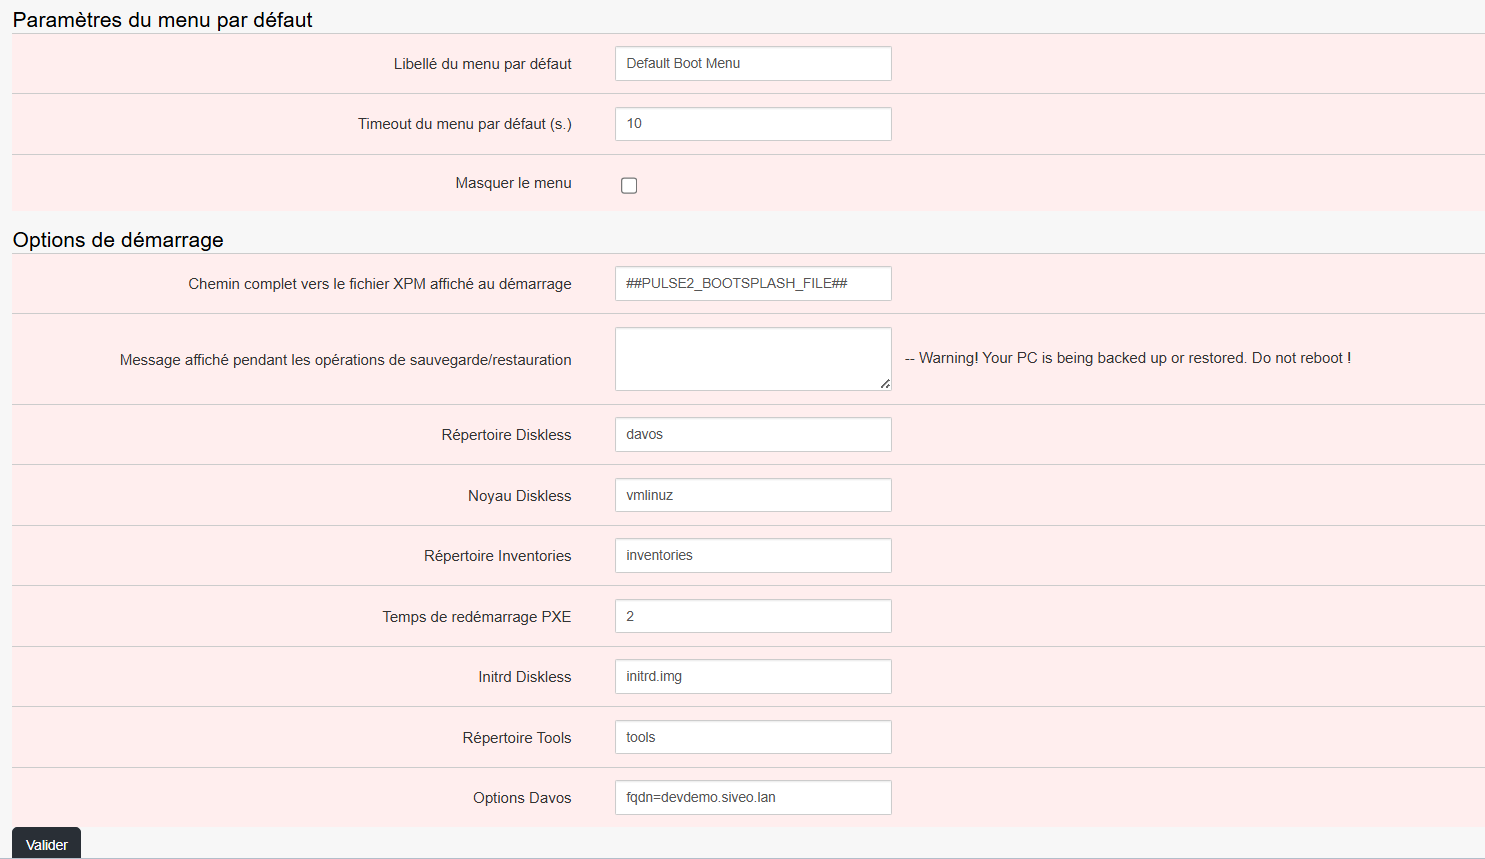
Modify the necessary settings
Warning: this section can affect the entire environment → intended for experienced administrators only.
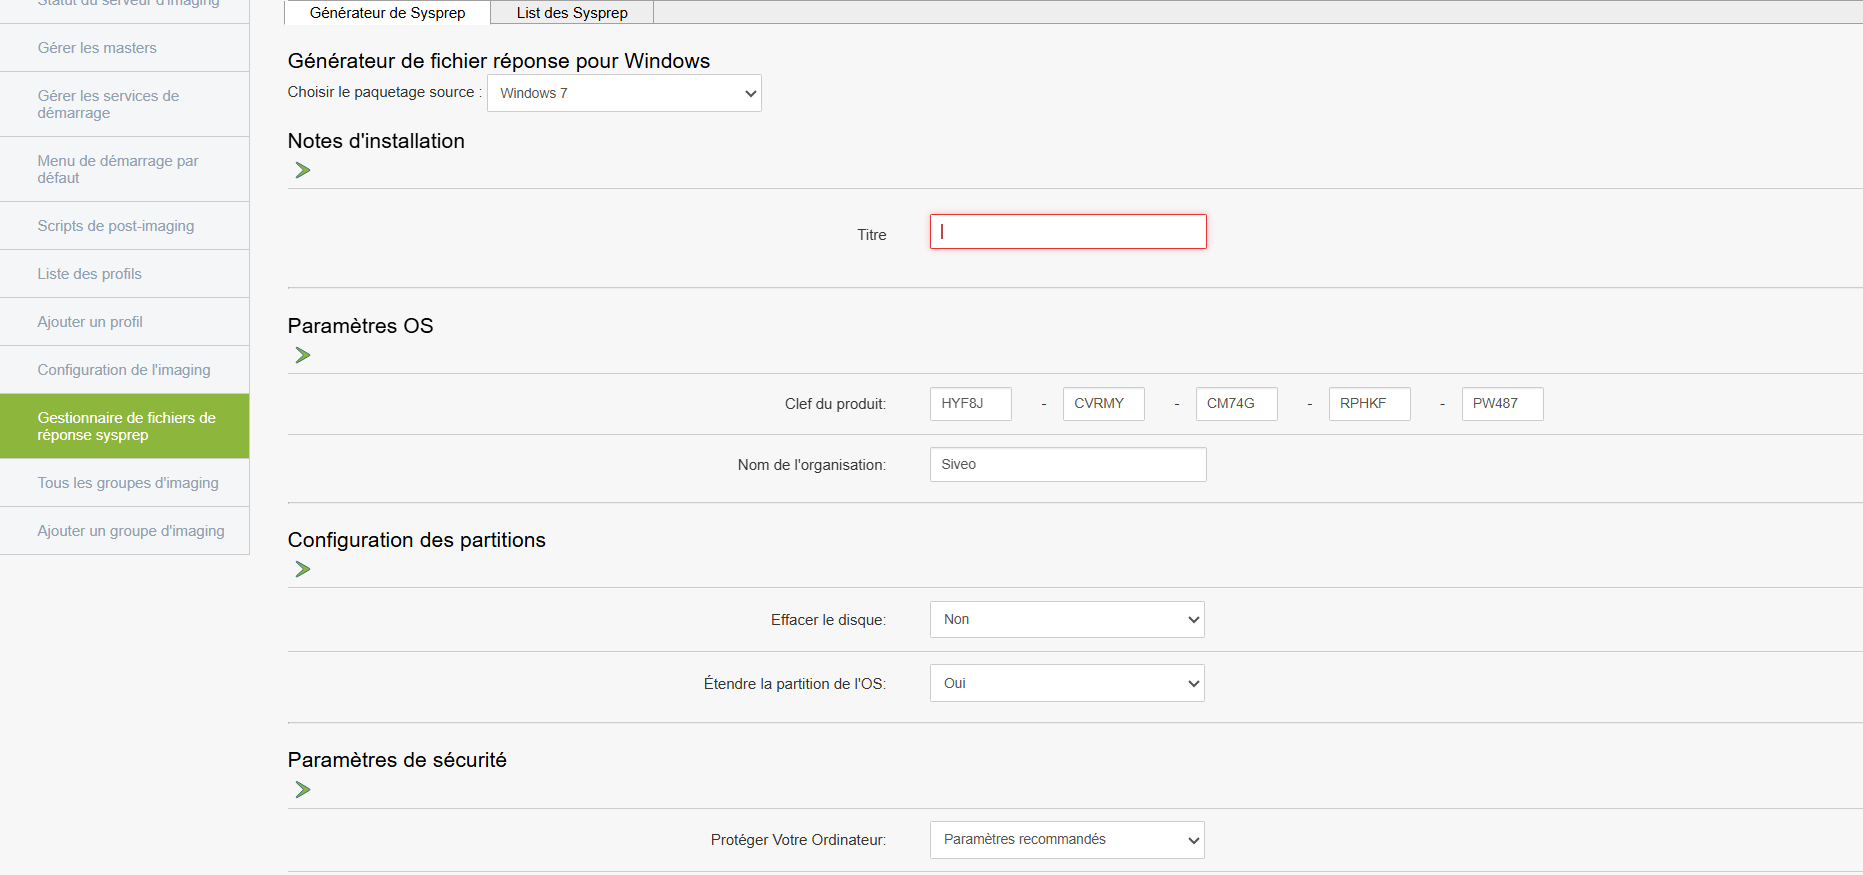
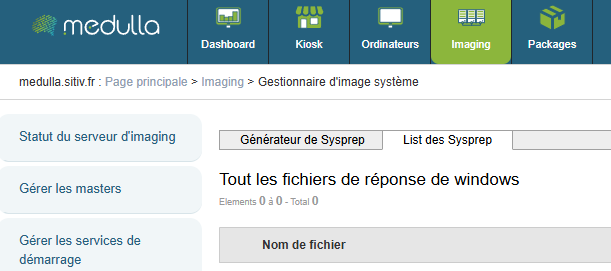
Sysprep Response File Manager
Allows you to manage the response files used during automated Windows installation.
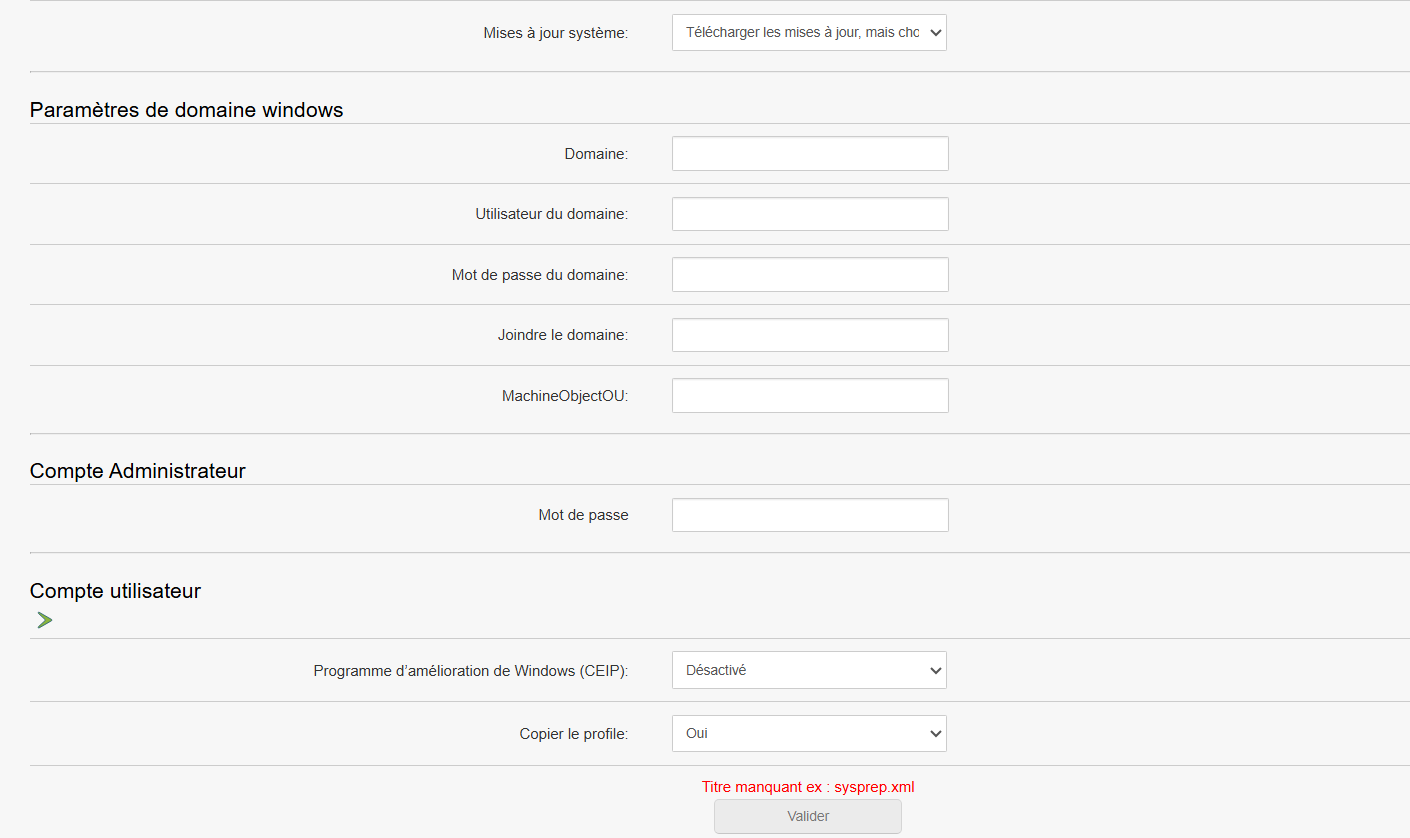
At the top of the page, you can select the OS, the version, and whether sysprep should take OEM into account:
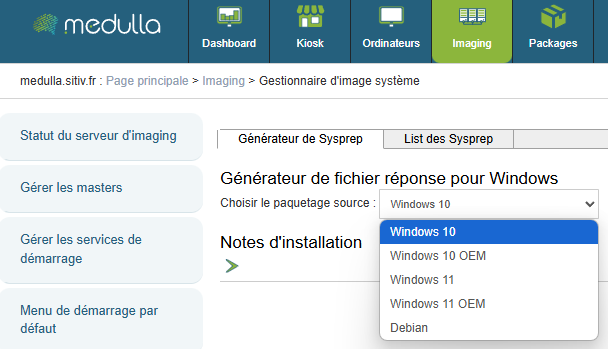
Then fill in the necessary information.
To use it
These files contain silent installation settings (machine name, language, product key, etc.)
At the top of the page, you will find the list of Sysprep files:
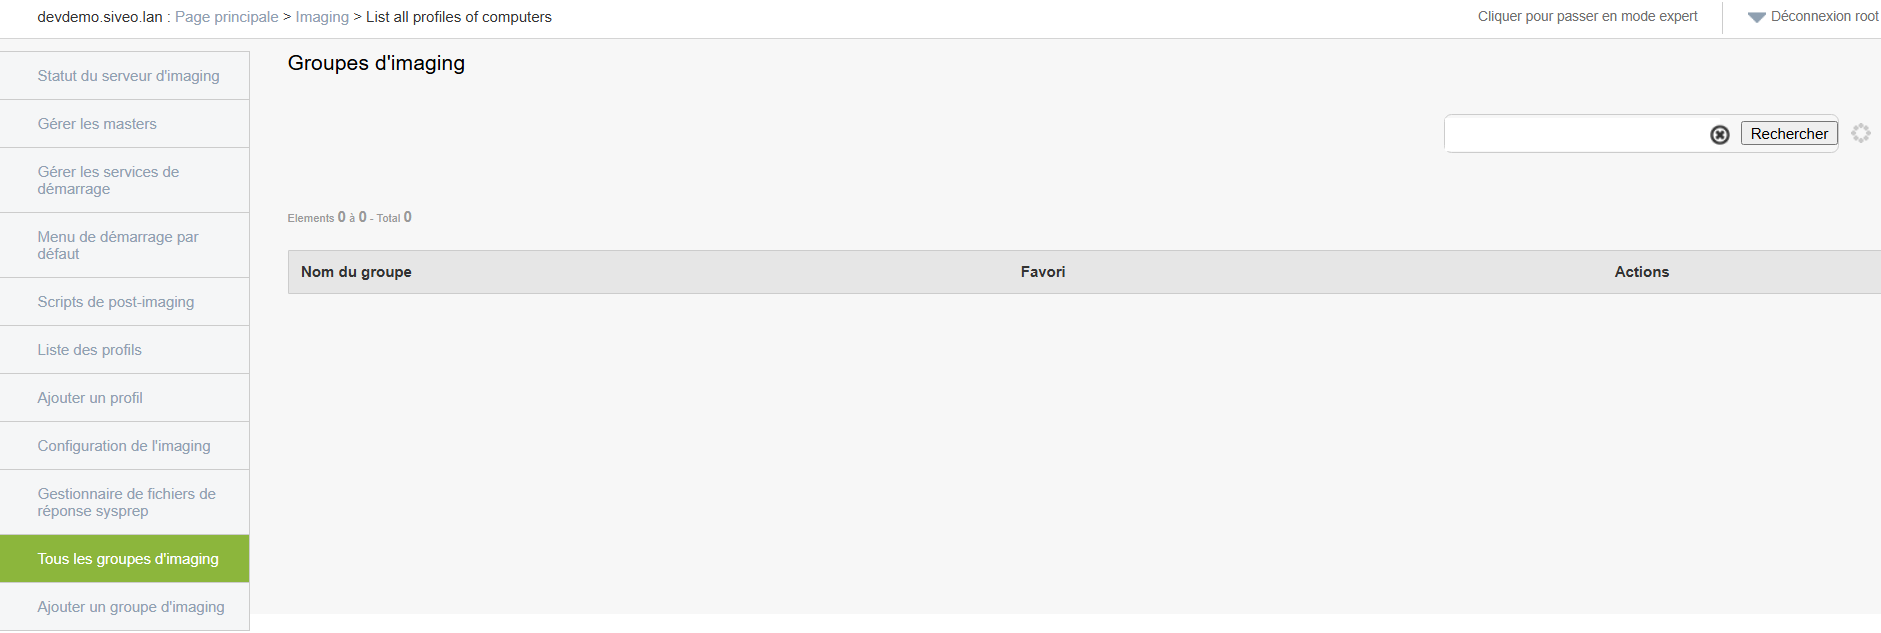
Imaging groups
Displays all existing imaging groups.
-
Each group contains a specific configuration linked to a deployment type (for example: classrooms, specific IT equipment, etc.)
-
You can view, edit, or delete them.
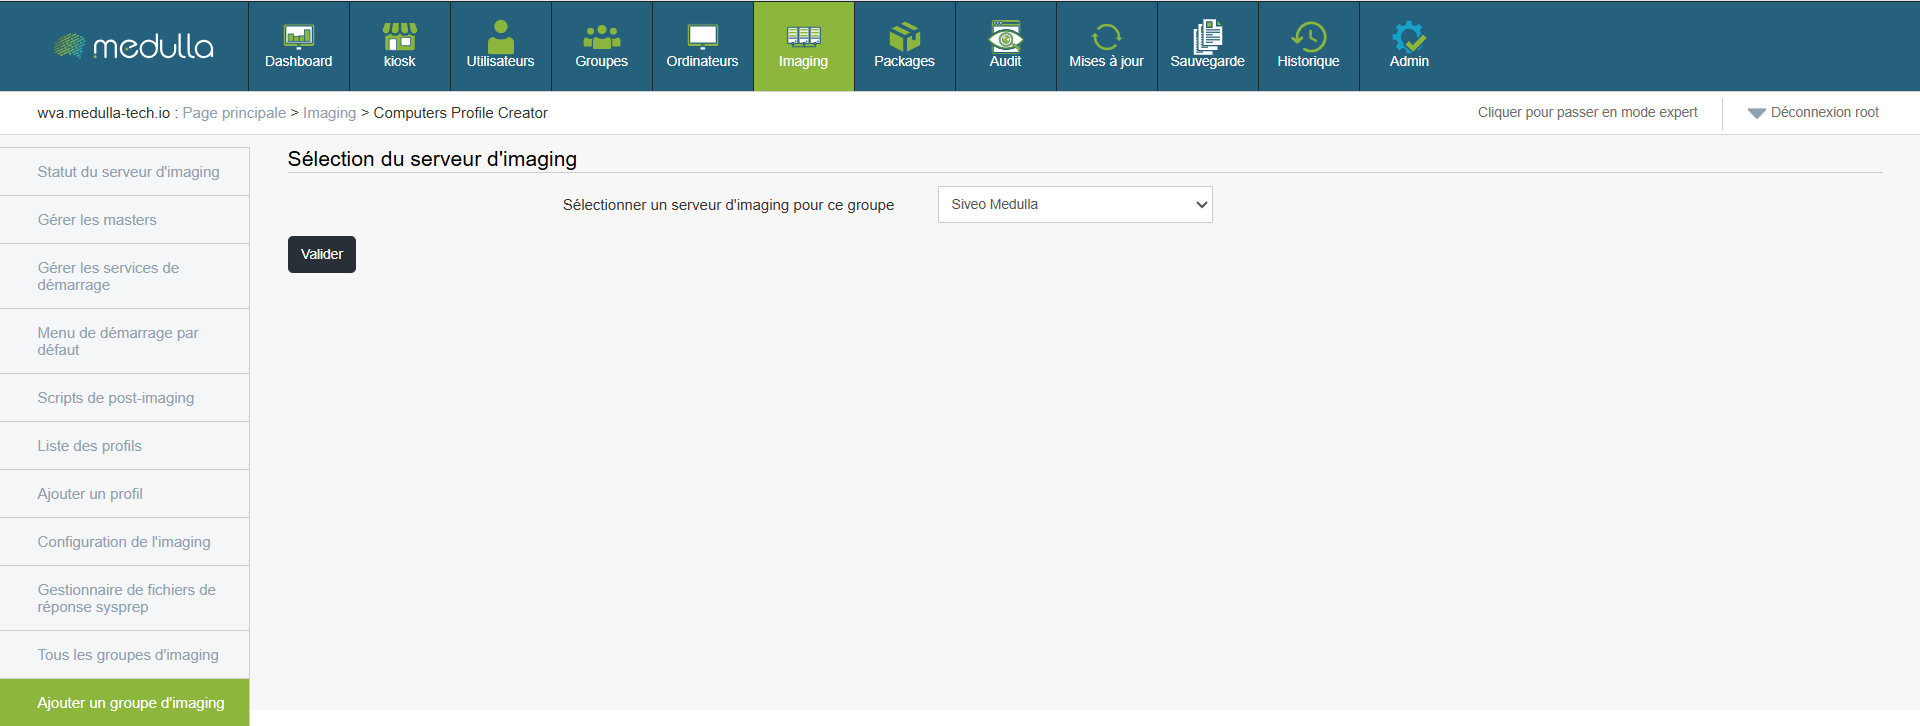
Add an imaging group
Create an imaging group to organize your deployments.
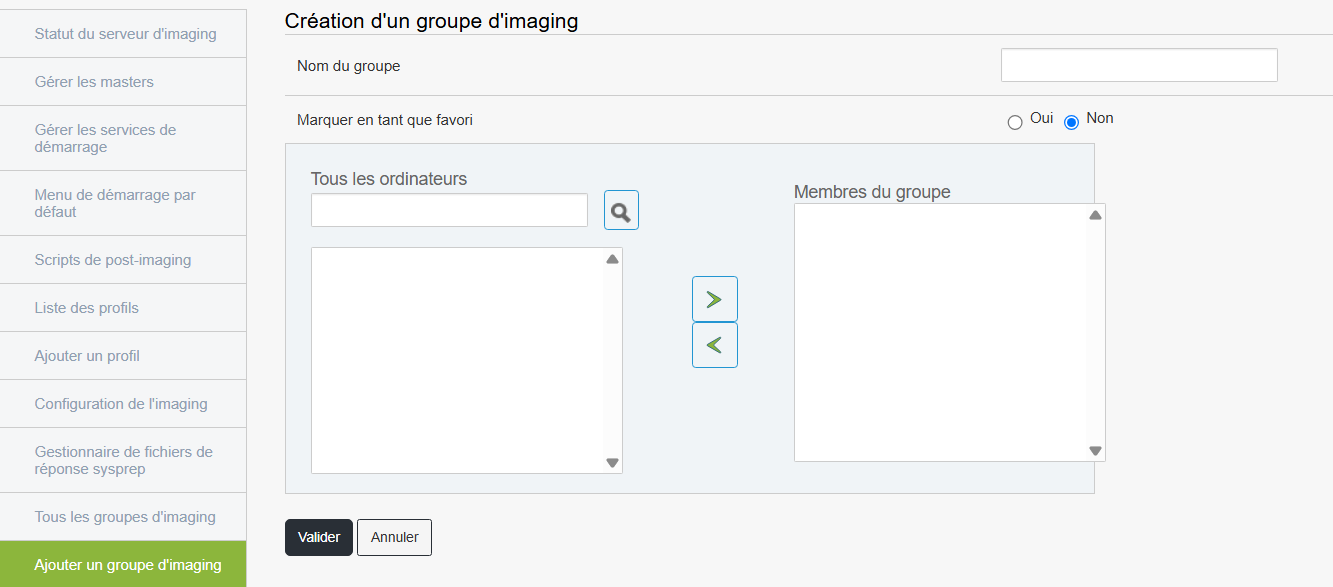
Steps
This group will then appear in the list of available groups.