
Installing the Medulla agent on macOS
Applies to: Medulla – Agents
Version: 5.6.5 and later
Environment: On-Premise – Shared SaaS and Private SaaS
Category: Agents
Installation via entities
To install the macOS agent directly from the Medulla interface, go to the Admin tab:
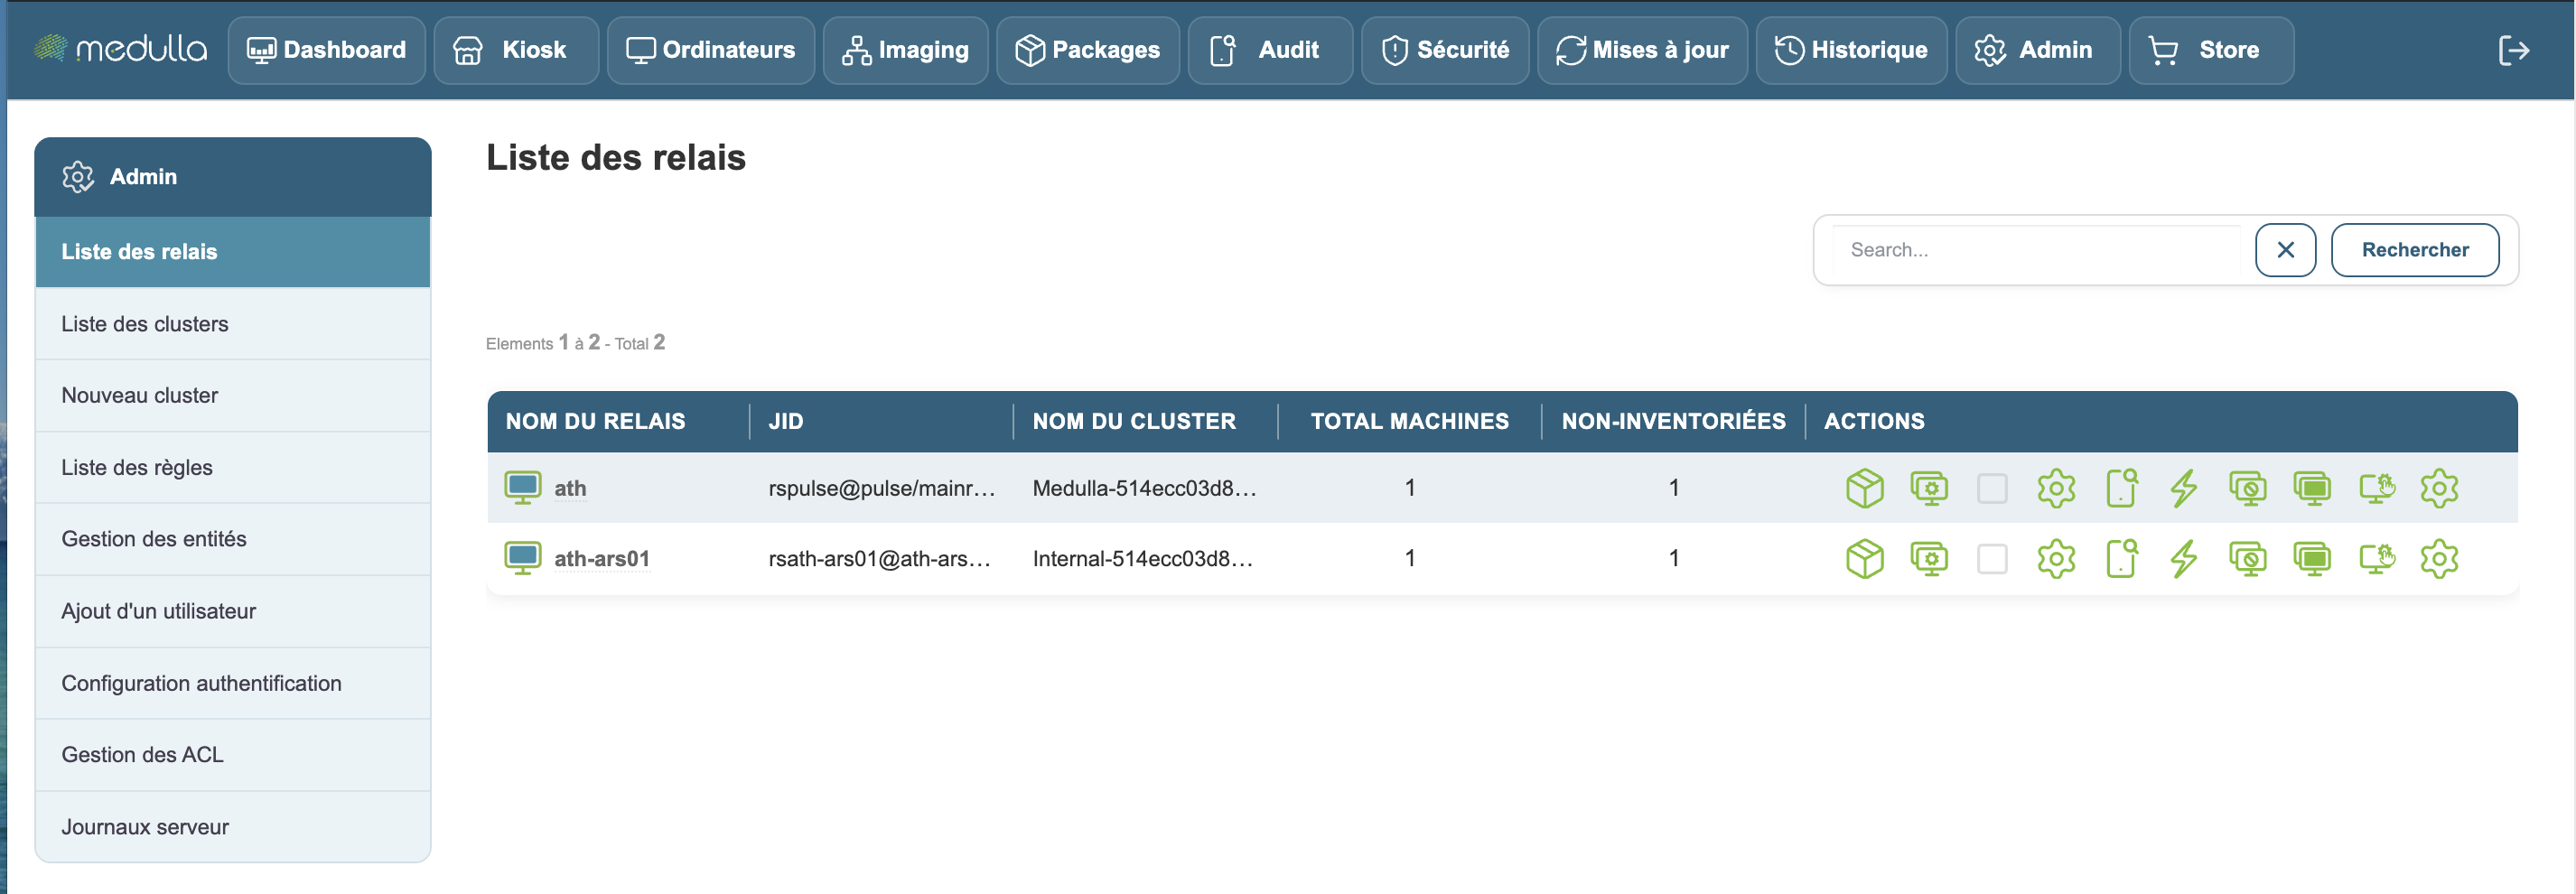
In the menu on the left side of the screen, select Entity management:
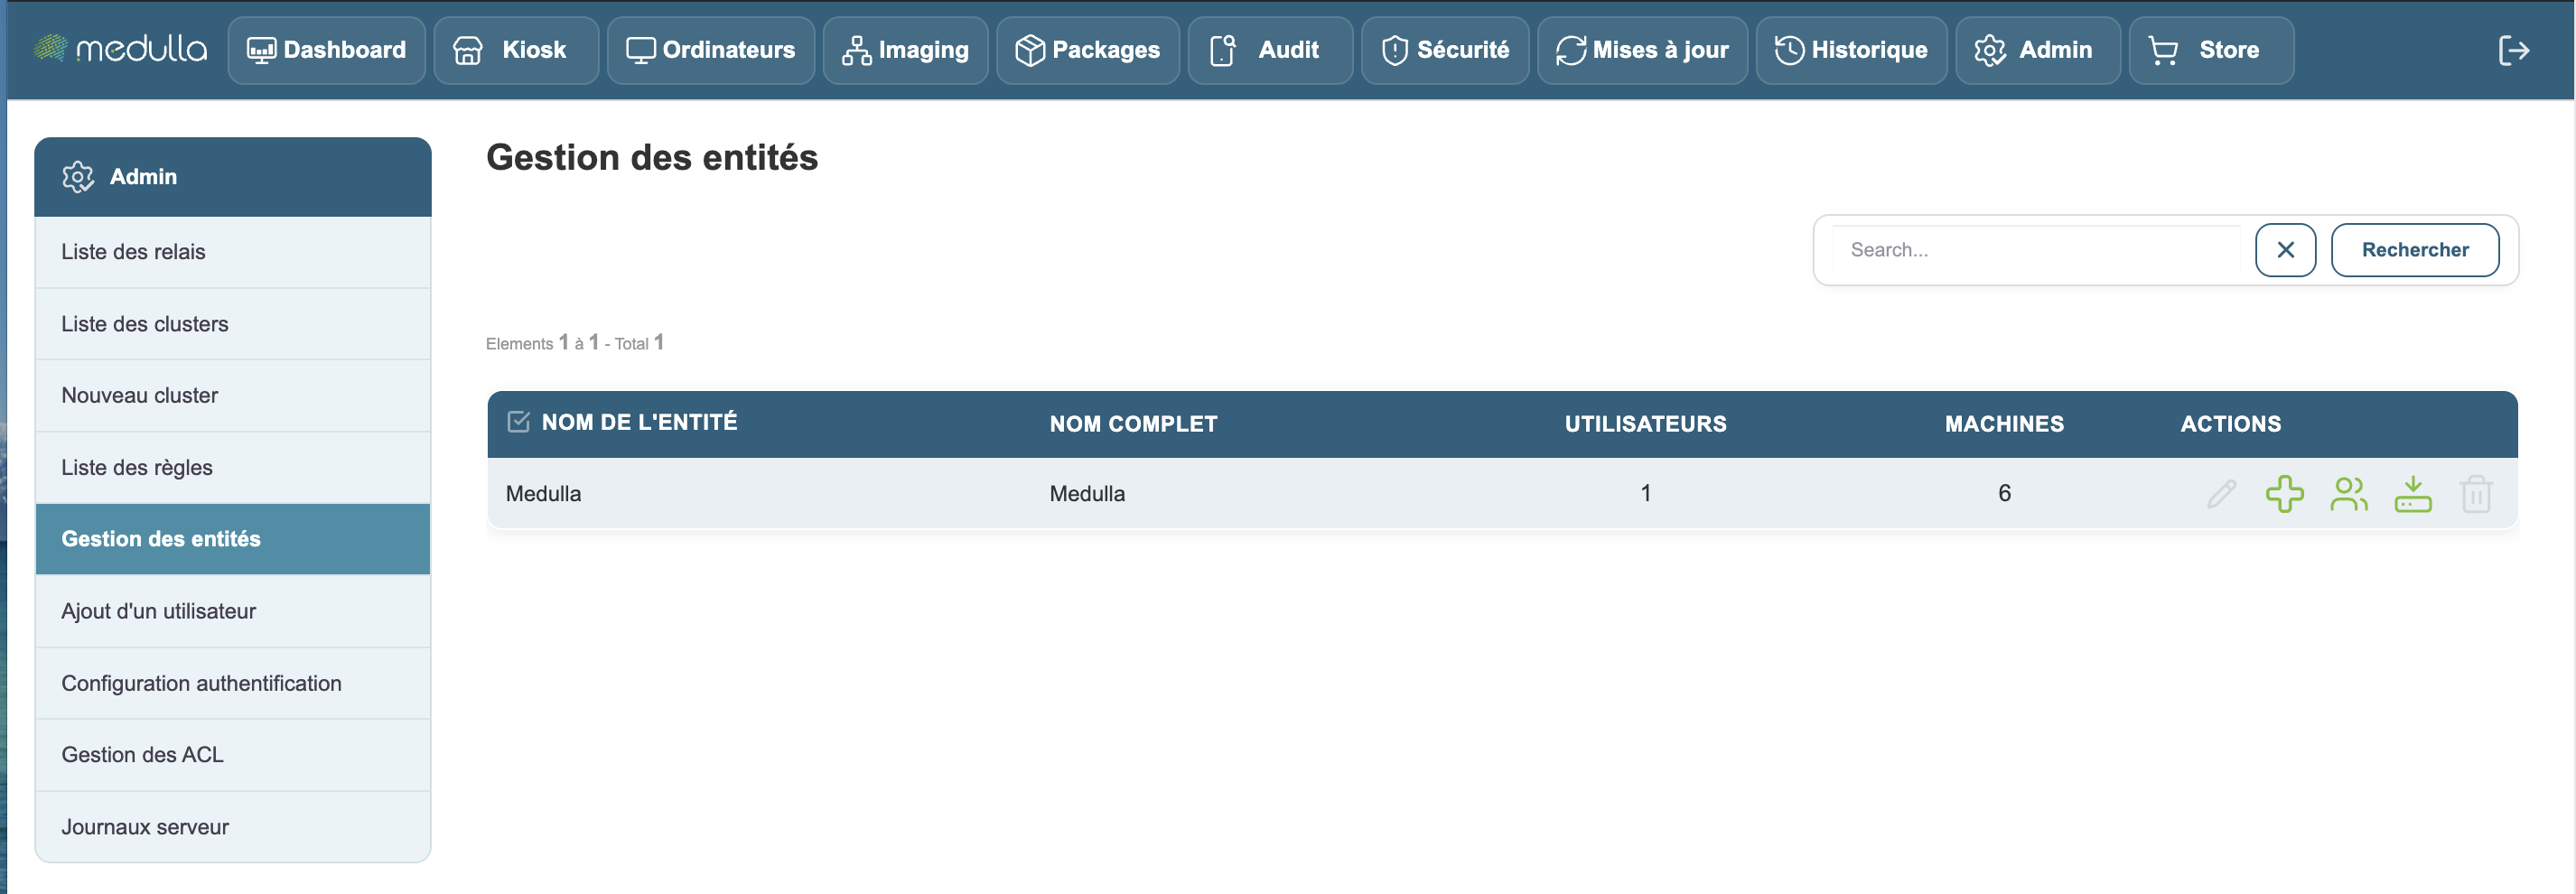
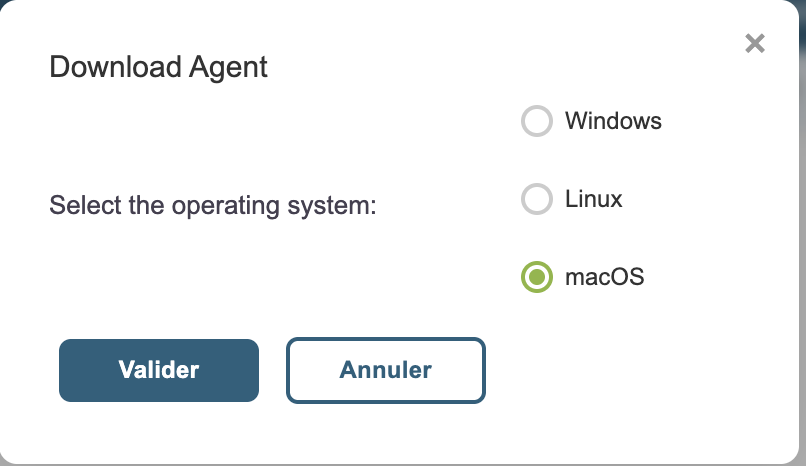
Click the download button 
Select macOS, then click Download.
Once the file has downloaded, continue the procedure starting with the “Click Allow” step below.
Installation from the Downloads folder
Starting with version 5.6.5, Medulla supports managing client workstations running macOS. It supports version 26 and later.
To install the agent on macOS, follow the steps below. In your browser, enter the following URL: https://votreserveurmedulla/downloads/mac/
Download the binary that matches your Mac’s architecture:
- Medulla-Agent-mac-x86_64-latest.pkg for Intel processors
- Medulla-Agent-mac-arm64-latest.pkg for ARM processors
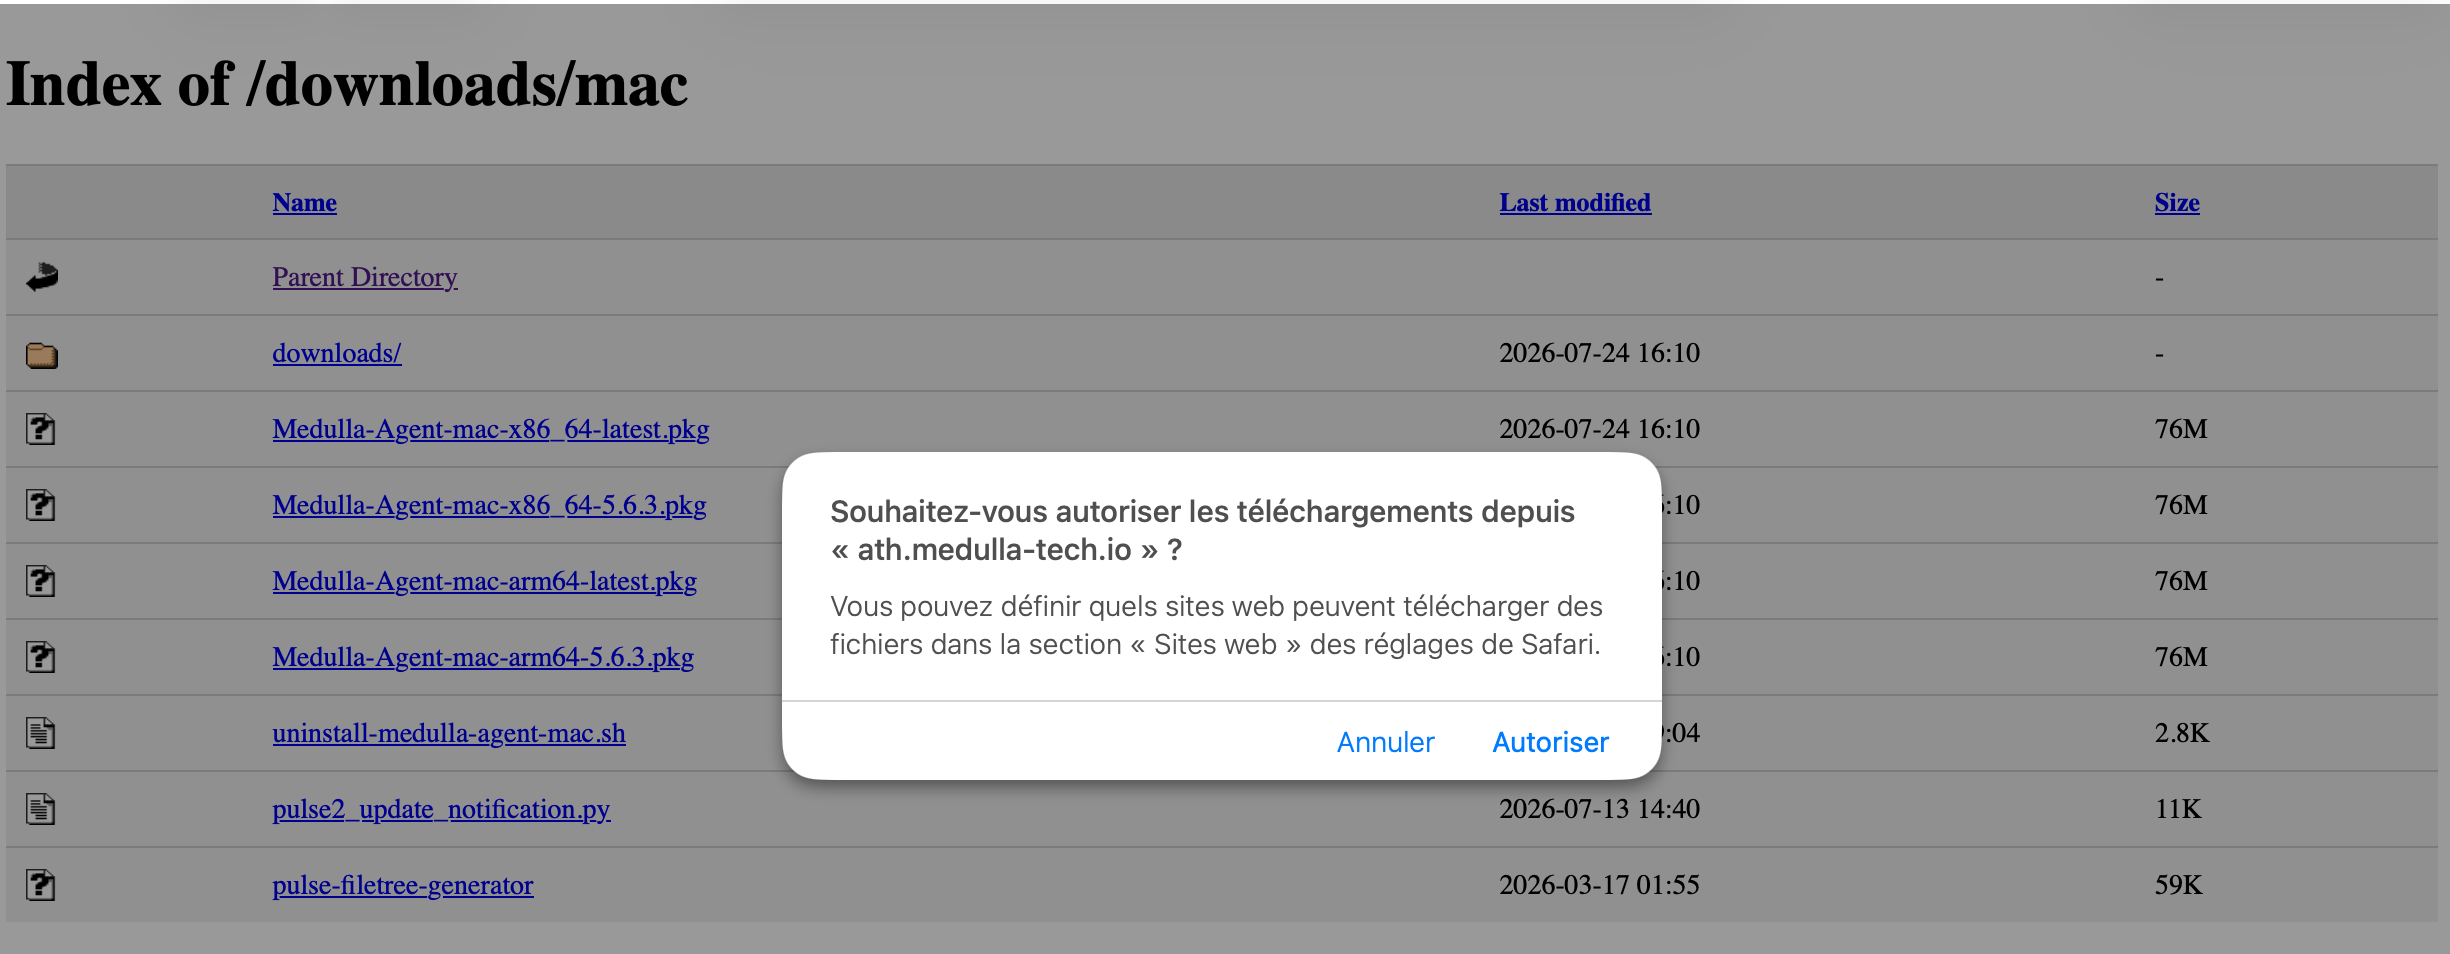
Click Allow.
Open your Downloads folder, then click on Medulla-Agent-mac-arm64-latest.pkg:

When you open the file, macOS’s security system blocks the installation from starting:
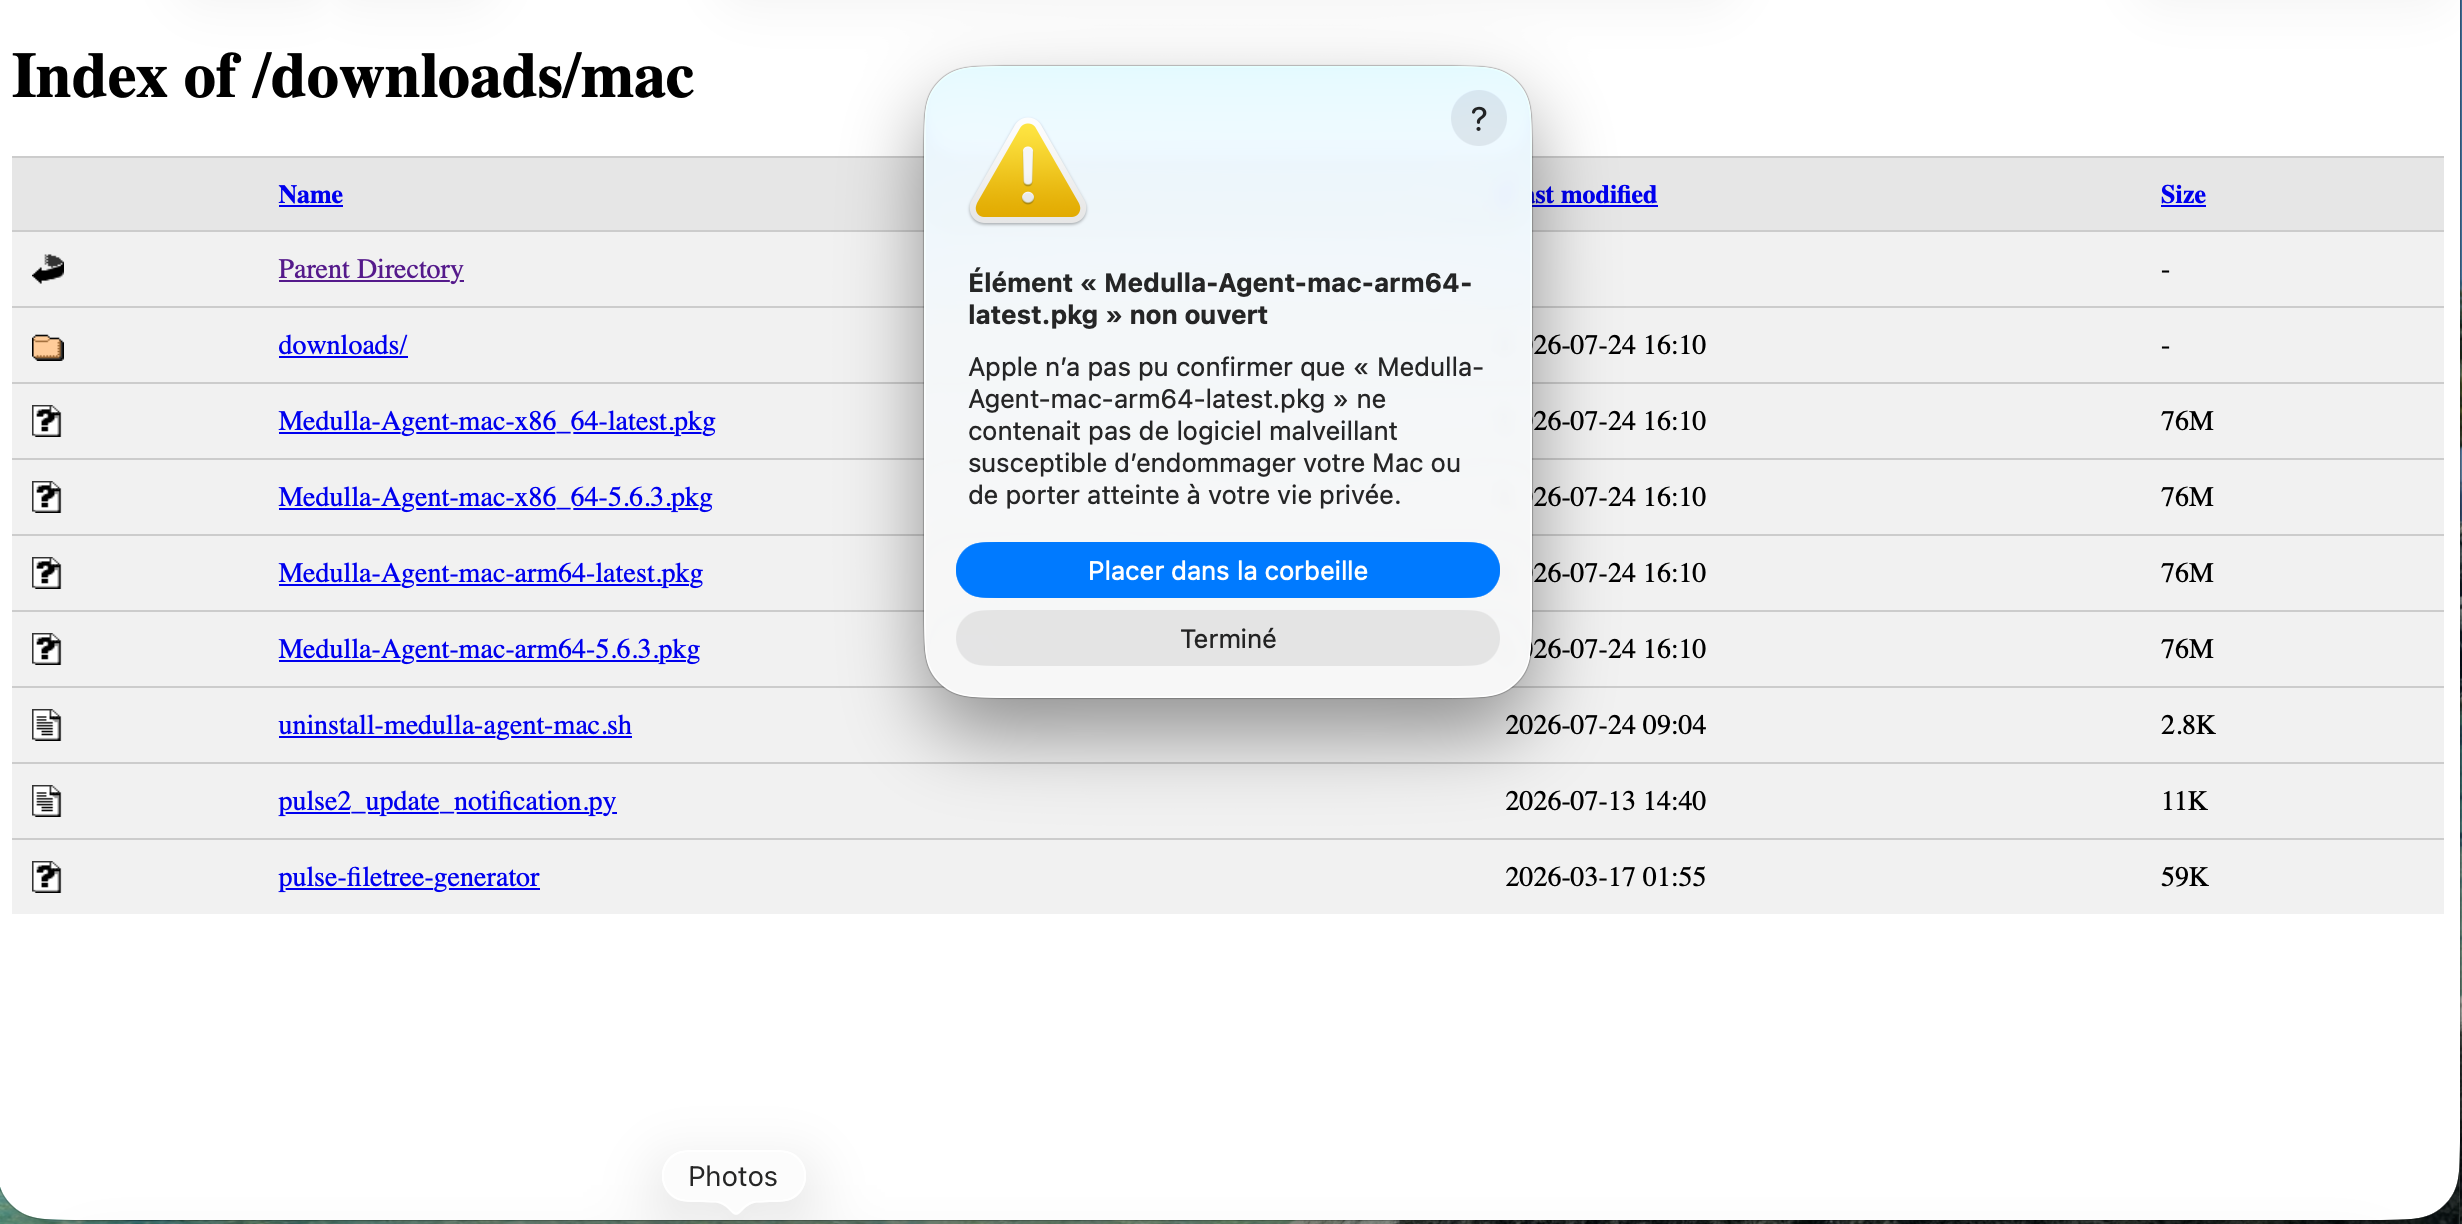
Click Done, then open System Settings on your Mac.
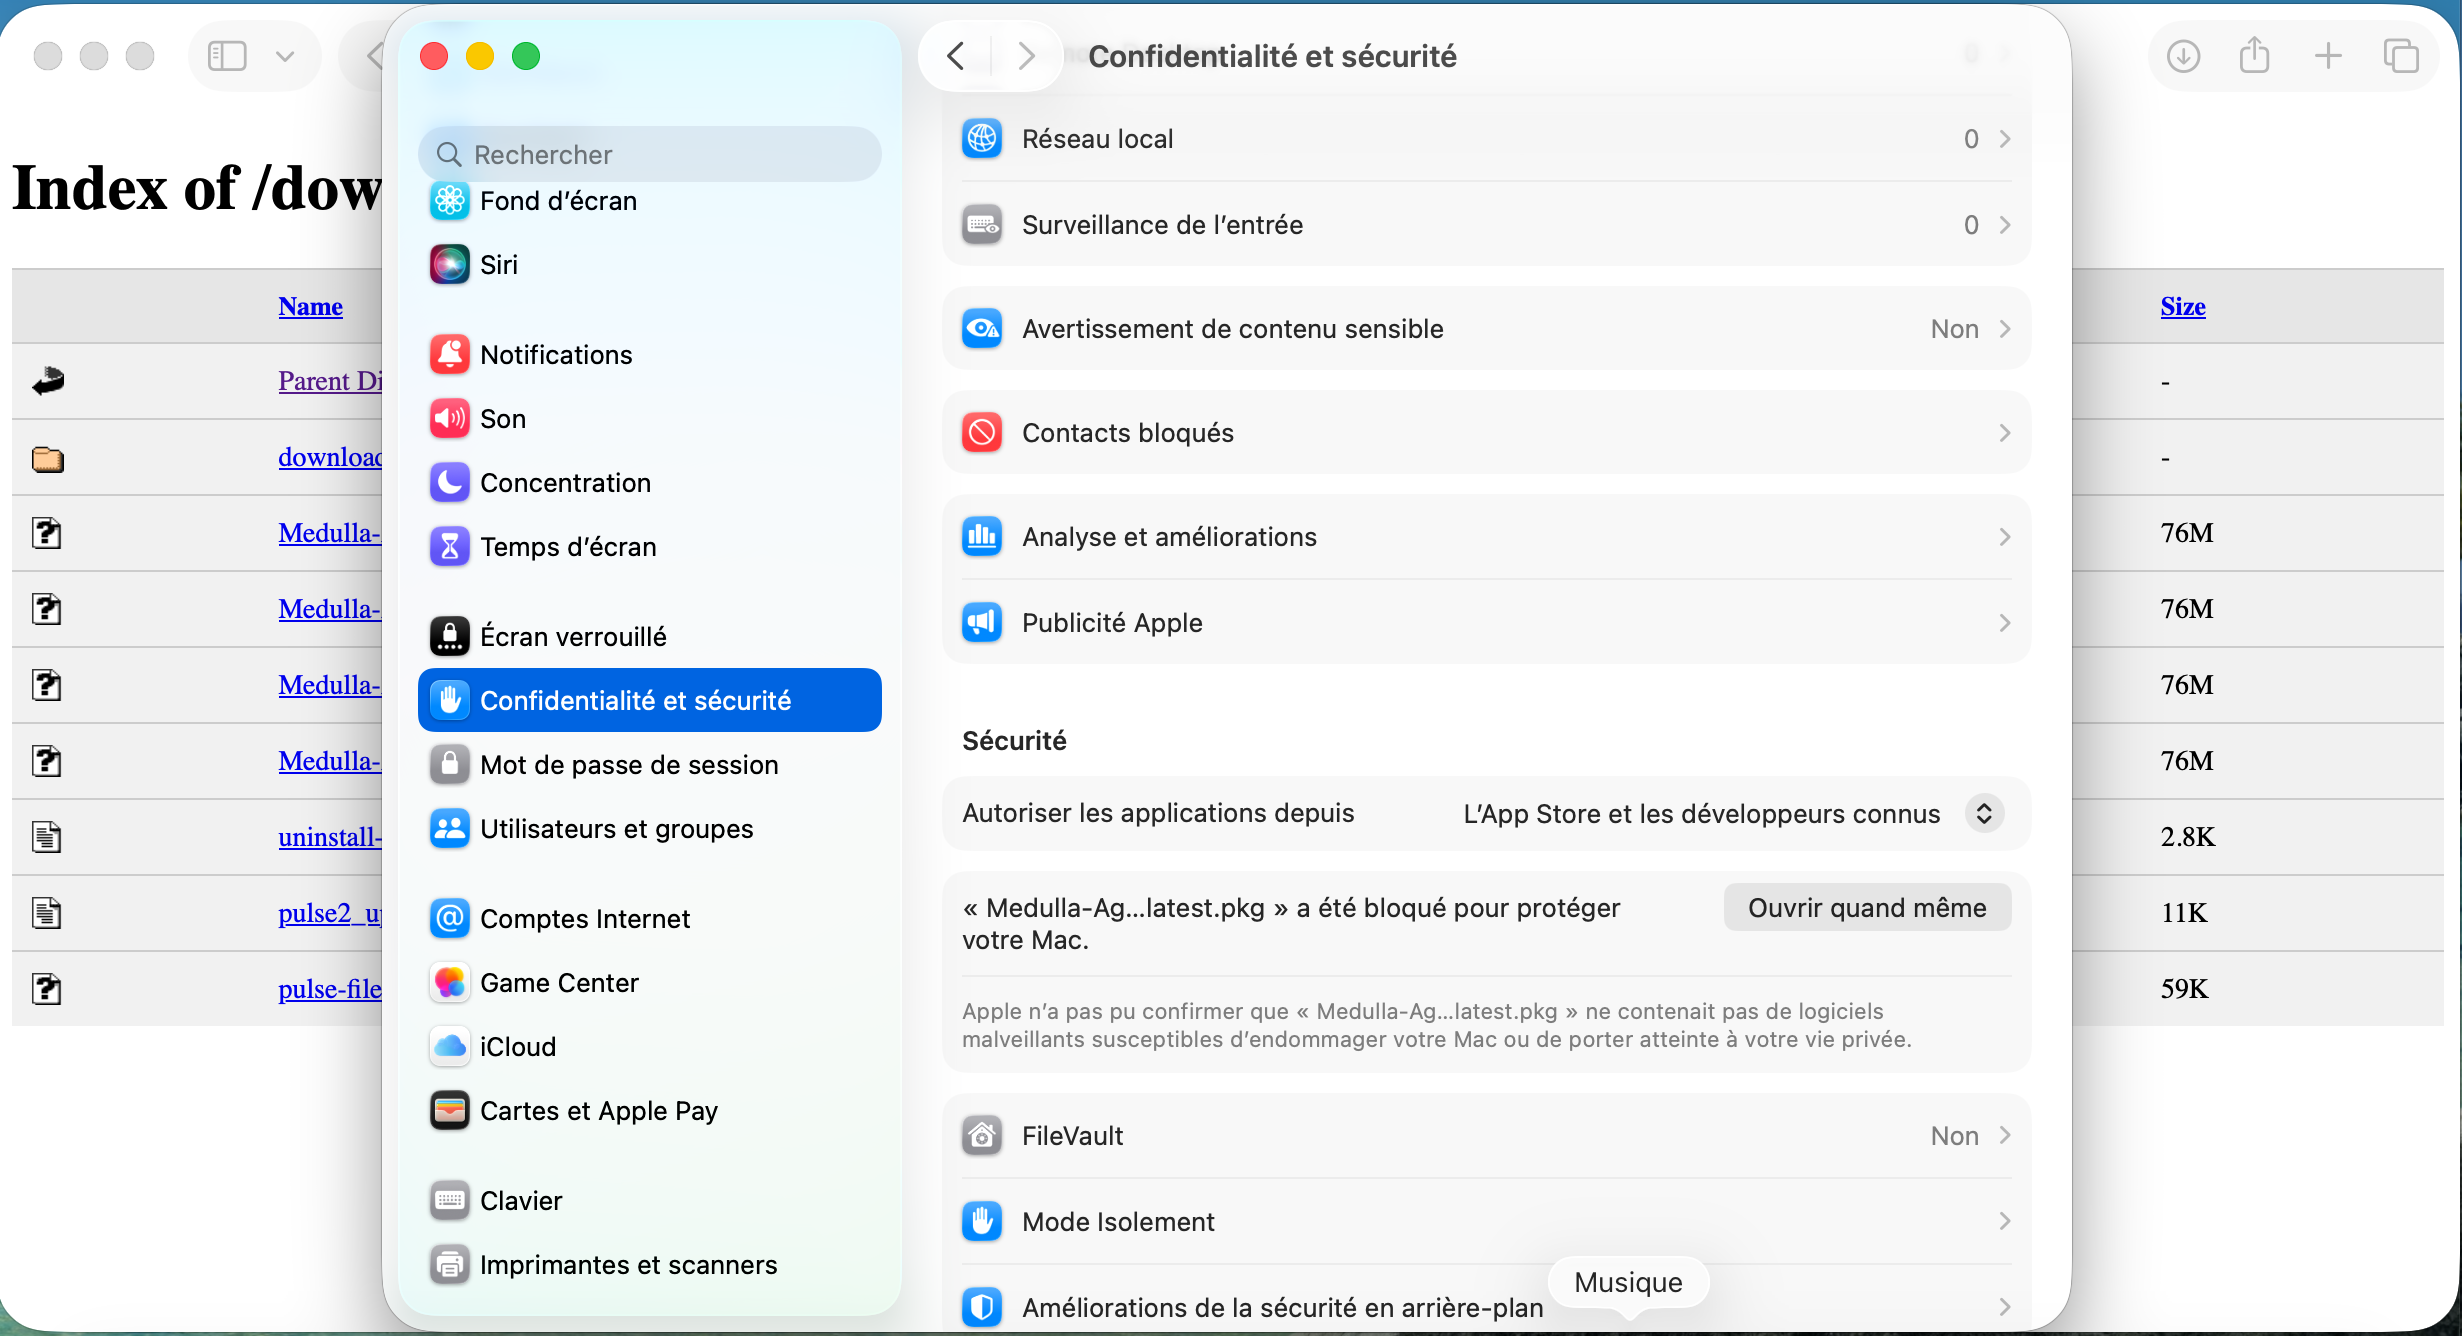
Scroll down to the Security section, then click Open Anyway.
The program reopens, and a pop-up window displays an additional option:
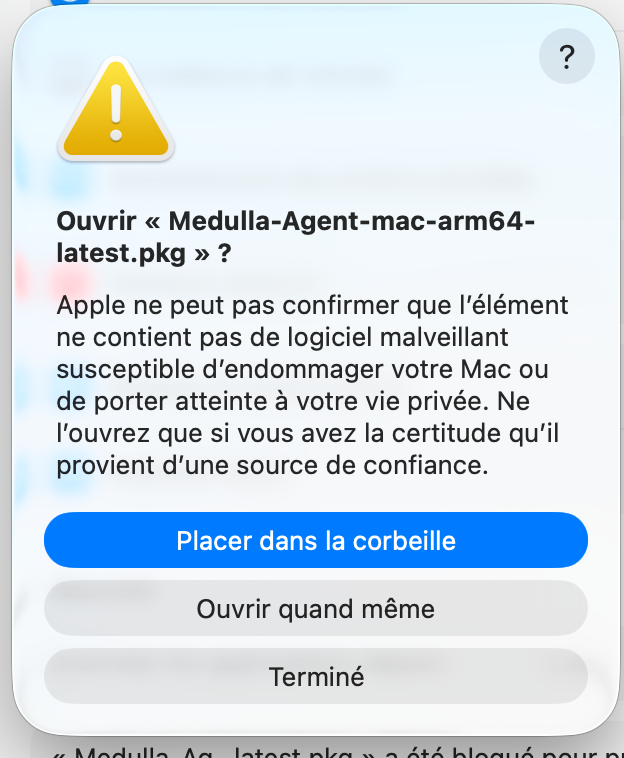
Click Open Anyway.
A password prompt appears. Enter your user account password, then click OK.
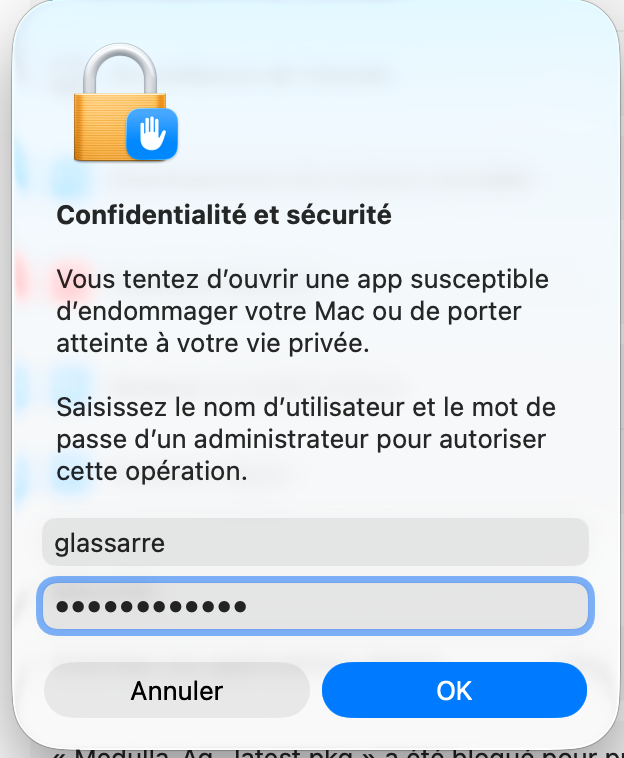
The Medulla installer will appear. Click Continue:
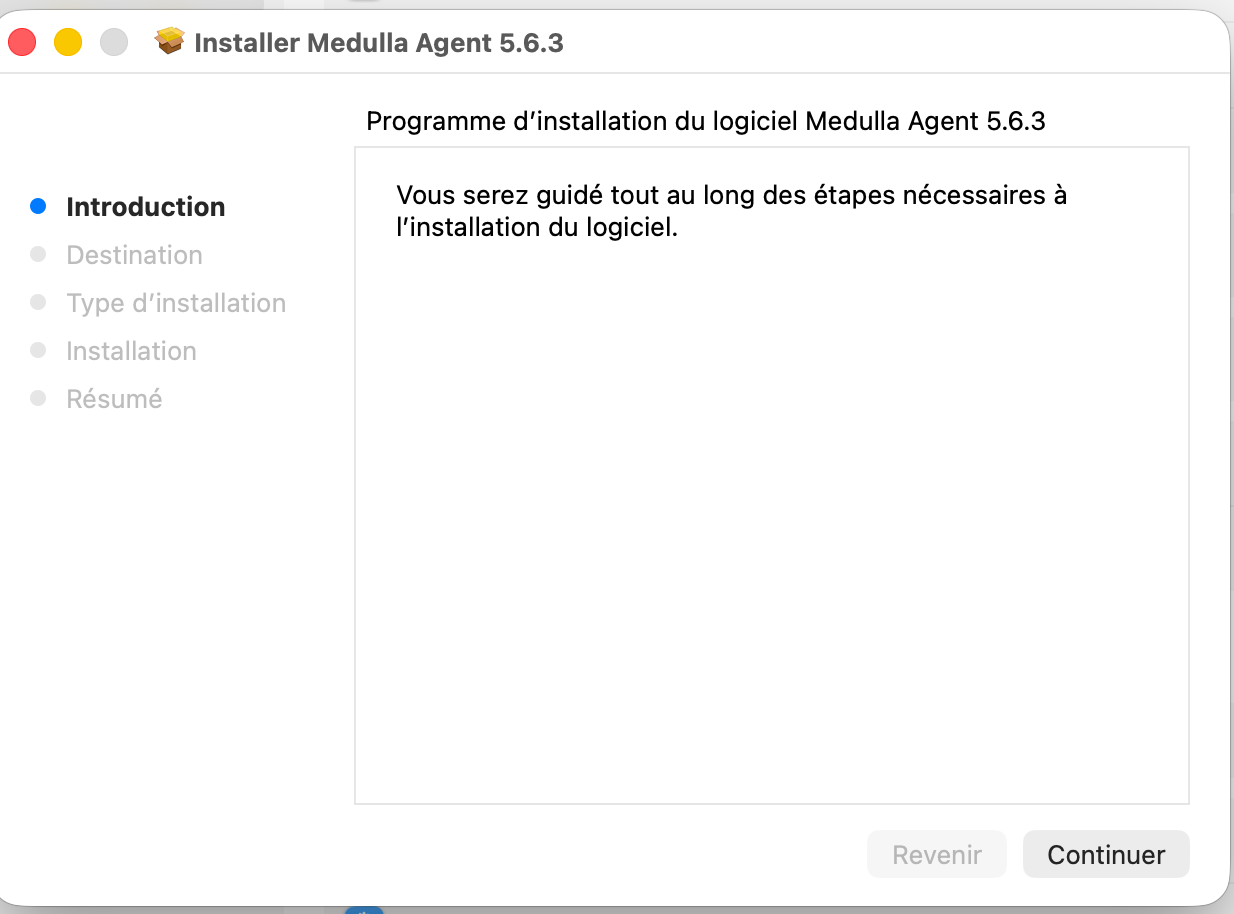
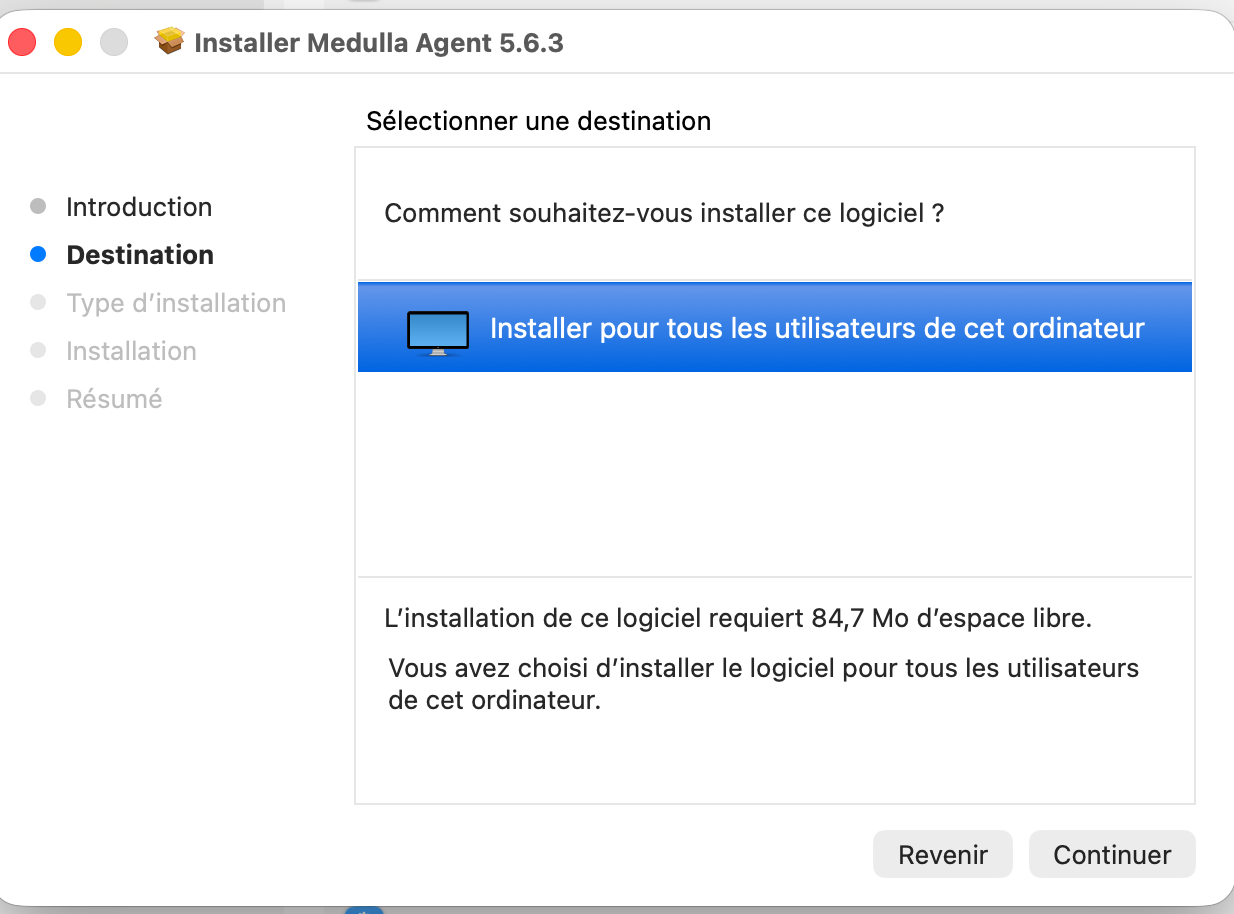
Keep the default installation location, then click Continue.
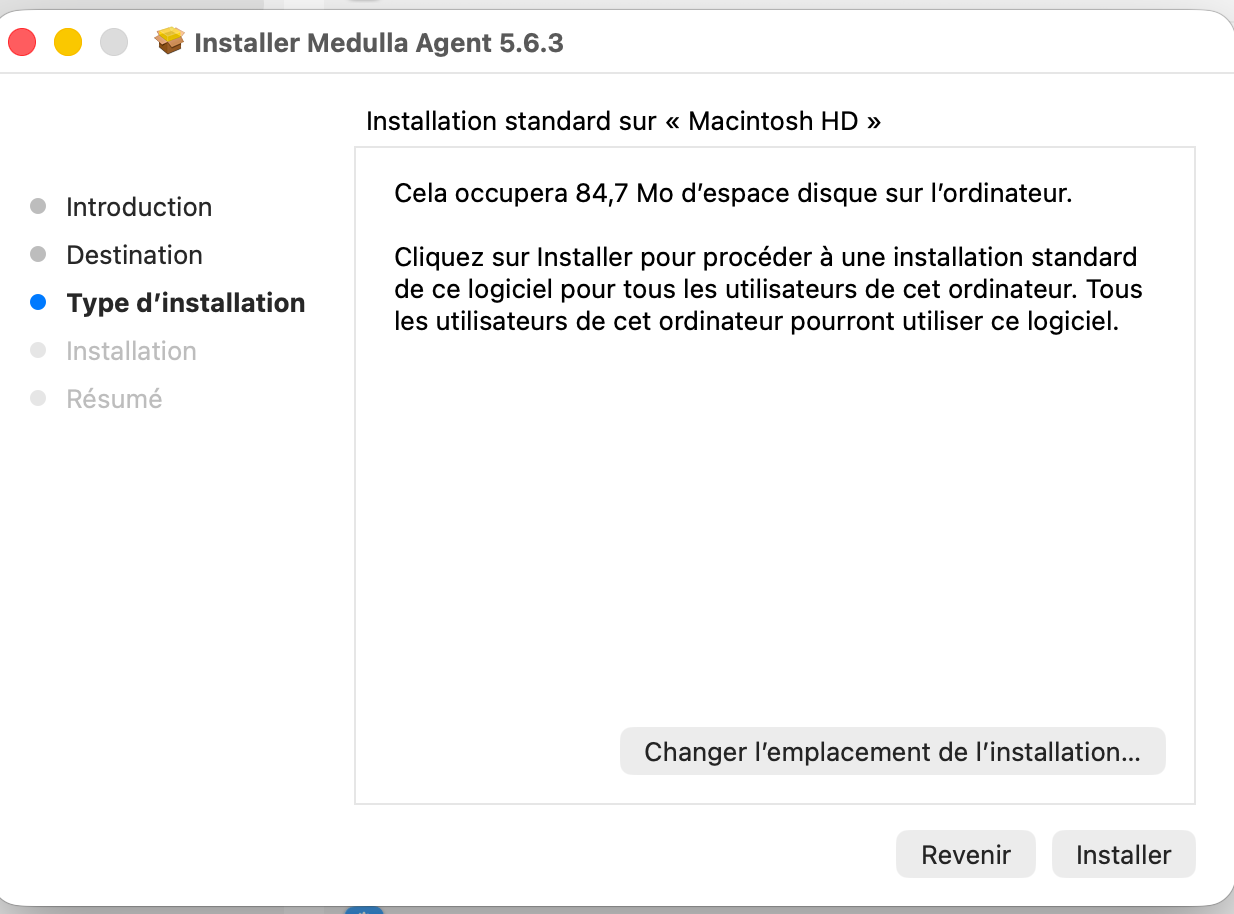
In the next window, keep the default options, then click Install.
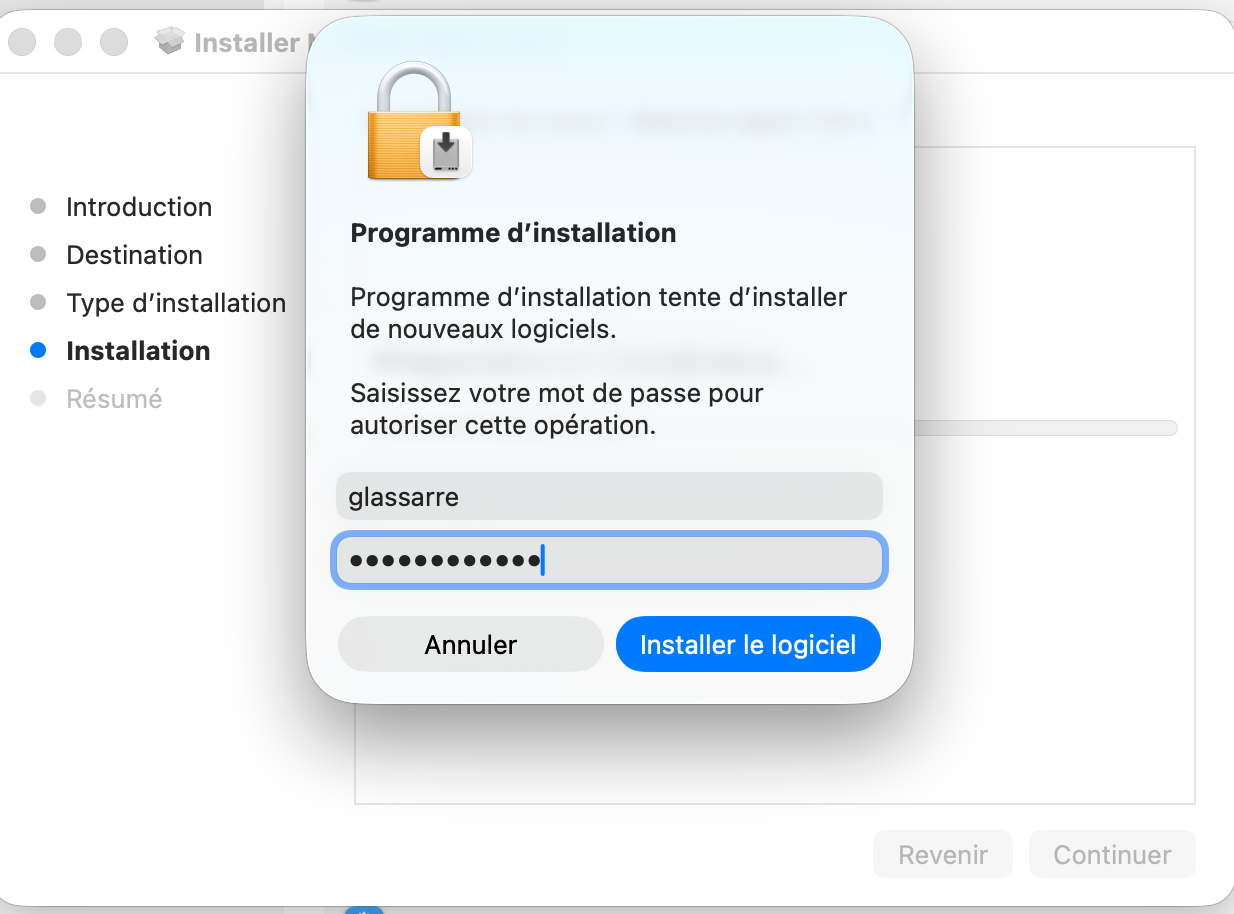
A second password prompt appears. Enter your password, then click Install Software.
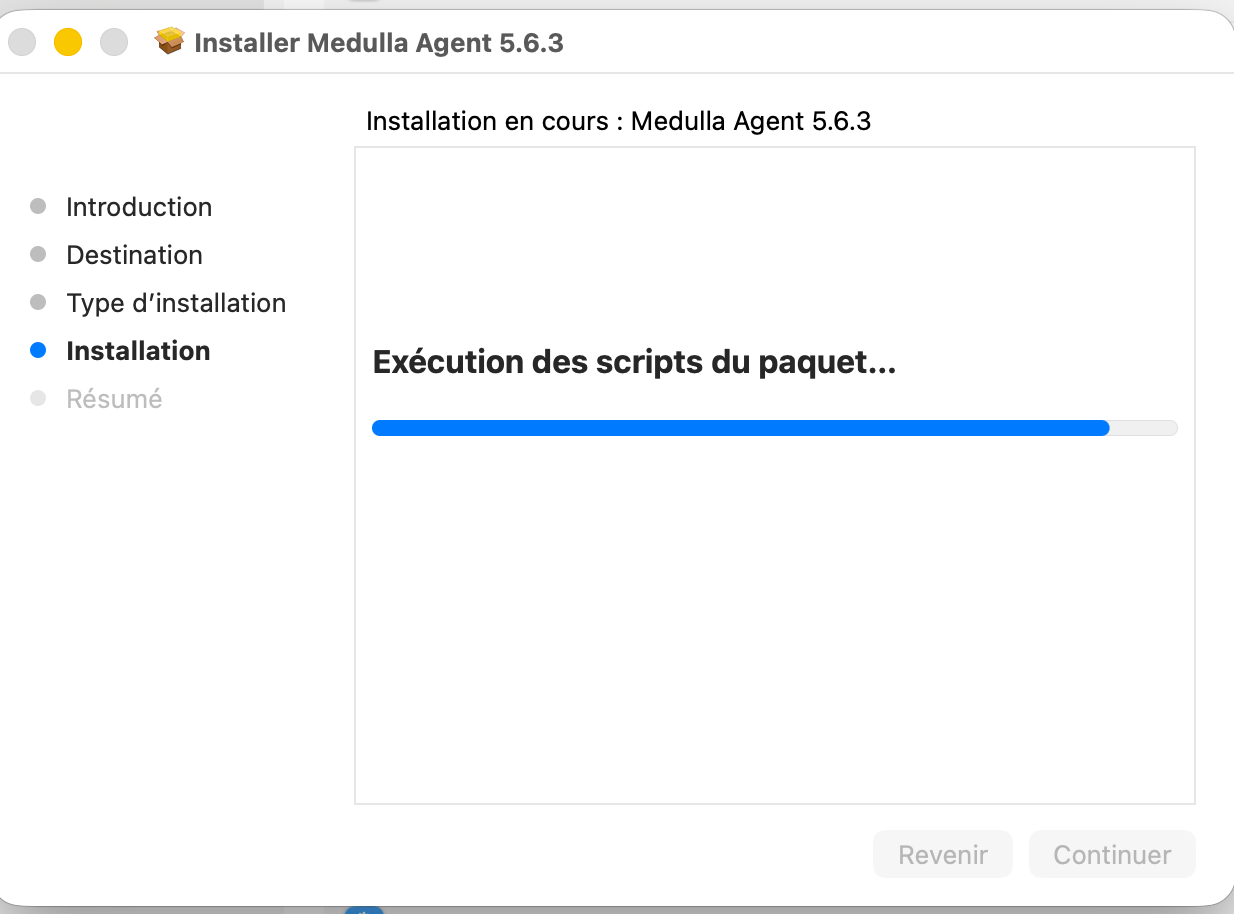
The installation continues and installs Medulla along with the necessary prerequisites:
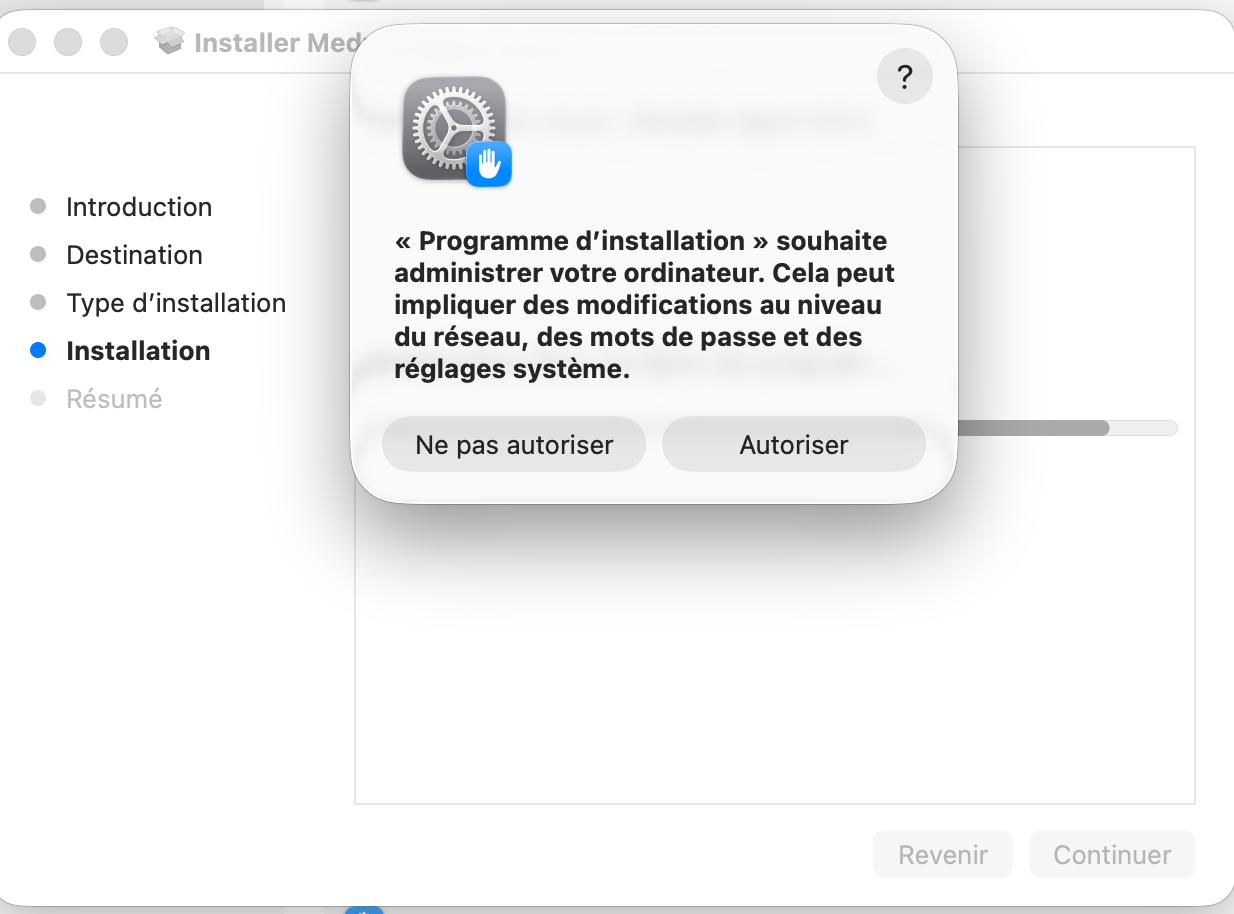
A pop-up window asks you to allow the program to administer your Mac. Click Allow.
A new icon appears in the Dock:
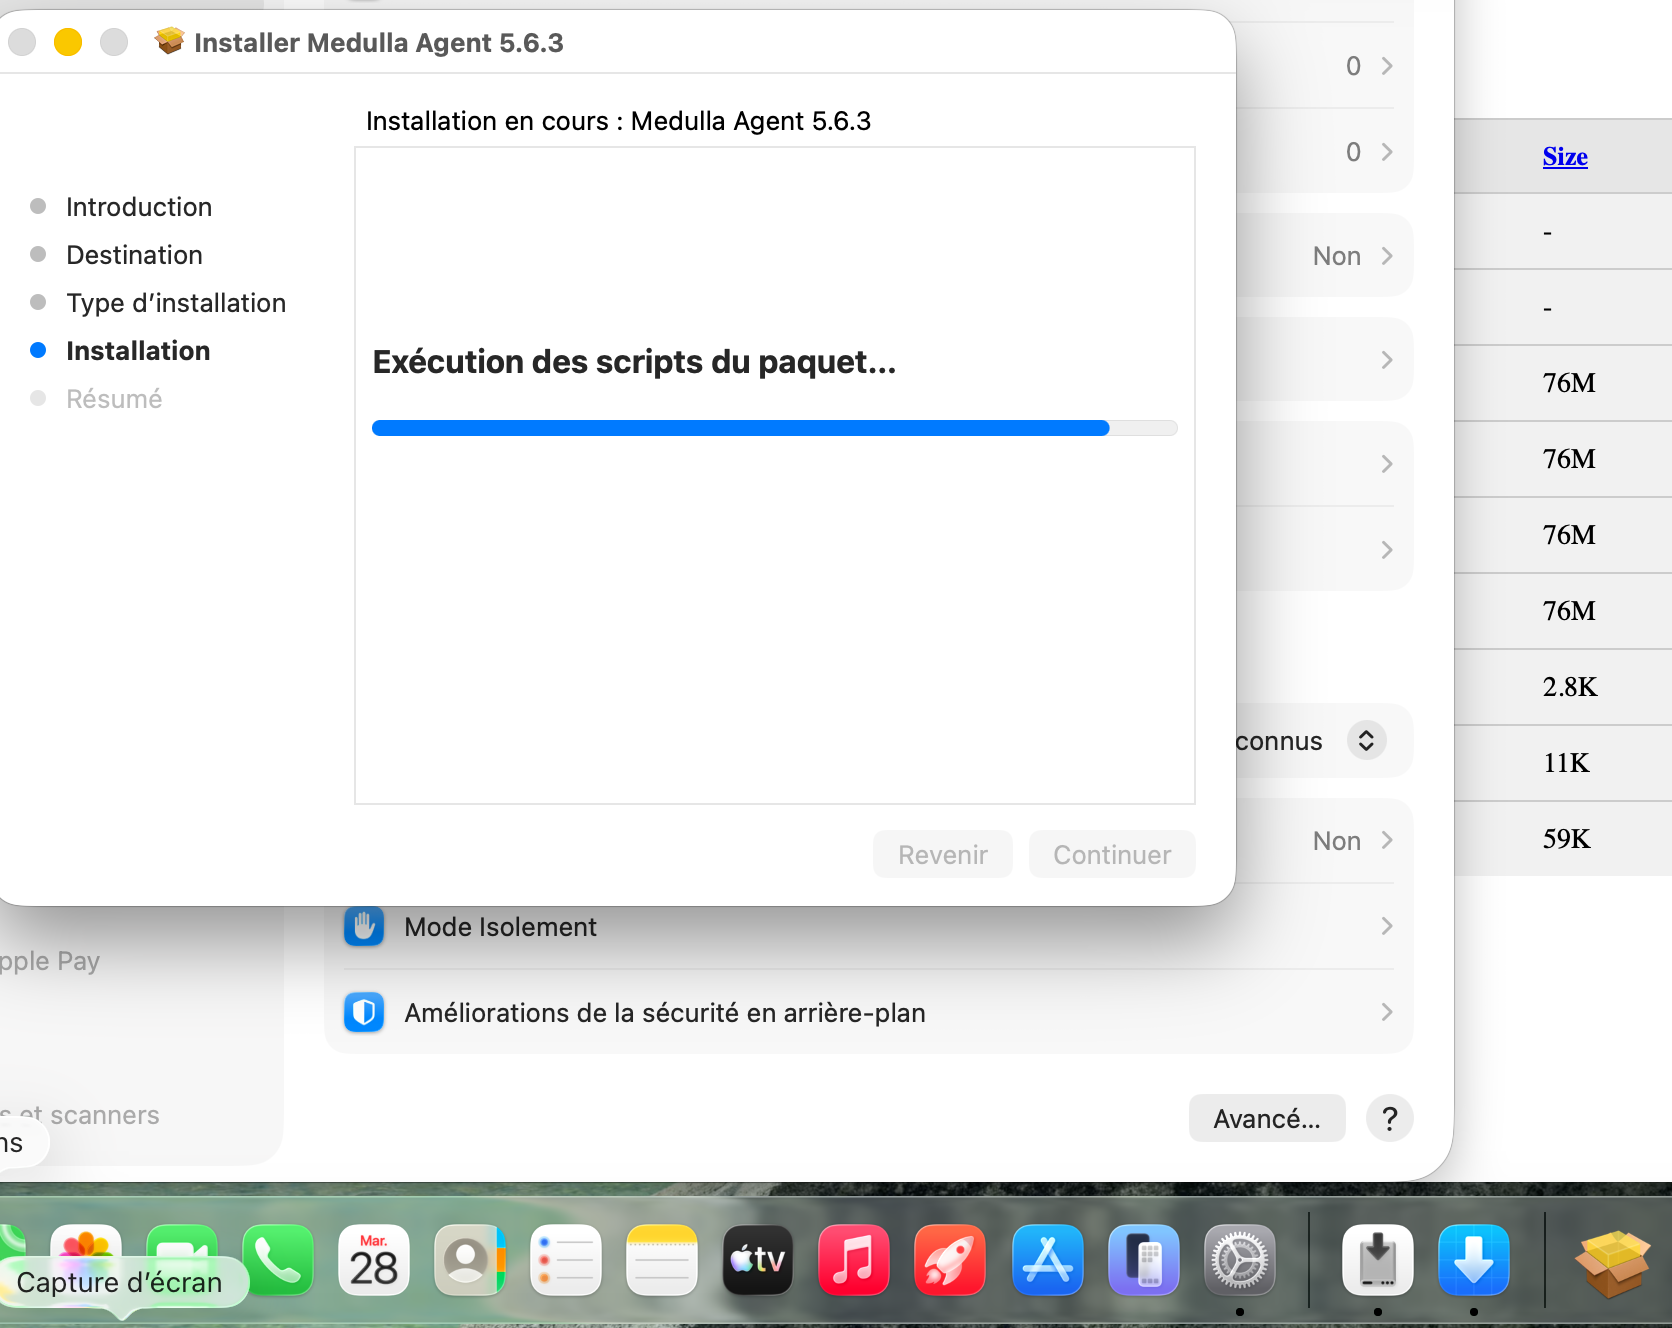
Click the icon. 
A pop-up window appears. Click Install.
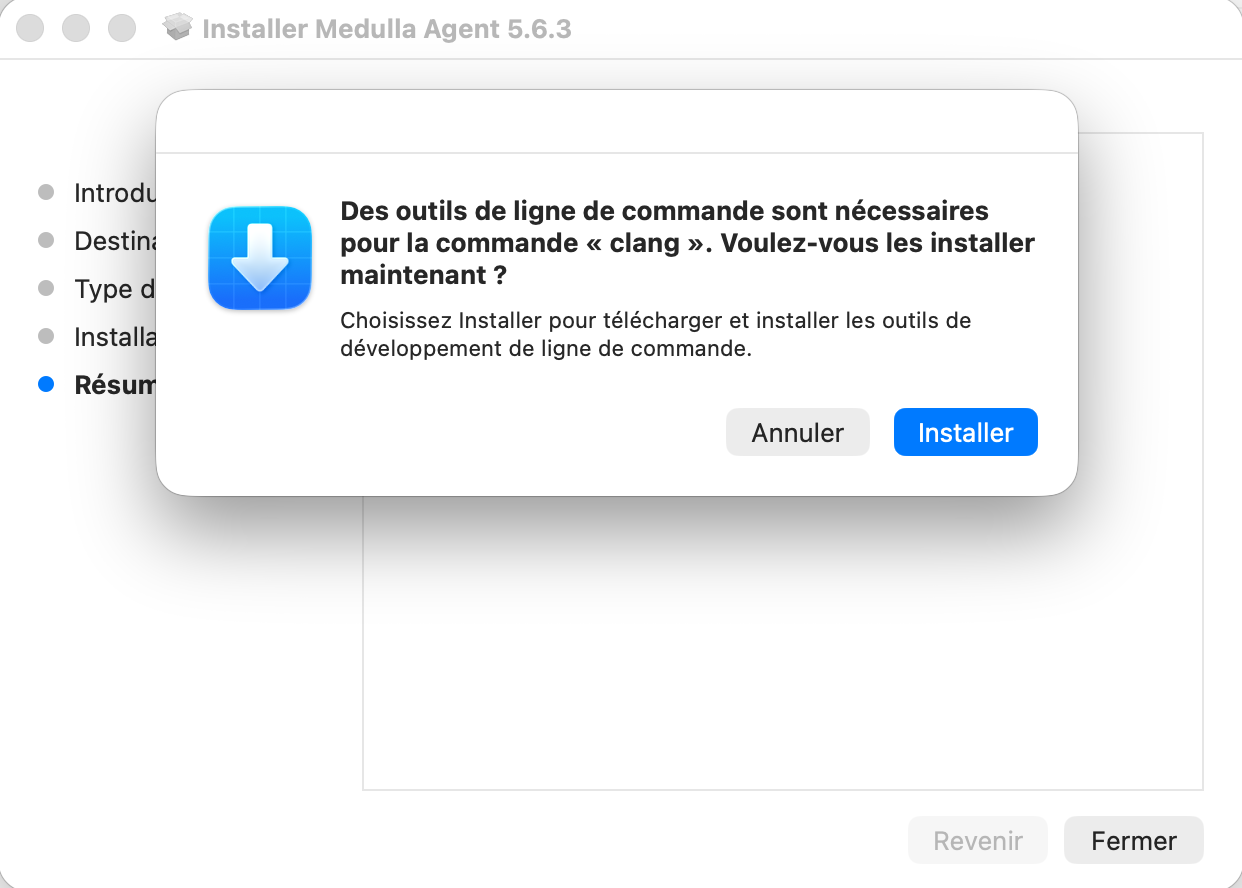
Accept the Apple license agreement:
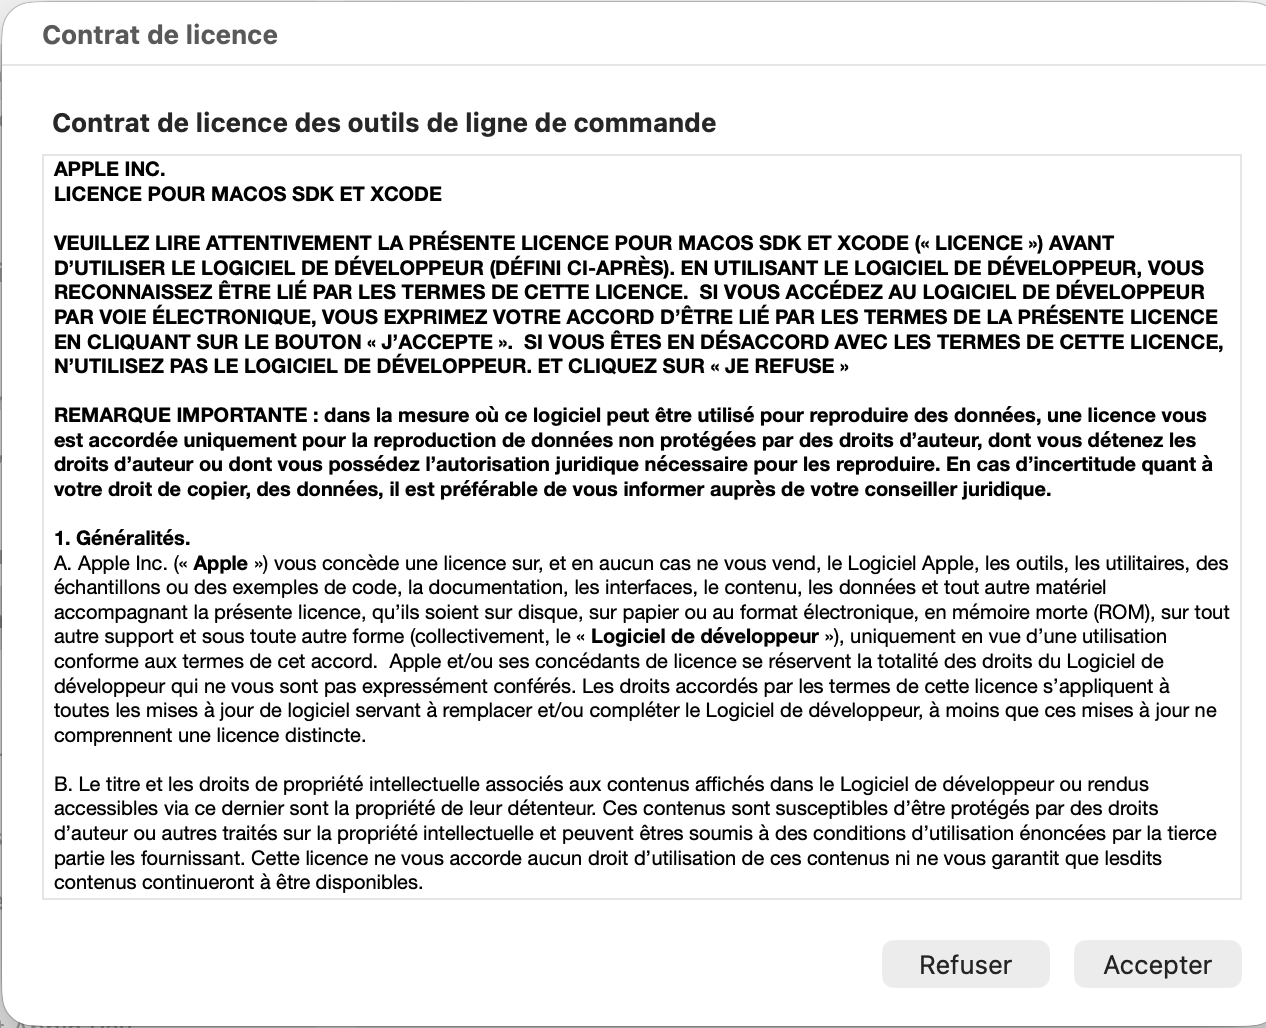
The program downloads and installs the necessary components:
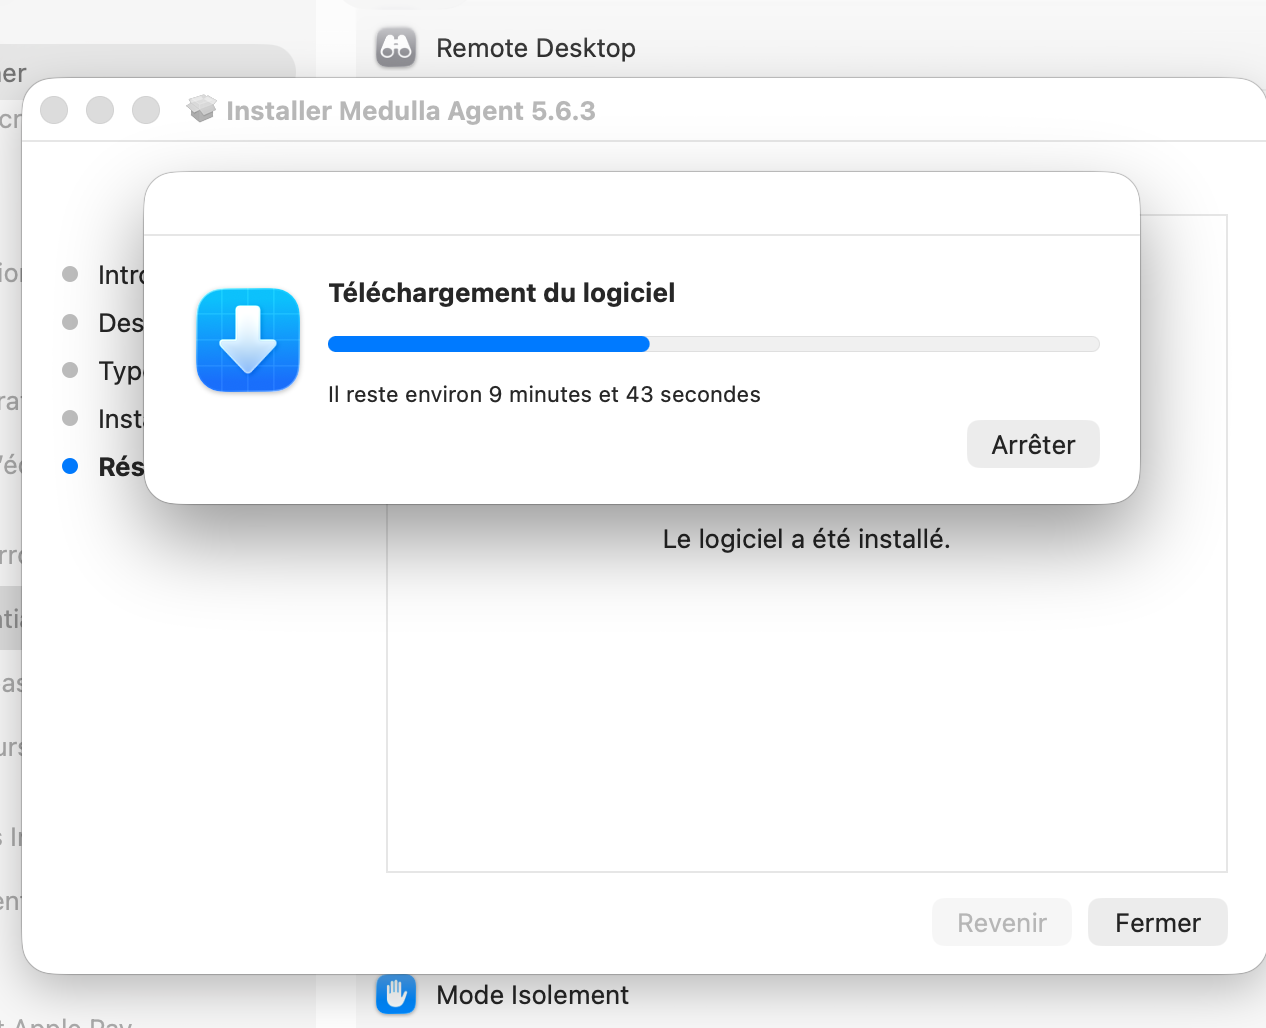
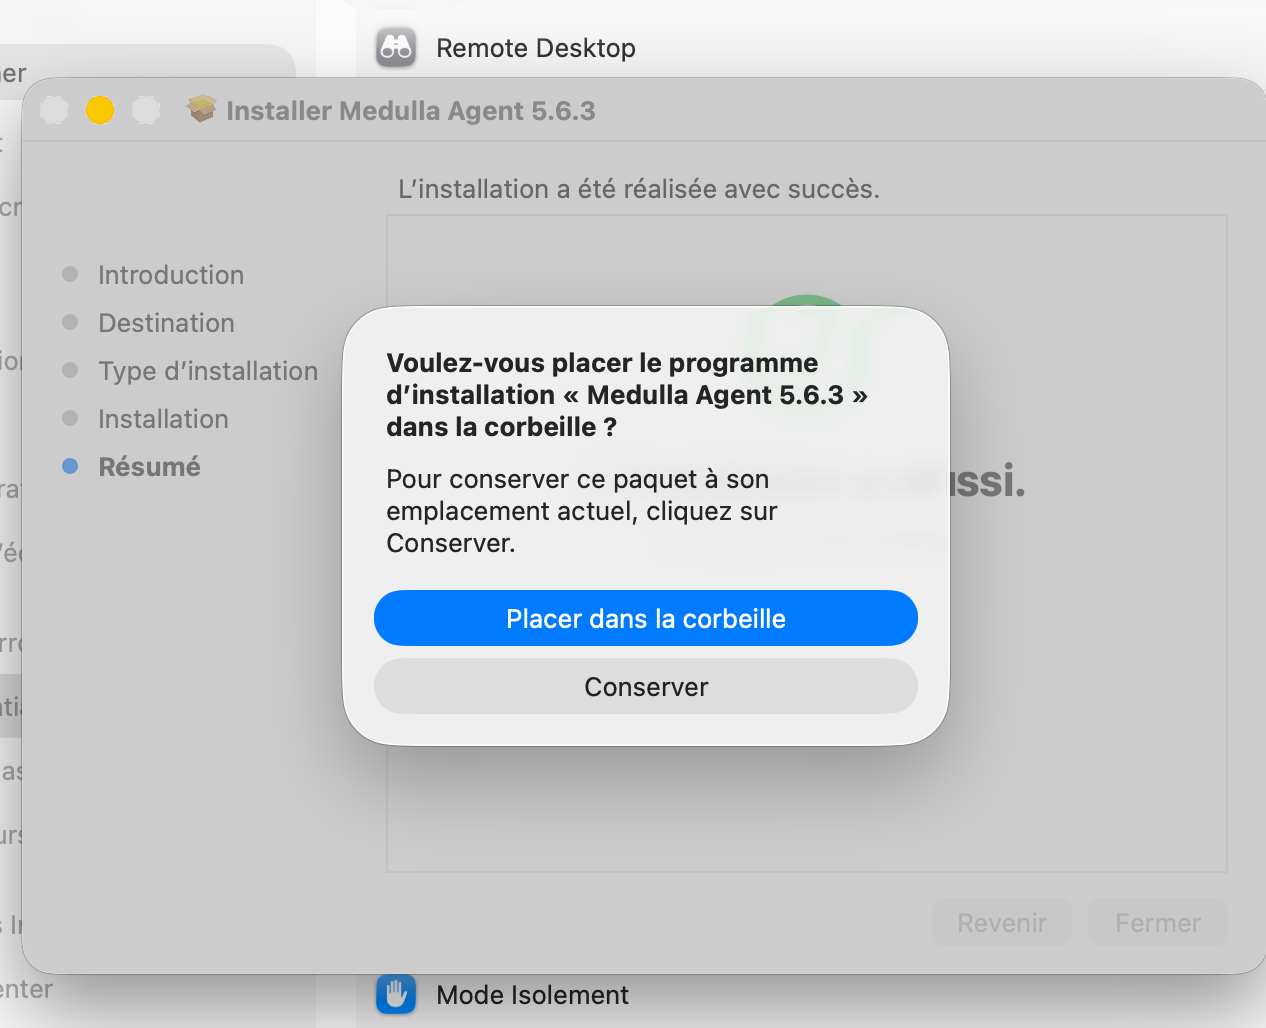
Once the installation is complete, return to the Medulla installer and click Close. The system will then ask you whether you want to move the installer to the Trash or keep it.
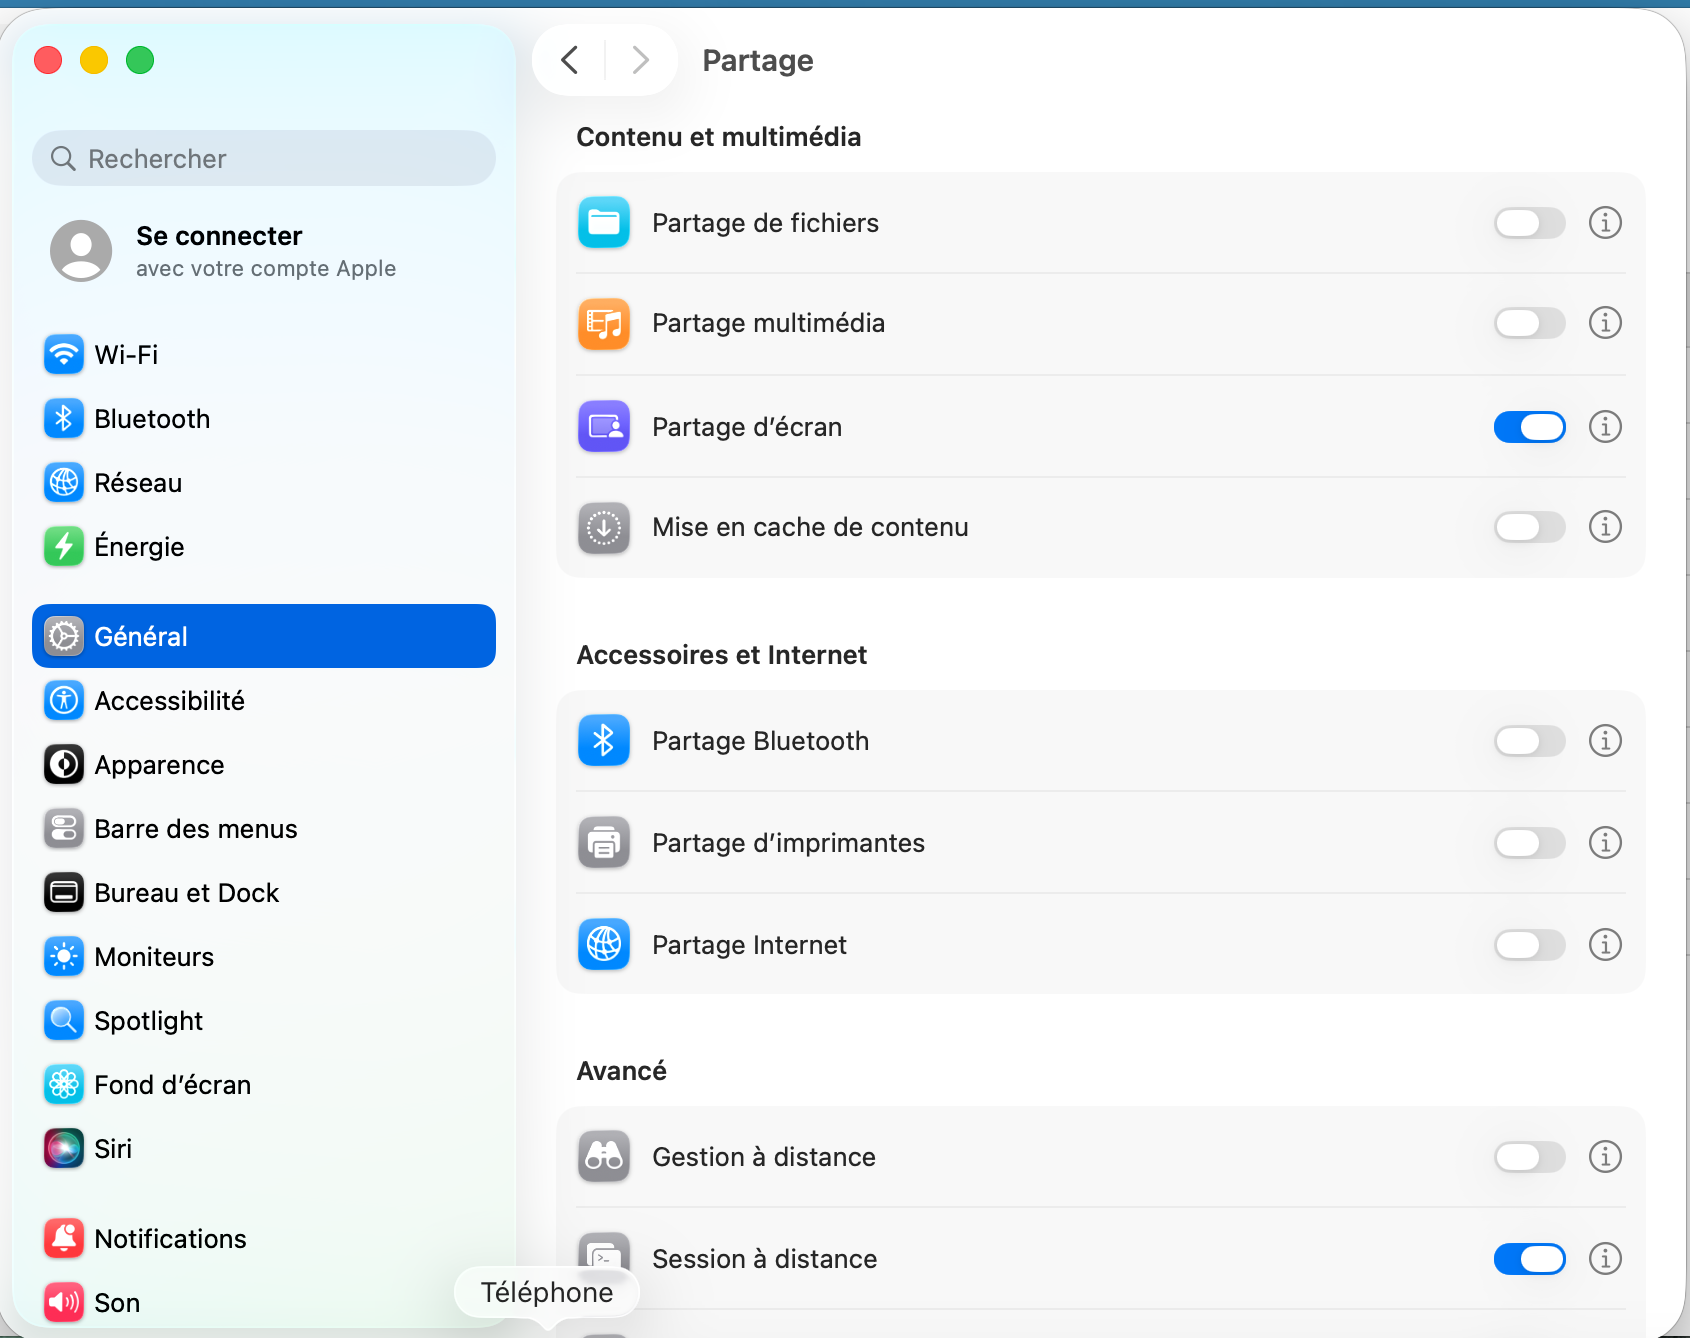
Go back to System Settings on your Mac. In the General menu, click the Sharing submenu:
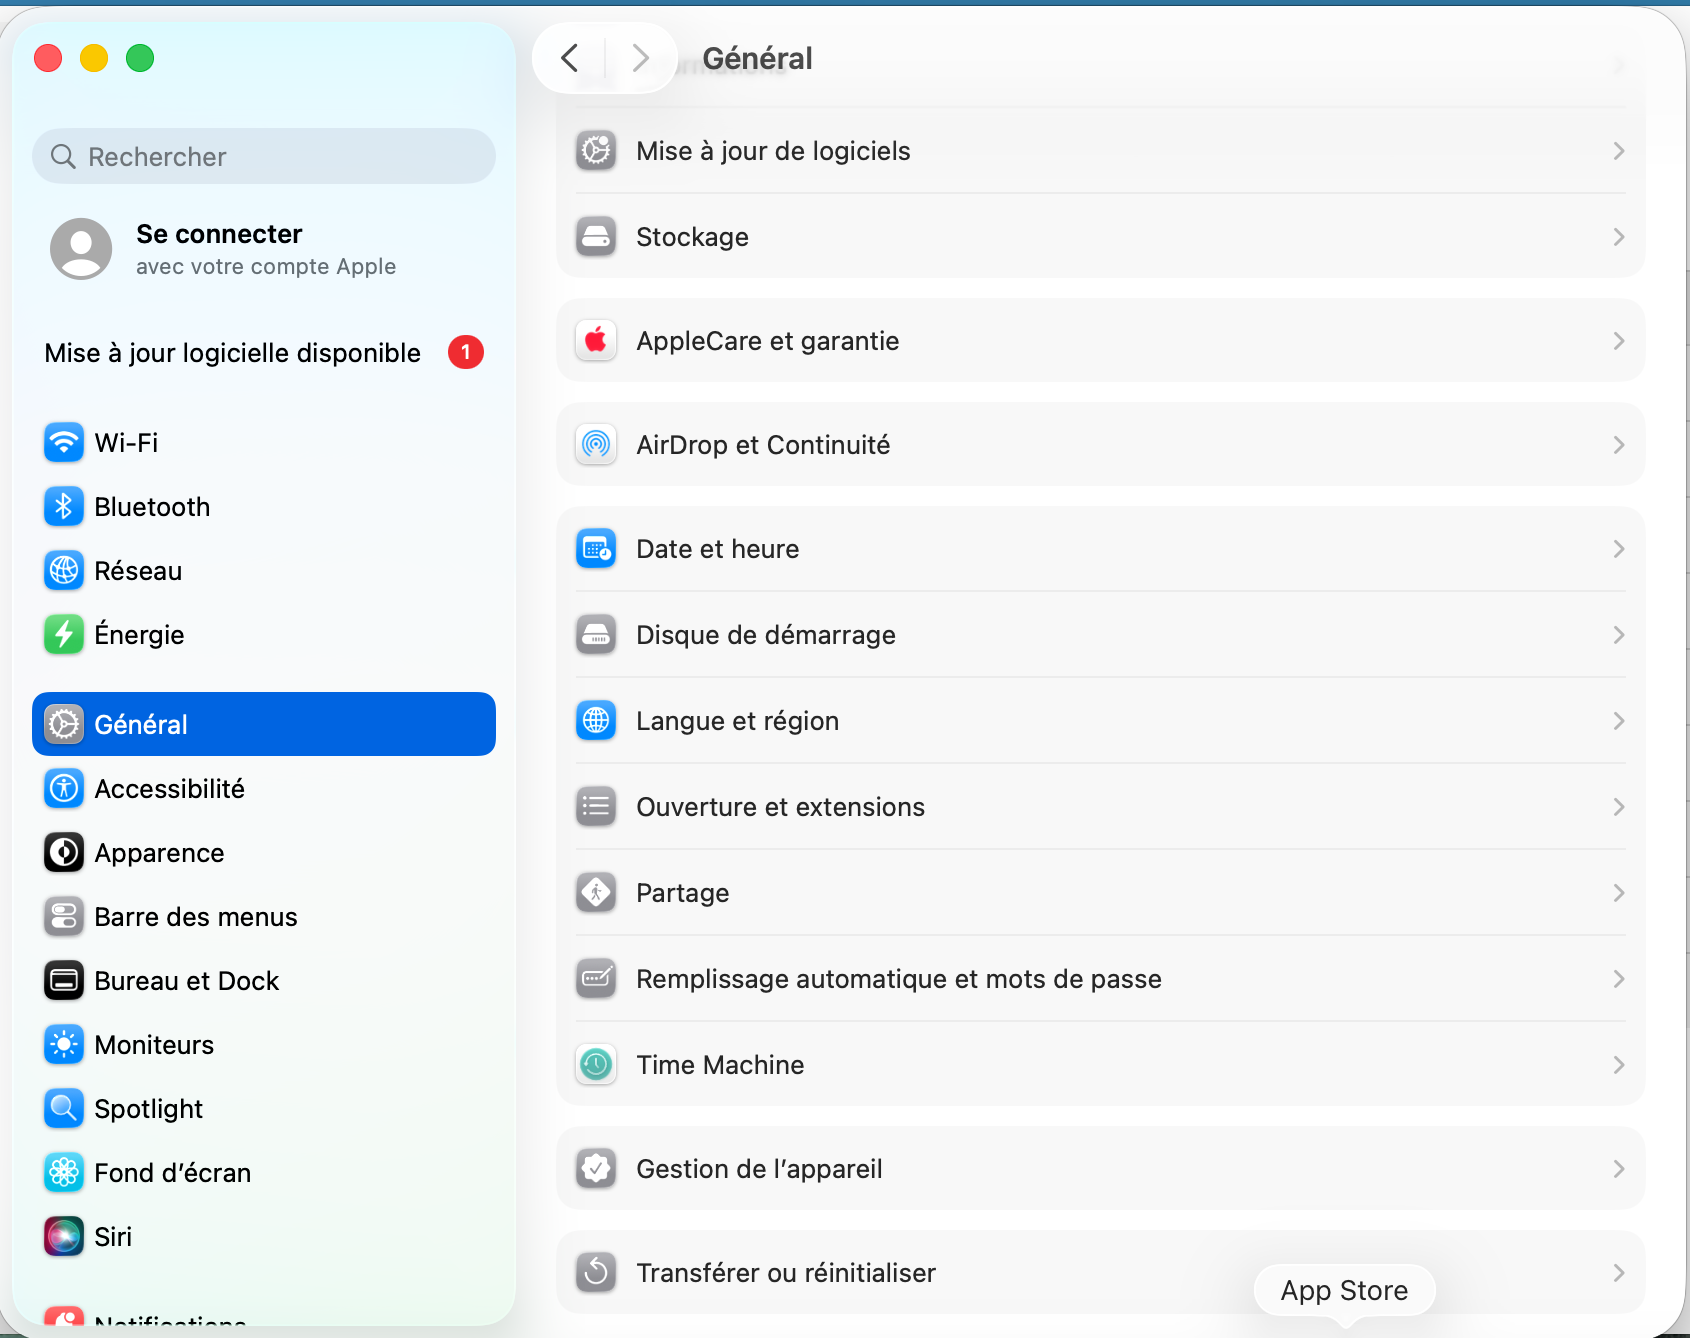
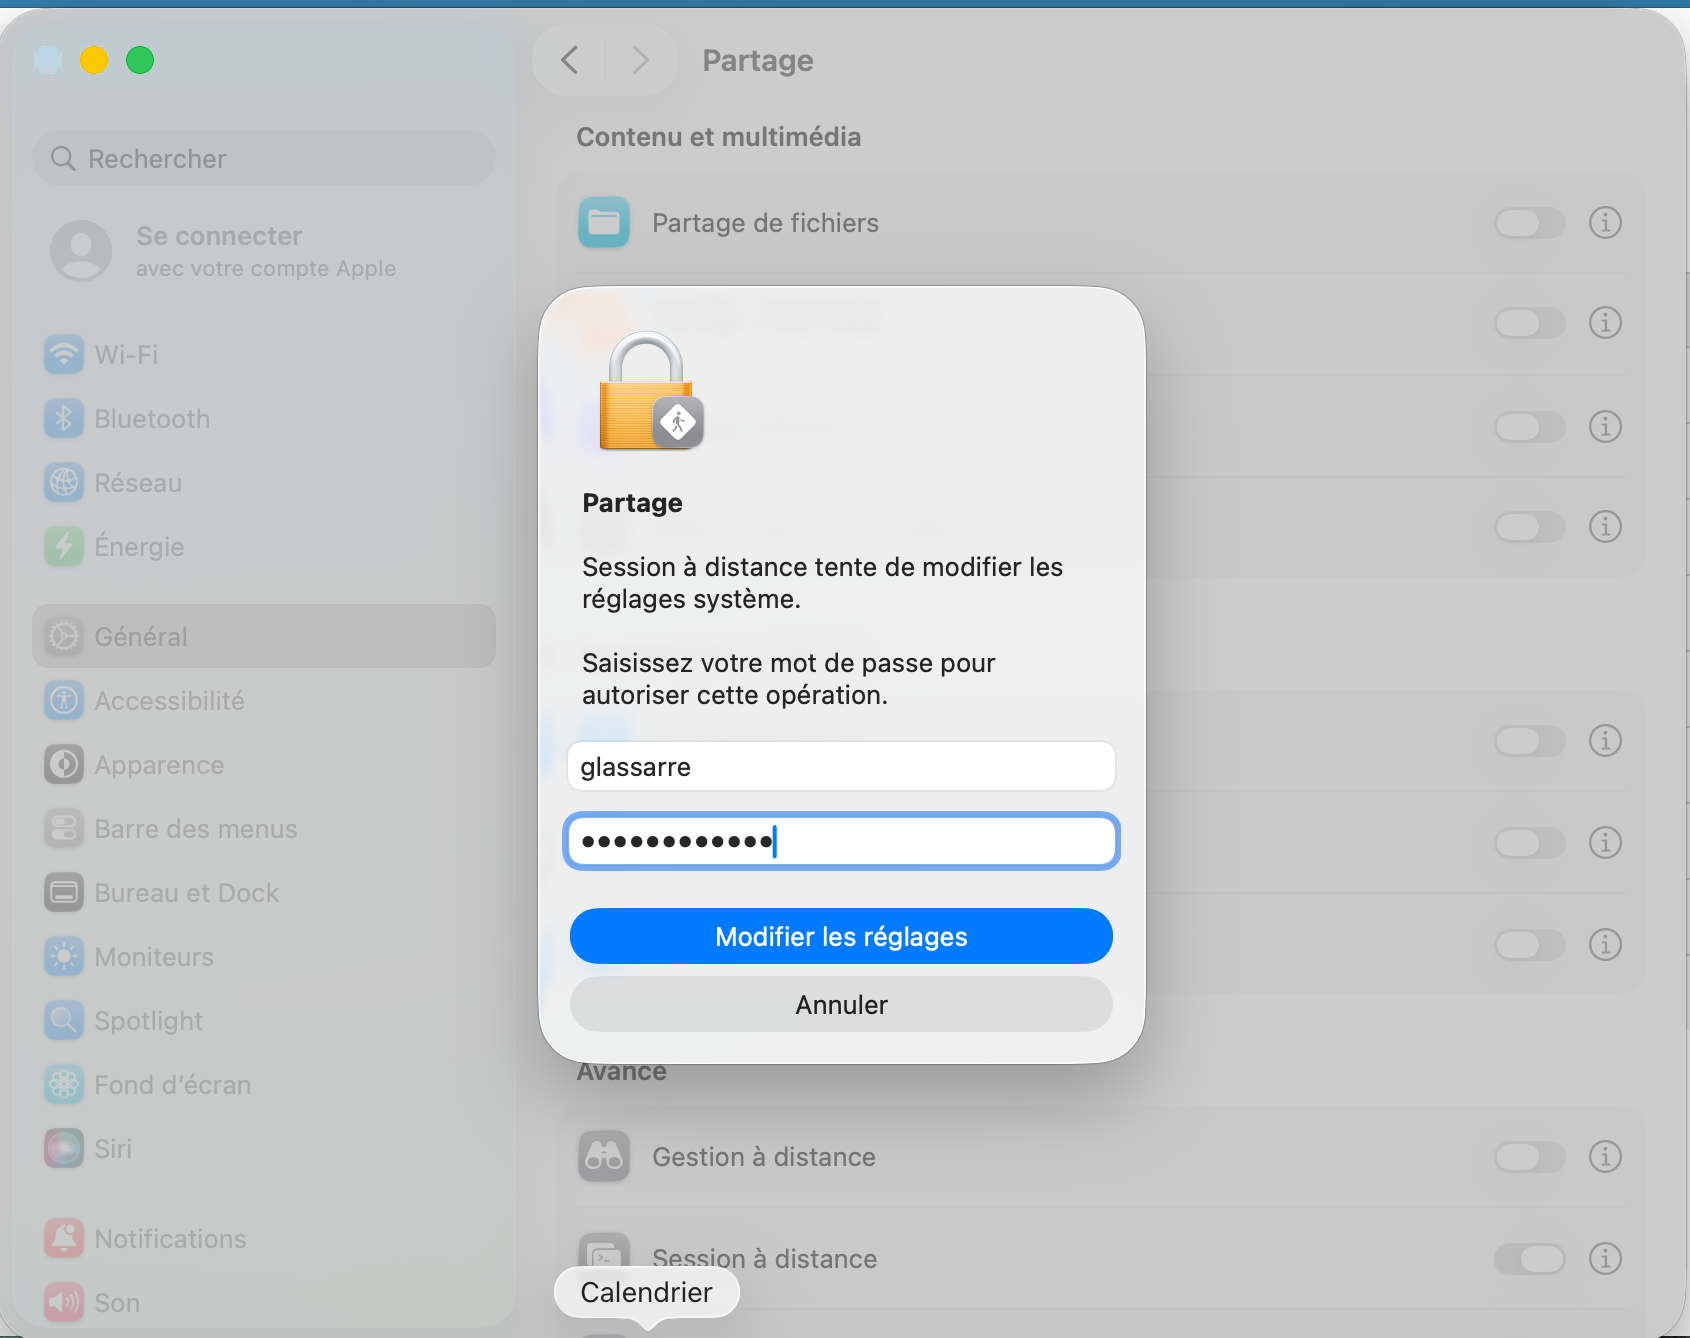
In Sharing, enable Remote Login. Enter your password when prompted, then click Change Settings.
Next, enable Screen Sharing:
Quit System Settings.
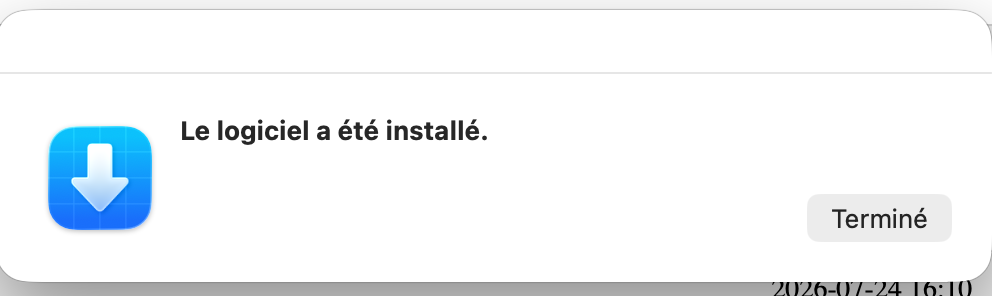
The installation is complete. Click Done:
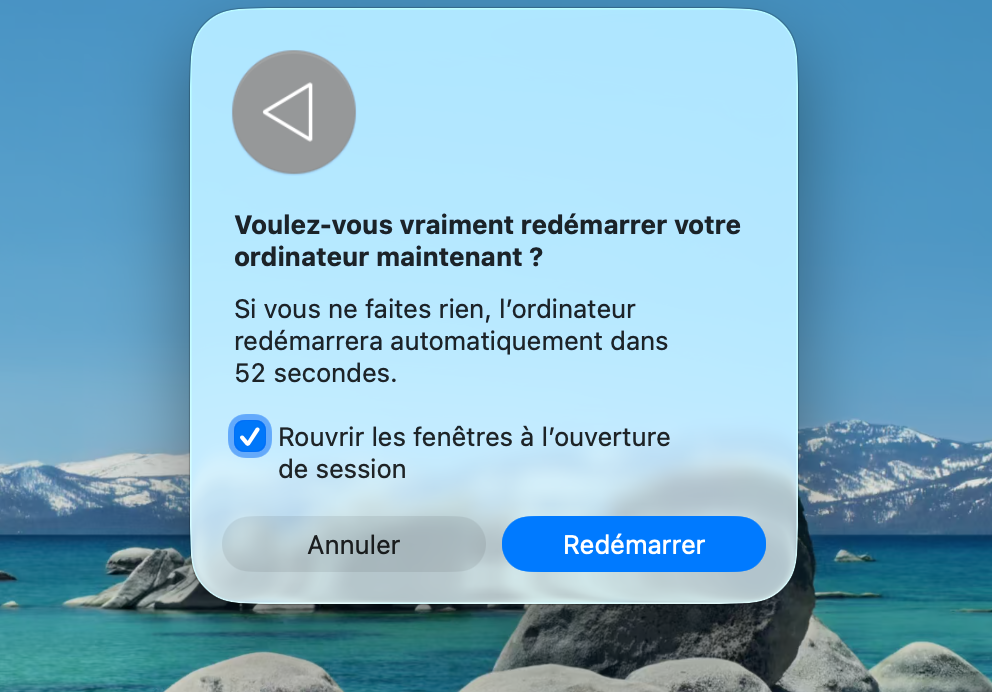
Restart your Mac:
Once your Mac has restarted, go to the Medulla console: https://votreserveur/mmc/
Your computer is now active in Medulla. You can use the platform to manage it.
