Add a profile
To create a new profile, start with the section on the left side of the page.
Steps for Creating a Profile
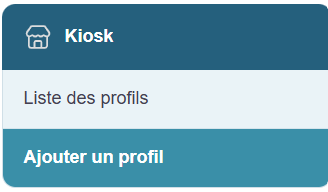
Click “Add a Profile”
You will find a link labeled “Add a Profile.” Click it to access the profile creation page.
Fill out the creation form
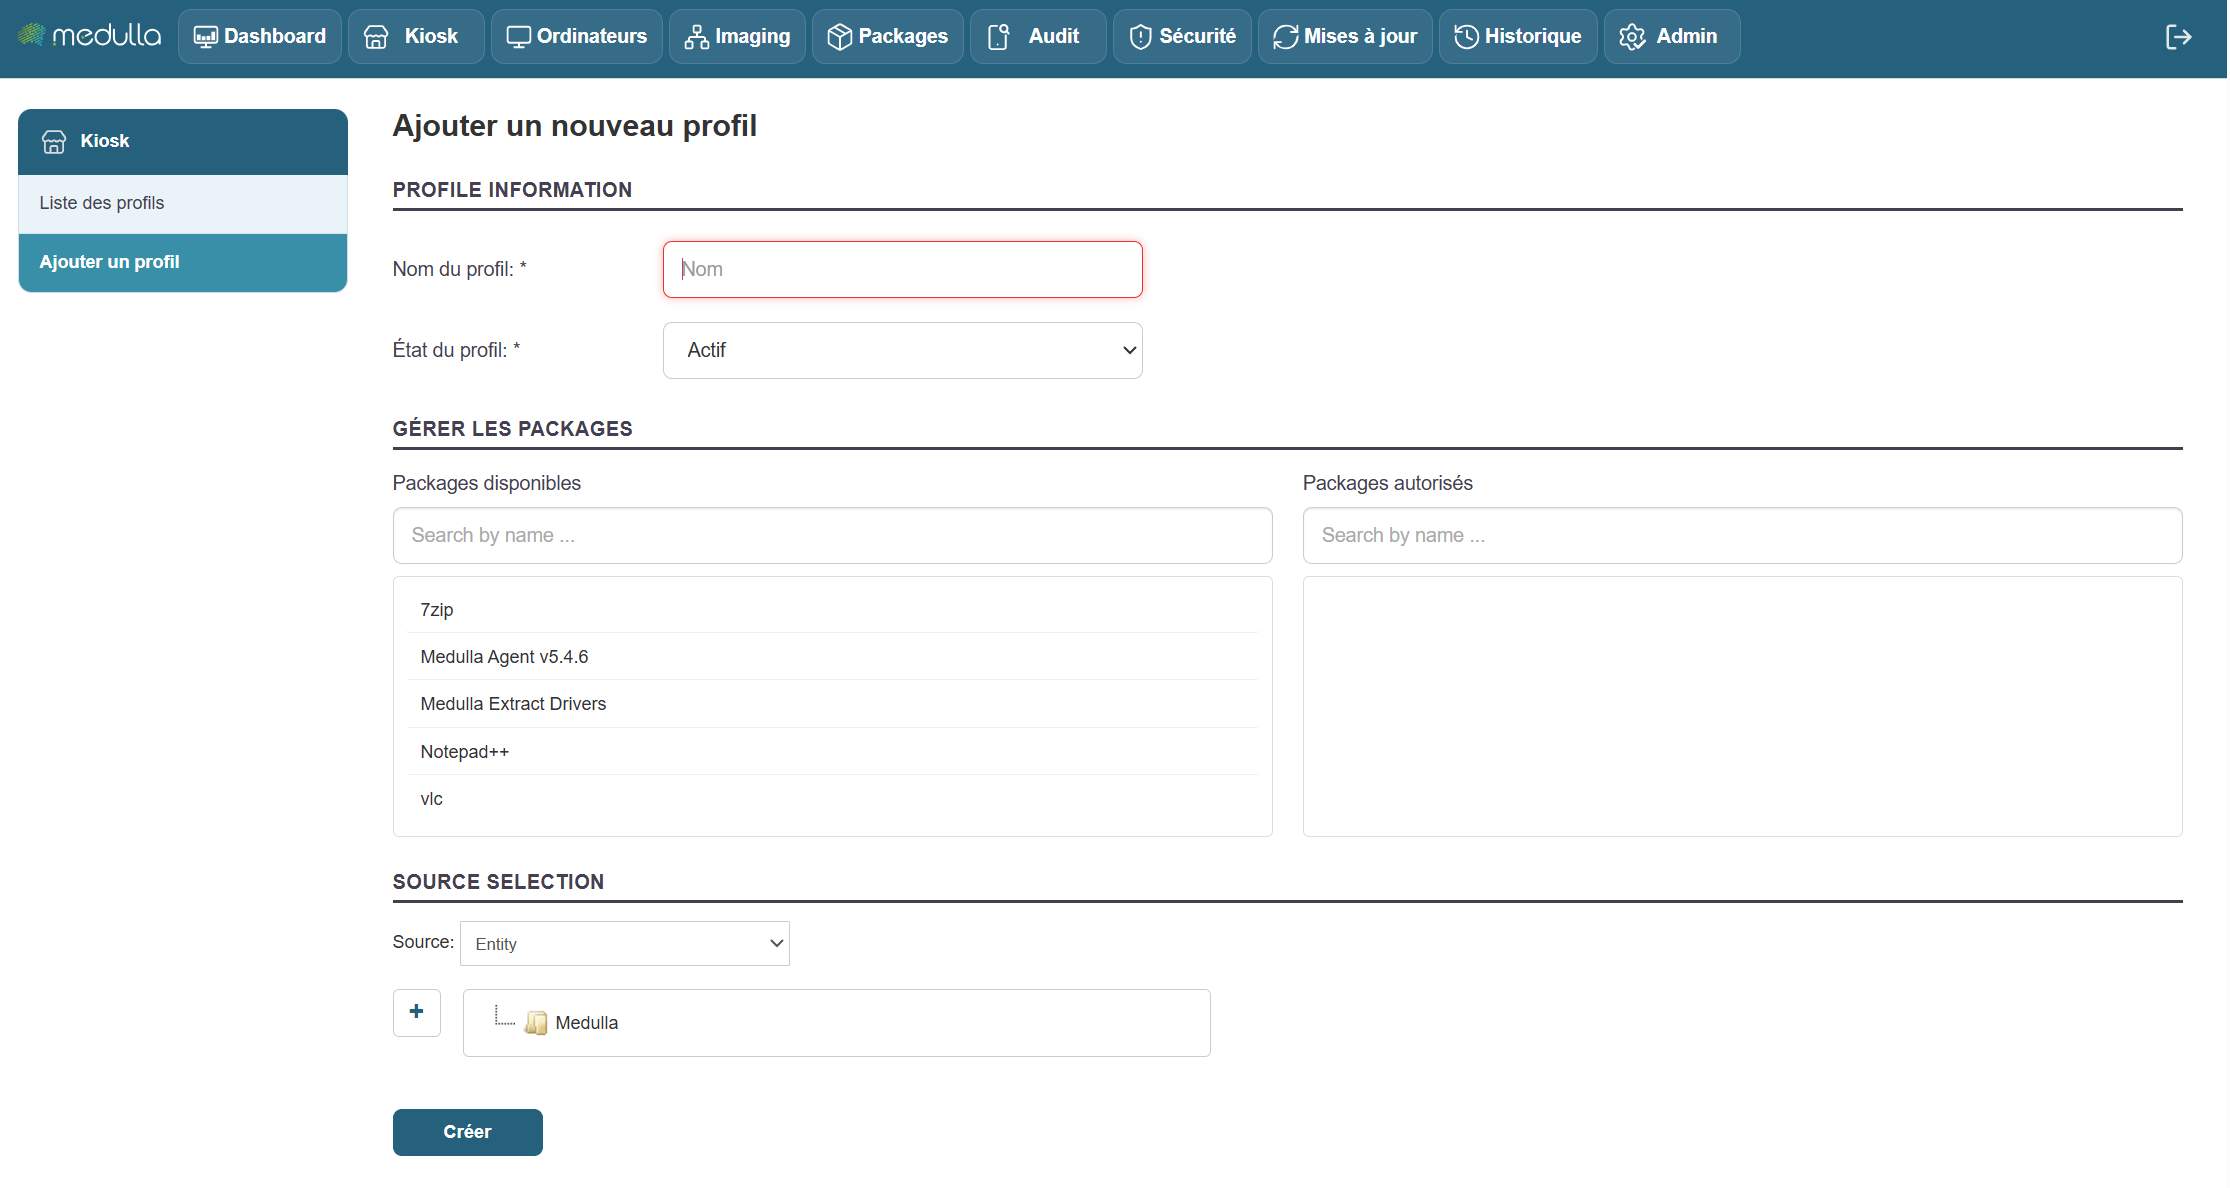
Once on the page, you’ll see the form to fill out in the center of the screen. This is where you’ll set up your profile information.
Information to Provide
-
Profile Name
Enter a name for the profile. This name will then appear in the list of profiles.
Examples: User1, HRProfile. -
Profile Status
Select the profile status when creating it:-
Active: The profile will be immediately operational.
-
Inactive: The profile will be created but will remain inactive (it will need to be activated later).
-
-
Manage packages (associated applications)
There are two sections for managing applications:-
Available packages: List of applications you can add.
Use the “Search by name…” field to search for a specific application. -
Authorized packages: A list of applications already added to the profile.
To add an application, select it from “Available packages.” It will then be added to “Authorized packages.”
-
-
Application Sources
At the bottom of the form, choose the source(s) of the applications to associate:-
Entity
-
LDAP
-
Group
- OR User
- Or Machine
-
Finalization
Once all the information has been entered, click the “Create” button to confirm the creation of the profile. The new profile will then be added to the Profile List, visible in the center of the home page.
When adding packages to a Kiosk profile, it is essential that an inventory be associated with the package.
Without this association, the packages cannot be assigned.
During the deployment of packages via Convergence, they must also be linked to an inventory.
Without this association, the deployment cannot be carried out.