
Deployment of a Linux or Windows image
Applies to: Imaging / Master Deployment
Version: All
Environment: On-Premise
Category: Imaging
Background
This procedure explains how to perform the deployment of a Windows or Linux master image on a target machine using Medulla’s Imaging module.
This FAQ covers:
- PXE preparation of the target machine
- Deployment of a Windows 11 master image
- Deployment of a Linux OEM master
- Restoring the default PXE menu
1. Prerequisites
Before starting a master deployment, verify the following:
- The target machine must be able to boot via PXE first
- The BIOS/UEFI must be configured to boot from the network
- The DHCP server must point to the Medulla PXE server
Configuring the Medulla PXE Menu
In Medulla:
Imaging → Default Boot Menu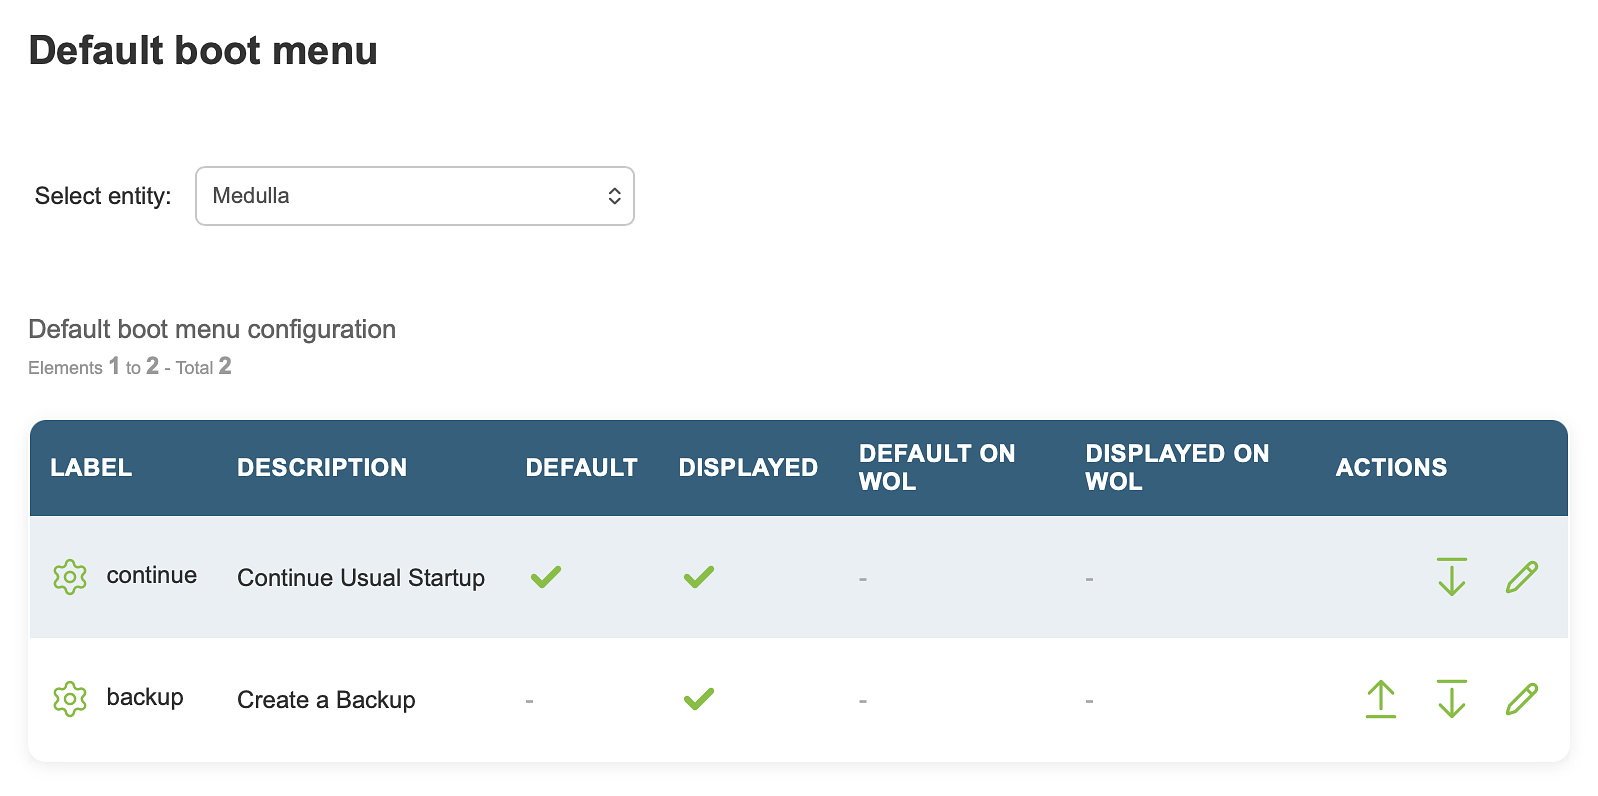
Go to:
Imaging → Manage boot servicesAdd the following services to the menu:
continuebackup
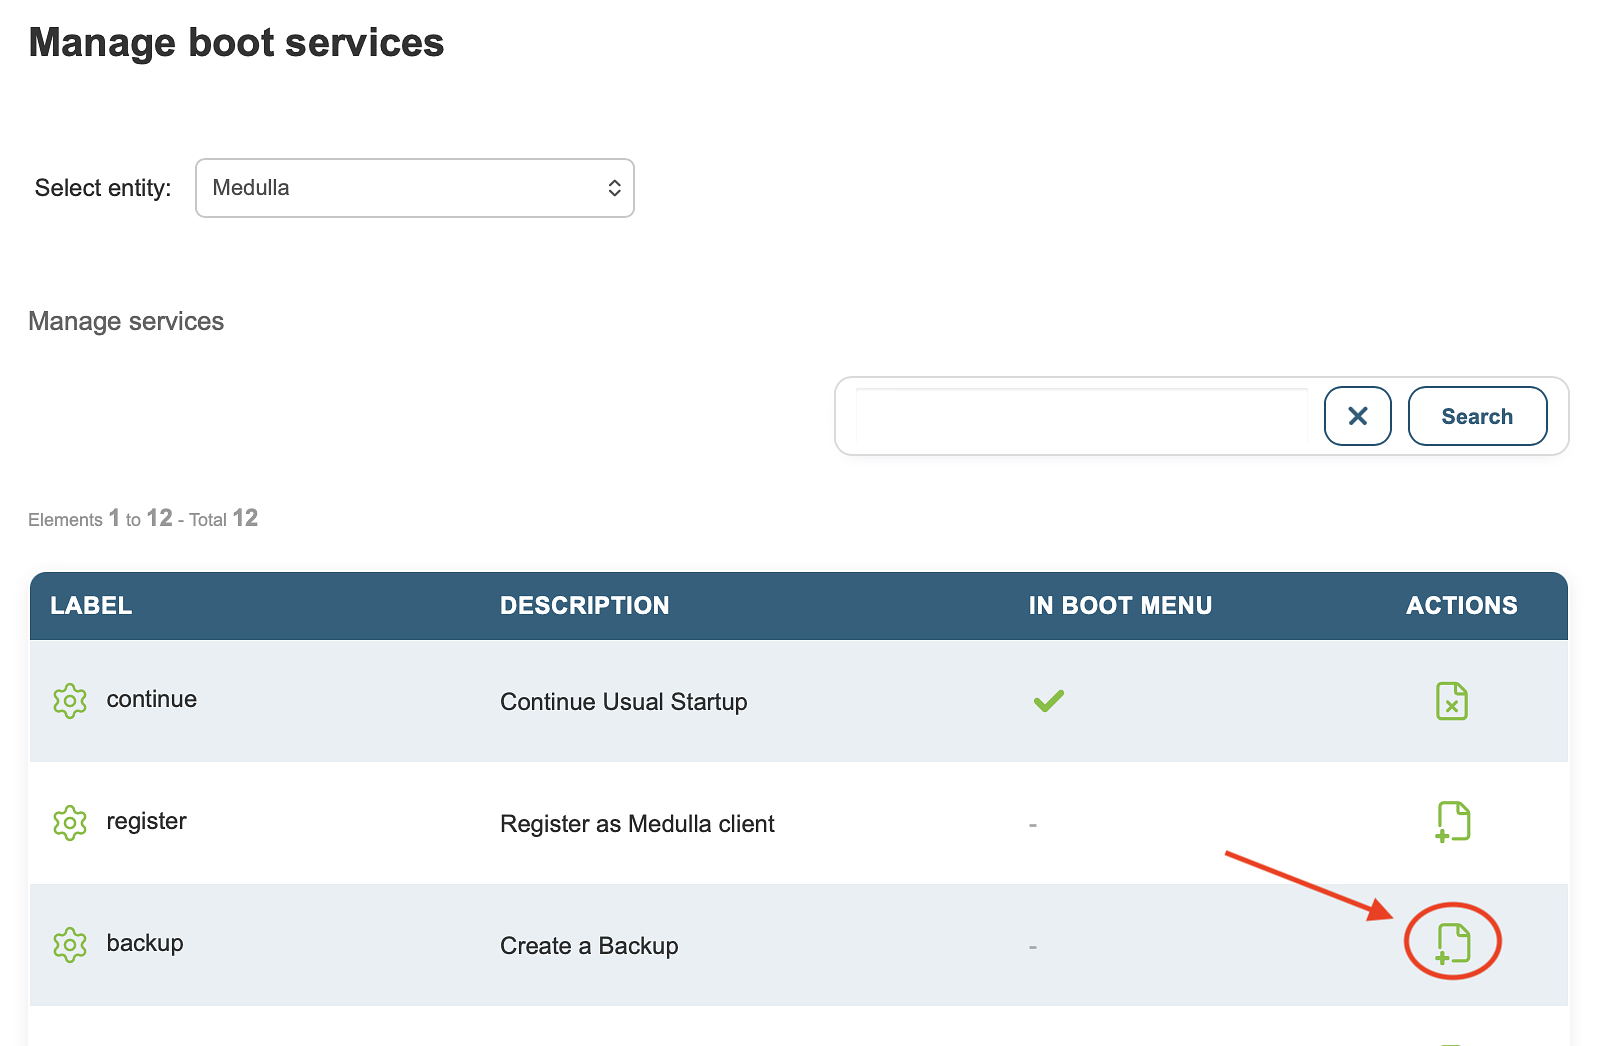
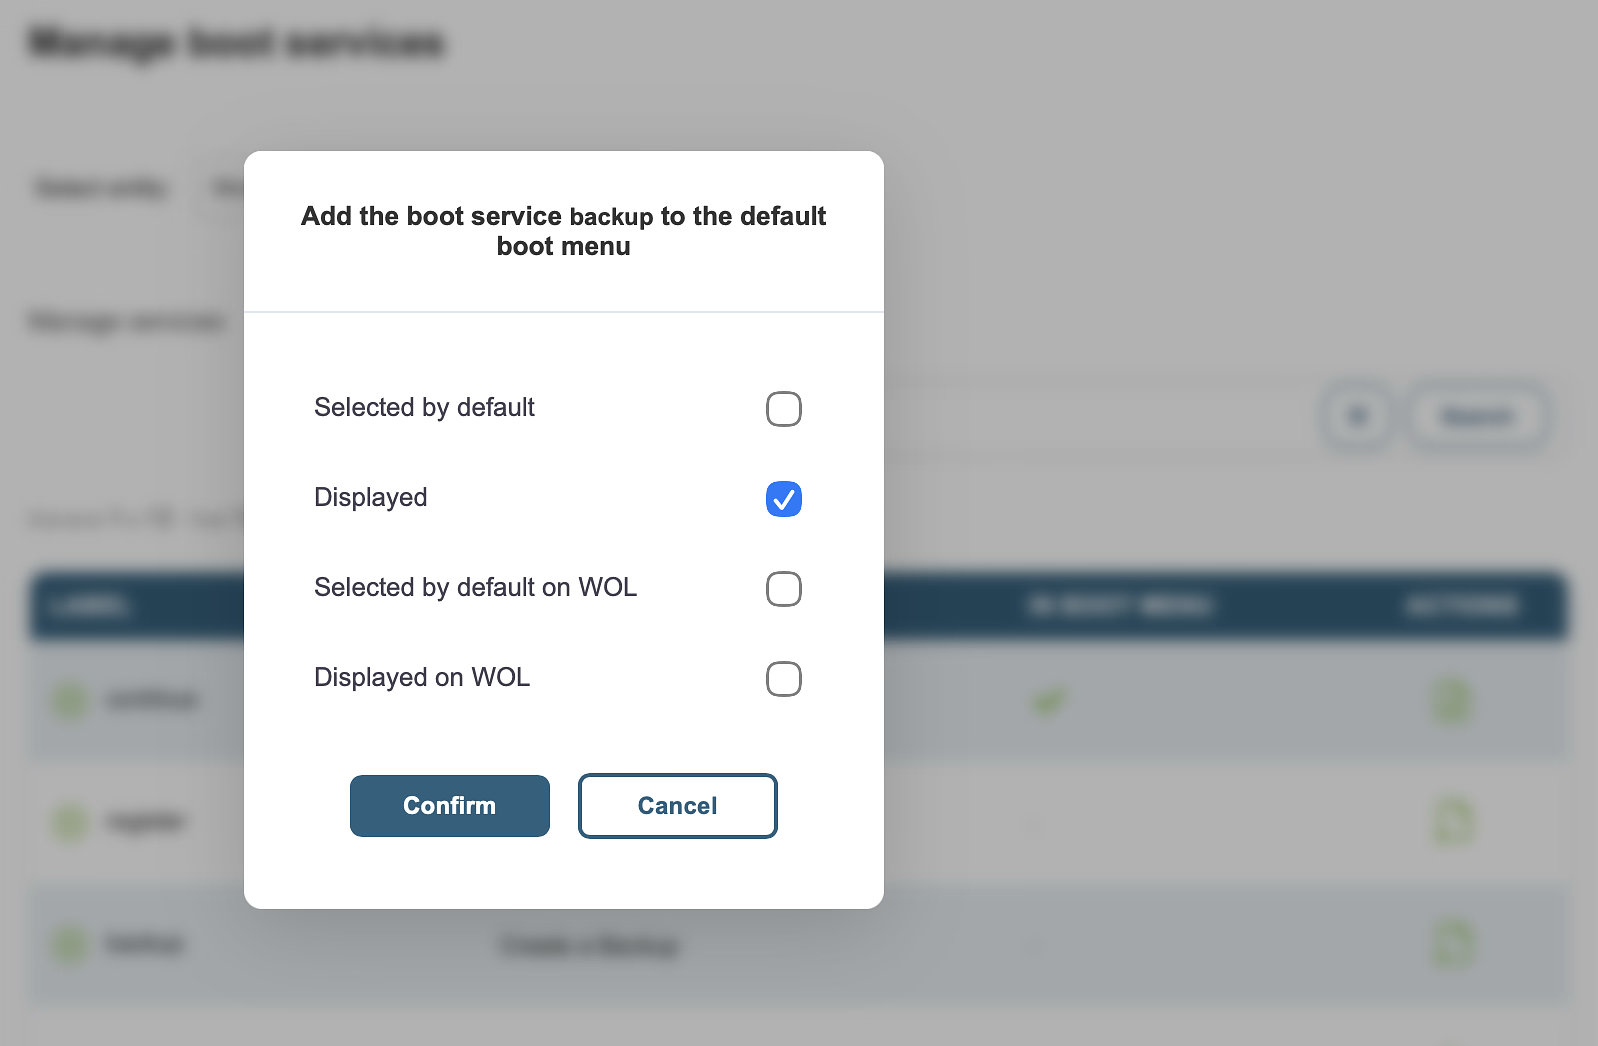
Then go back to:
Imaging → Default boot menu- Up
- Move Down
- Edit
The Edit action allows you to set the selected item as the default.
Saving the target machine
Boot the machine via PXE, then select:
Register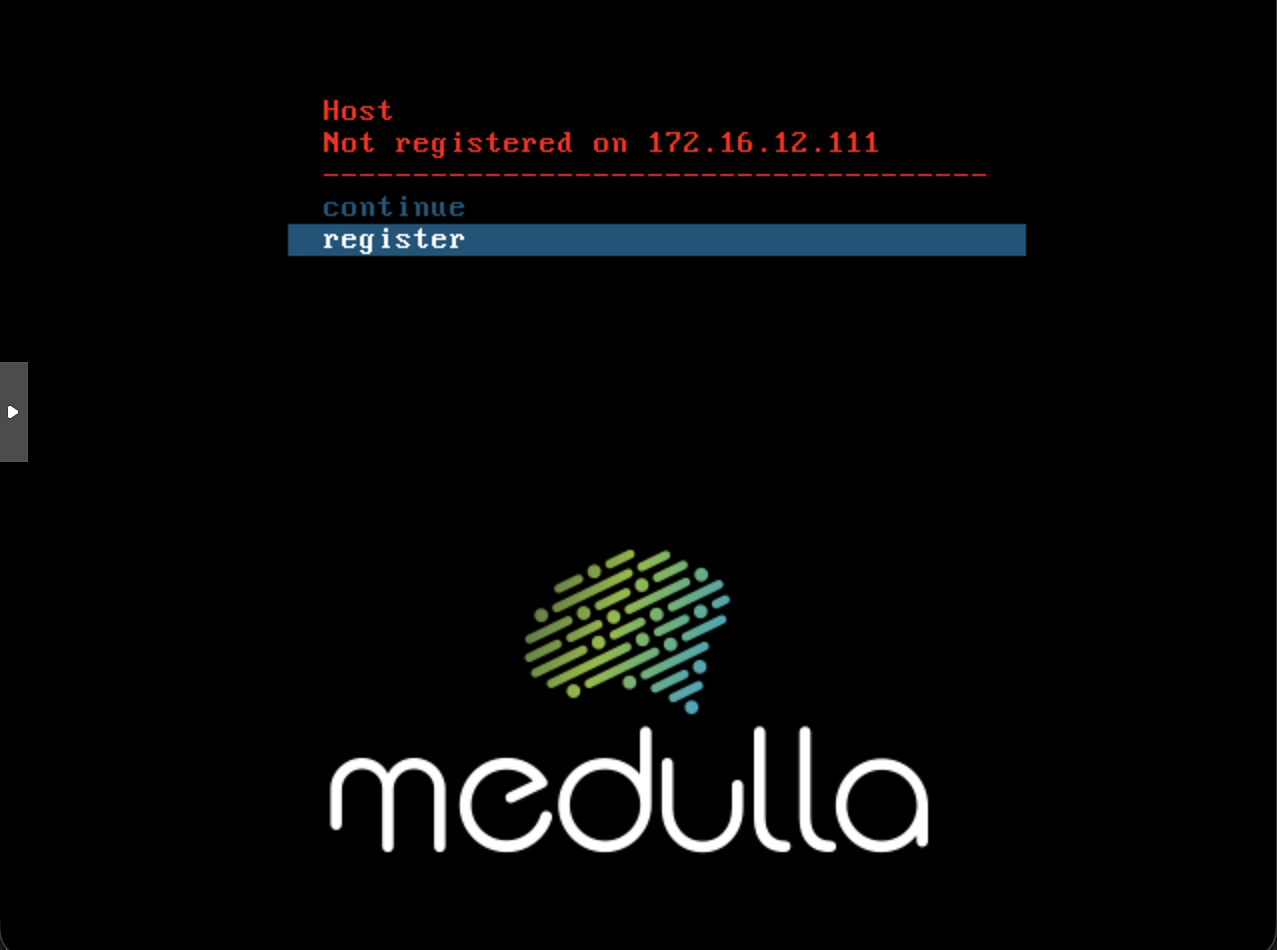
Give the machine a name, then confirm.
On the next reboot, when the PXE menu appears, temporarily shut down the machine to assign it the master image for deployment.
2. Windows 11 Master Scenario
Prerequisites
A. Create a Windows answer file
In Medulla:
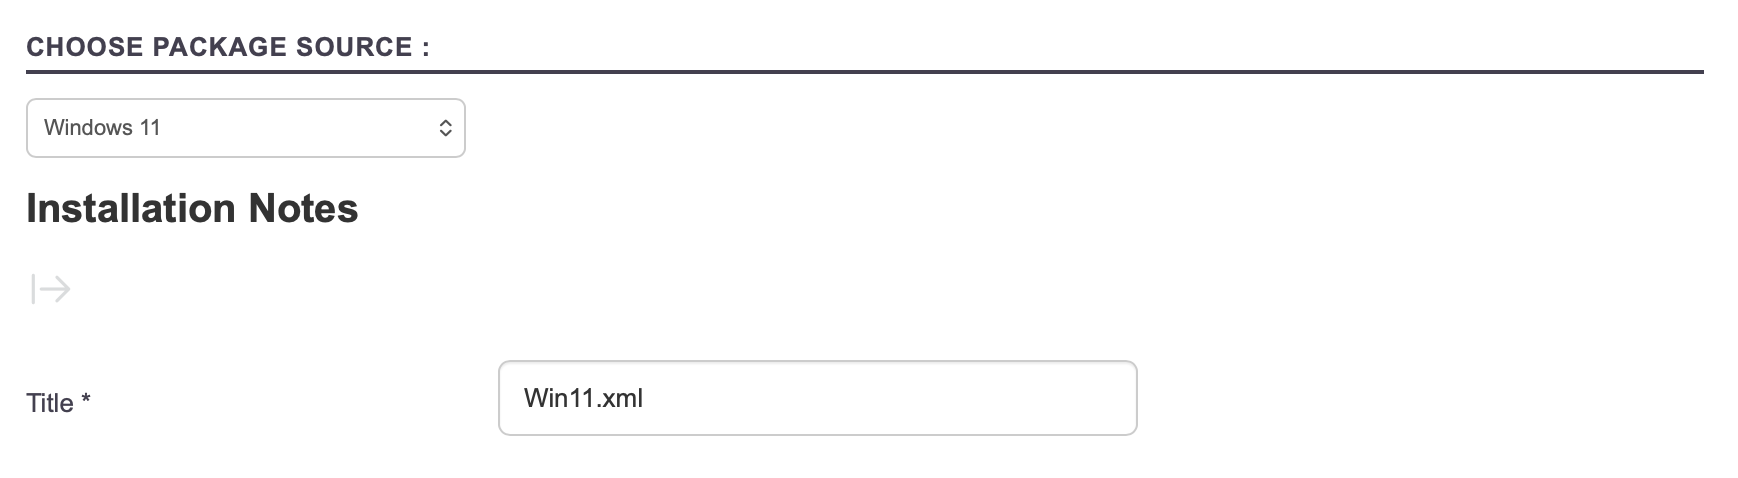
Imaging → Windows System Image ManagerCreate a response file for Windows OOBE.
Select:
- Windows 11
- Windows 11 OEM
Difference between Windows 11 and Windows 11 OEM:
The OEM version automatically retrieves the license key stored in the machine’s BIOS if it is OEM hardware.
Set a title for the answer file.
Example:
Win11.xmlImportant:
Keep the exact name of the XML file. It will be used later in the post-installation scripts.
If you are using a volume license, enter the product key.

For French Windows:
- Set up the
Administratoraccount - Set the associated password
Note:
The administrator account name must match the operating system’s language.

The other settings can be modified as needed.
The arrow icon allows you to view advanced settings.
Click:
Confirmto save the response file.
B. Create a Post-Imaging Script
In:
Imaging → Post-imaging scriptsDuplicate the script:
Medulla Windows 11 OEMThen configure the script.
The field:
Script namewill be used later when associating the master.
Note:
Edit the file:
windows11oem.xmlwith the filename defined earlier:
Win11.xml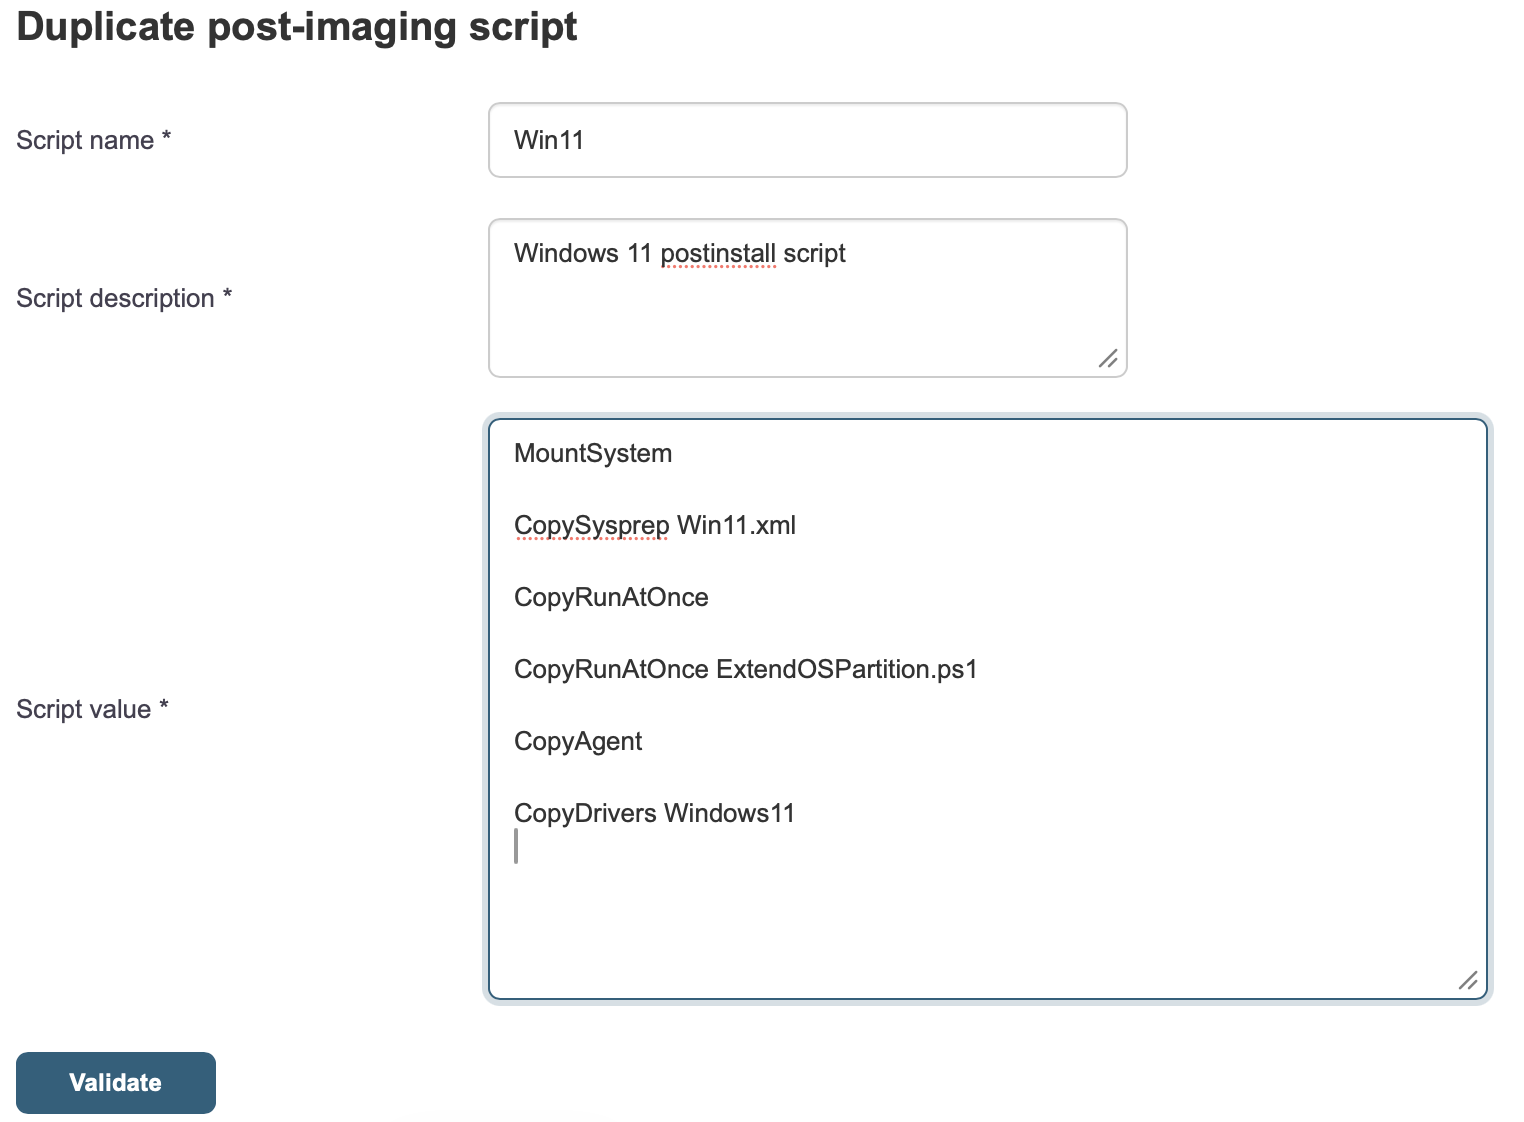
Click:
Validateto save.
Associating the master with the target machine
In:
Computers → All computers GLPIClick on:
Imaging Managementcorresponding to the target machine.
In the tab:
Images and MastersClick on:
Add image to boot menuon the master for deployment.
Select:
Displayedand then confirm.
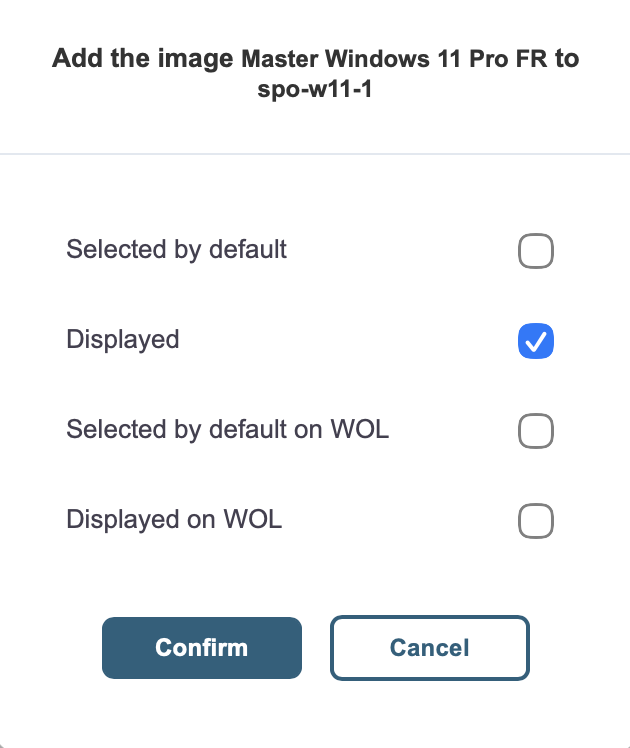
In the tab:
Boot menuClick:
Editthen select the corresponding Post Install script:
Post-Install Script Win11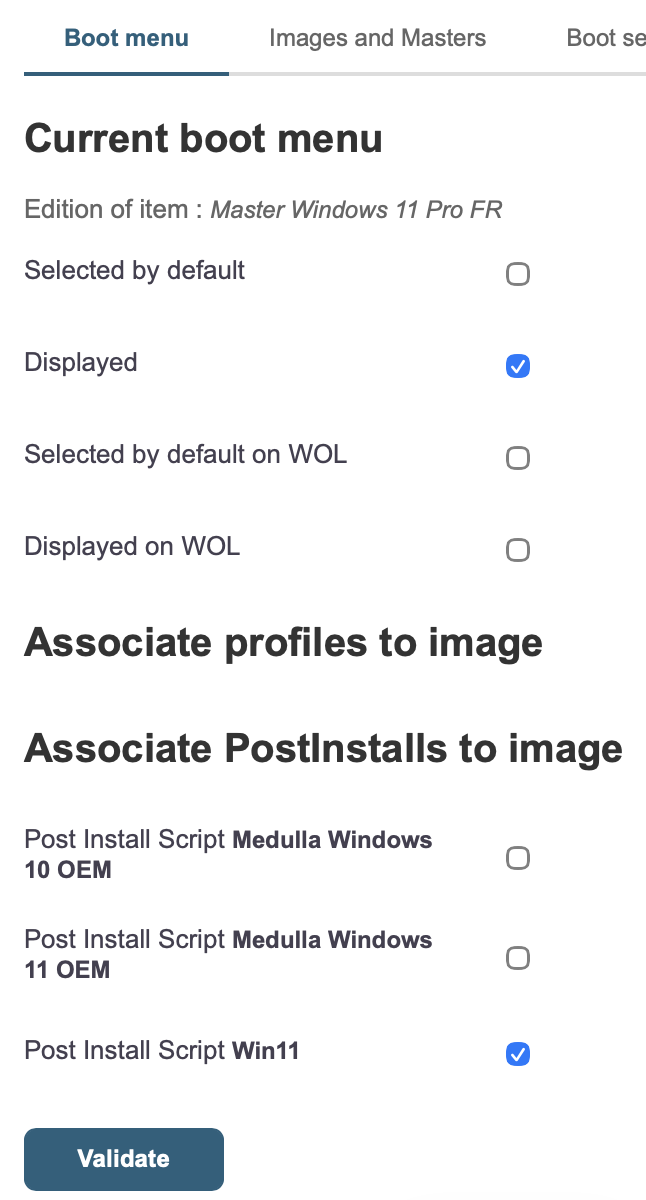
Master Deployment
Boot the machine via PXE, then select:
- The item containing the master
- The associated post-install
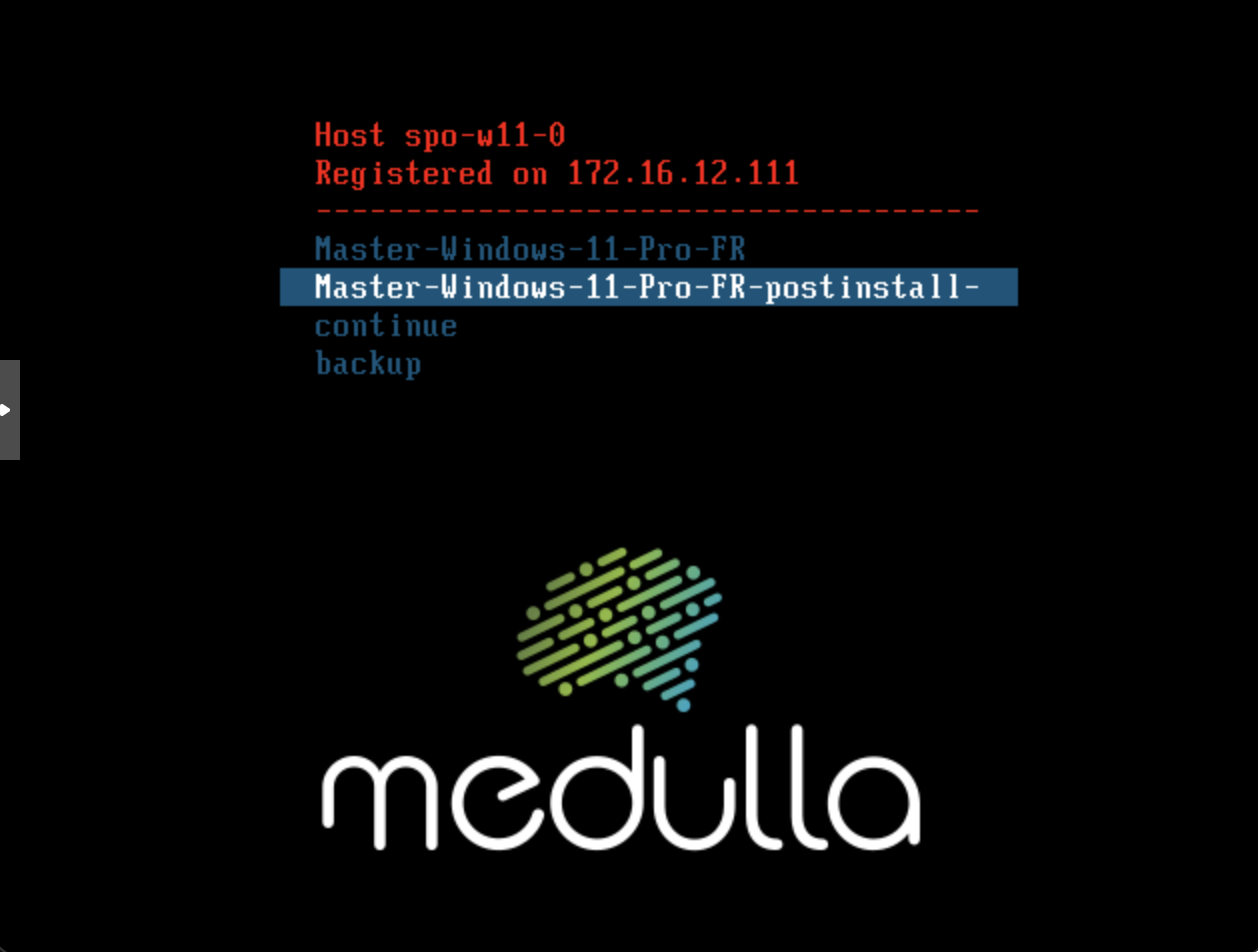
Wait for the deployment to complete.
After restarting, Windows will automatically run its setup process.
3. Case of a Linux OEM master
Associating the master with the target machine
In:
Computers → All computers in GLPIClick on:
Imaging Managementcorresponding to the target machine.
In the tab:
Images and MastersClick on:
Add image to boot menuon the Linux master for deployment.
Select:
Displayedthen confirm.
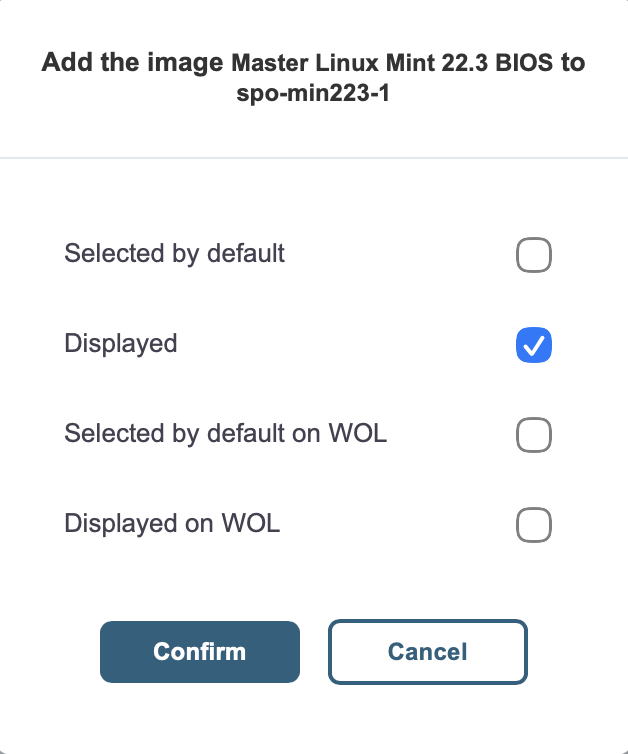
Deployment of the master
Boot the machine via PXE, then select the Linux master.
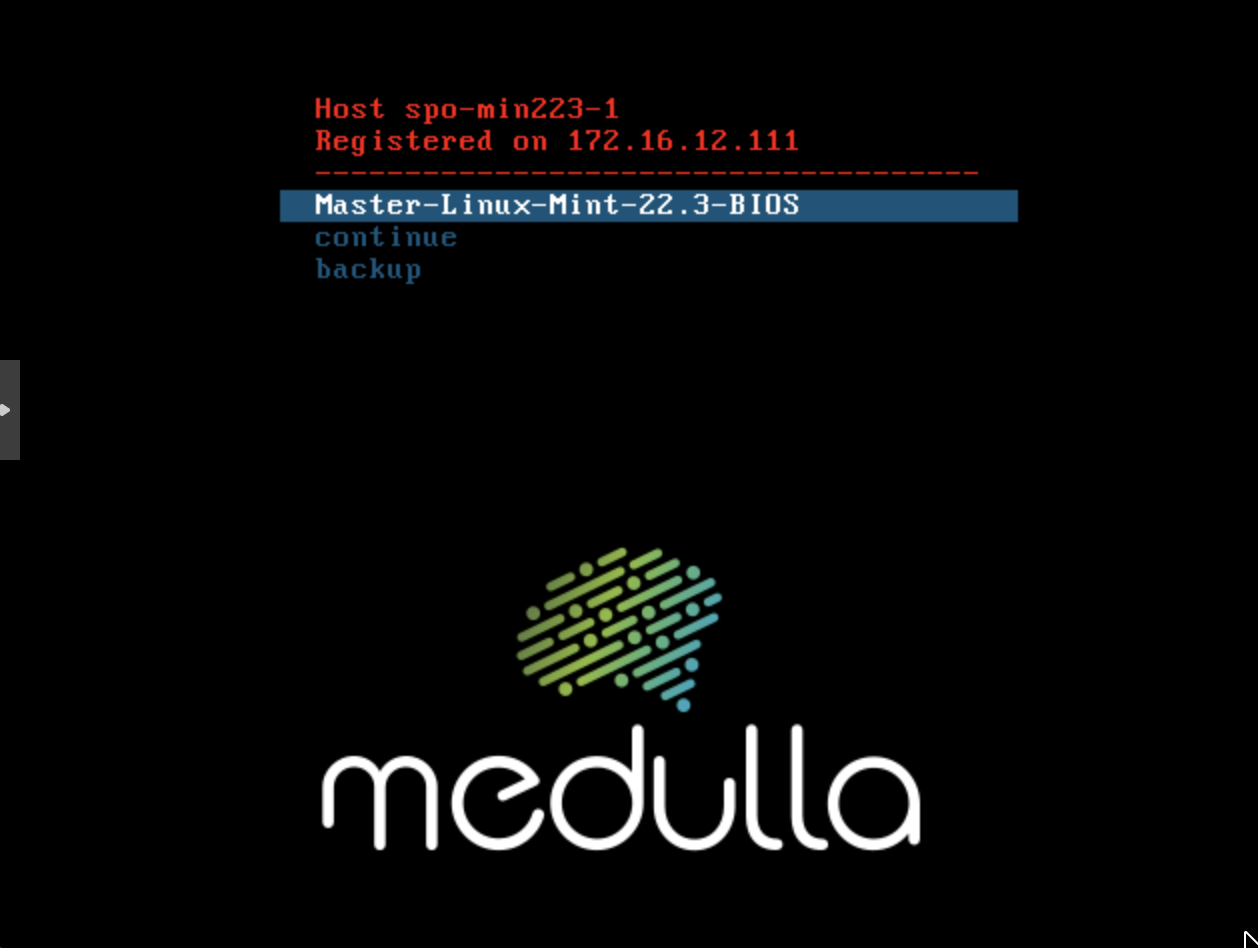
Wait for the deployment to complete.
After restarting, Linux will prompt you to configure the new system.
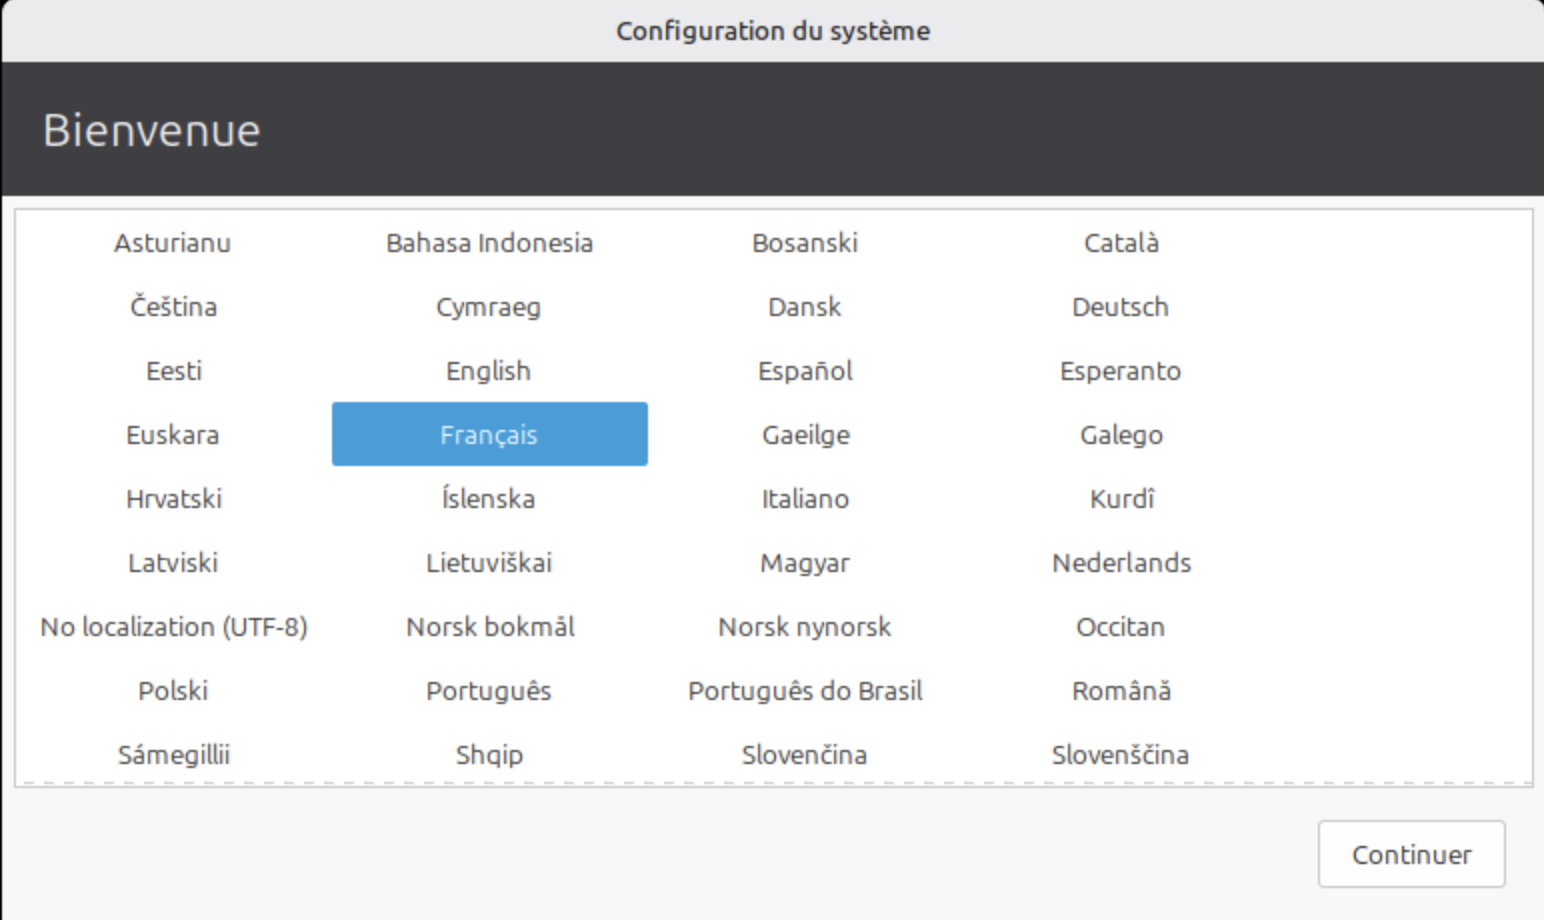
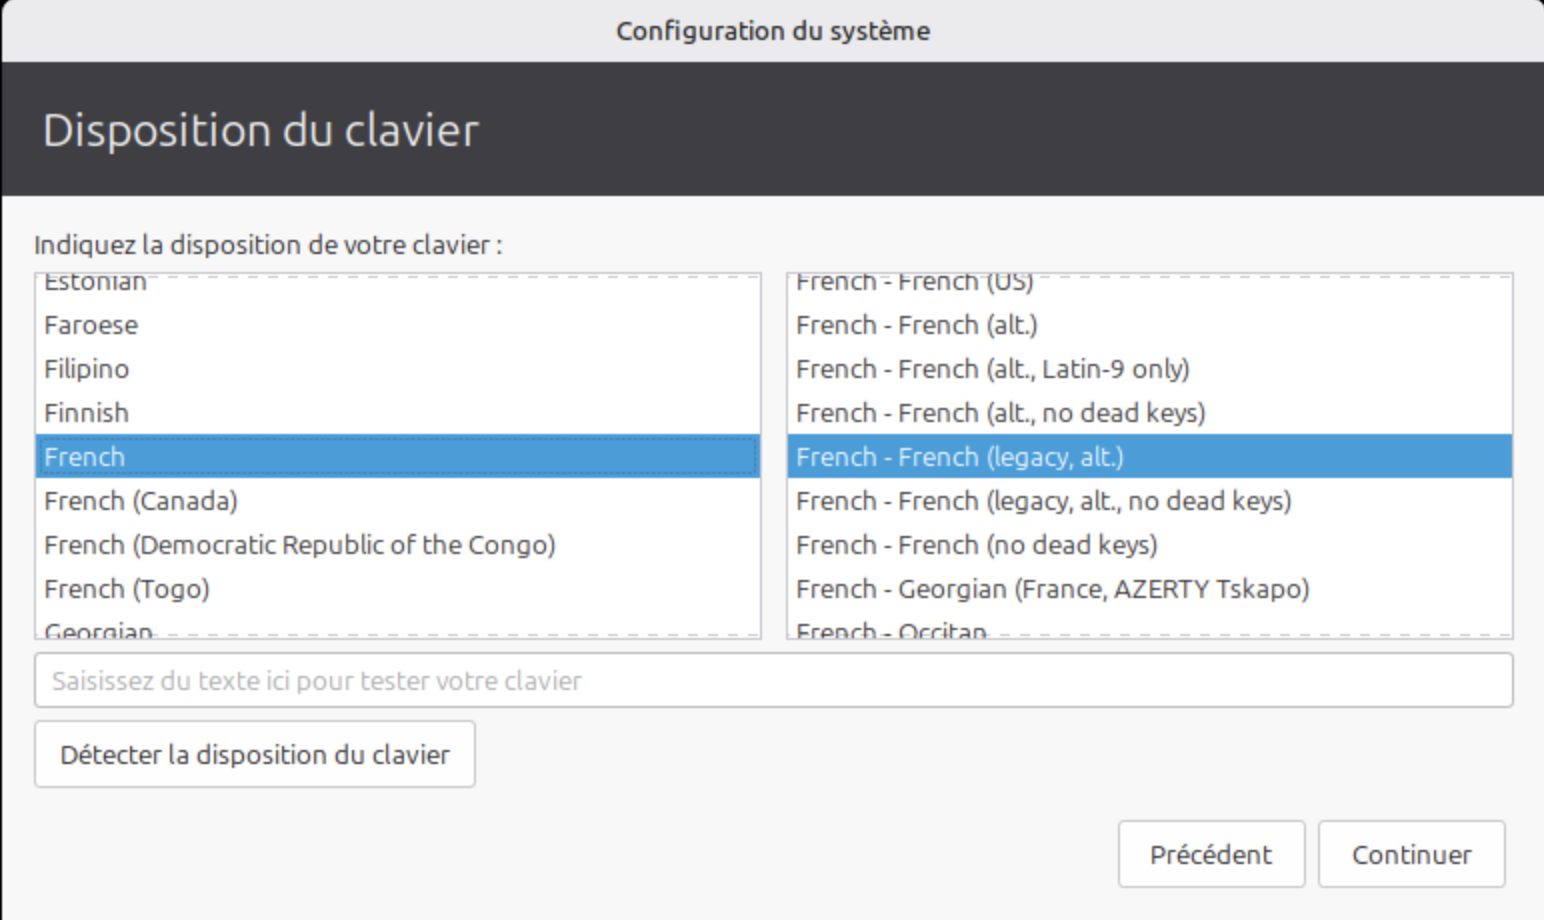
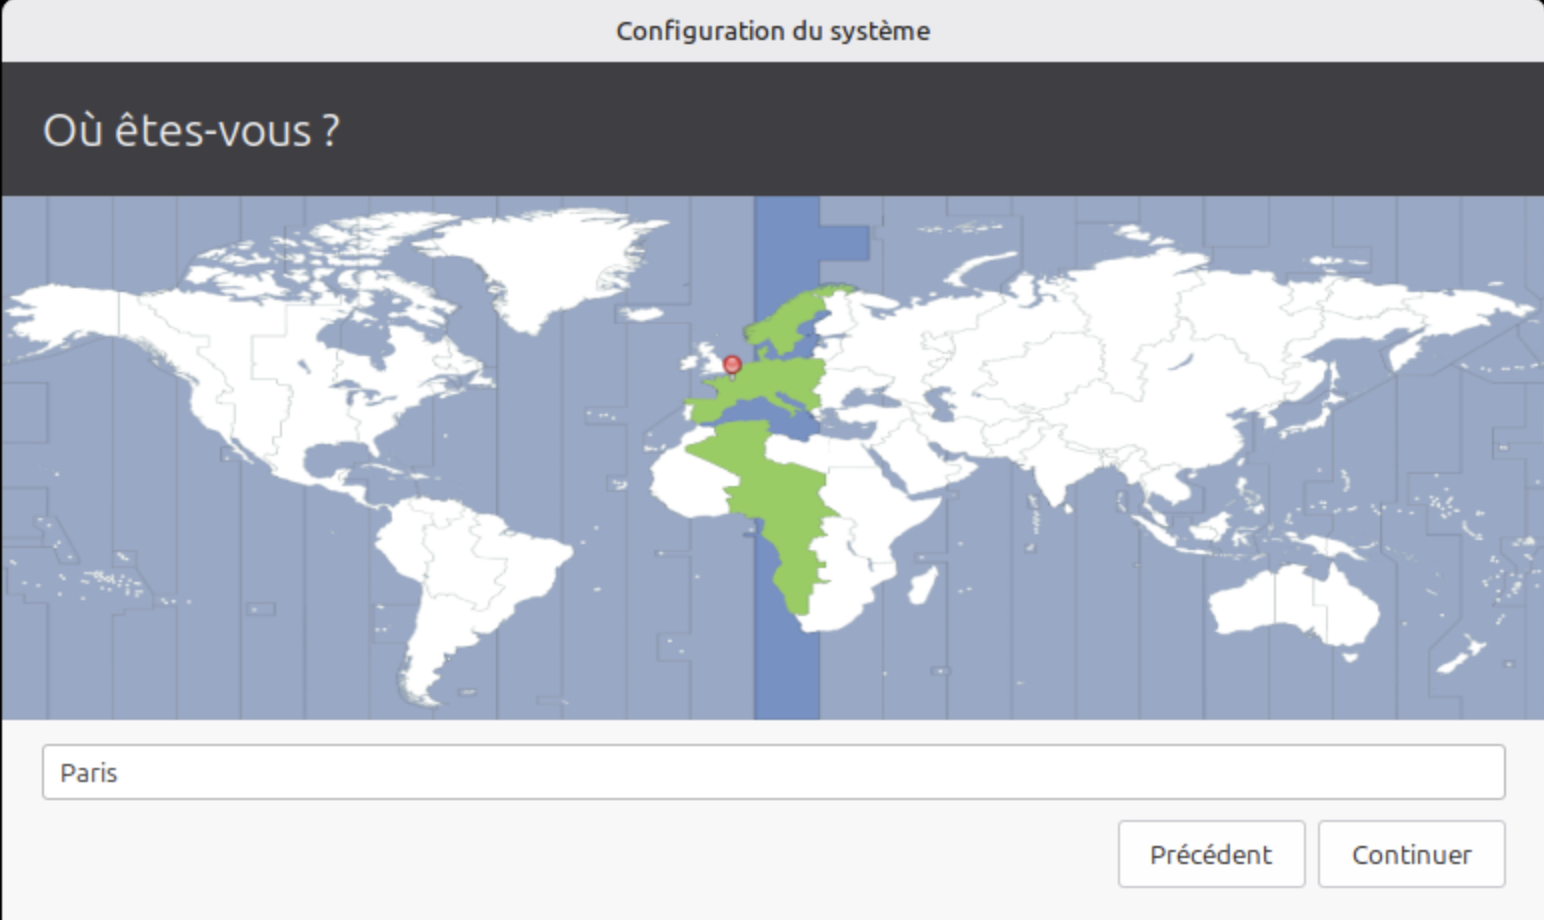
Wait until the configuration is completely finished.
Then install the Medulla agent on the machine if it was not included in the master
https://docs.medulla-tech.io/books/installation-medulla/page/etape-4-installation-de-lagent-medulla
4. Restoring the default PXE menu
Important:
Once the deployment is complete, restore the default PXE menu to prevent accidental redeployment of the master.
Go to:
Computers → All computers GLPIClick on:
Imaging Managementfor the target machine.
At the top of the page, a message indicates that the machine is using a custom boot menu.
Click on:
Click hereto restore the default boot menu.
