Manage Masters
A master is a complete system image created from a configured workstation. It serves as a template for quickly and consistently performing deployment of an environment on other machines.
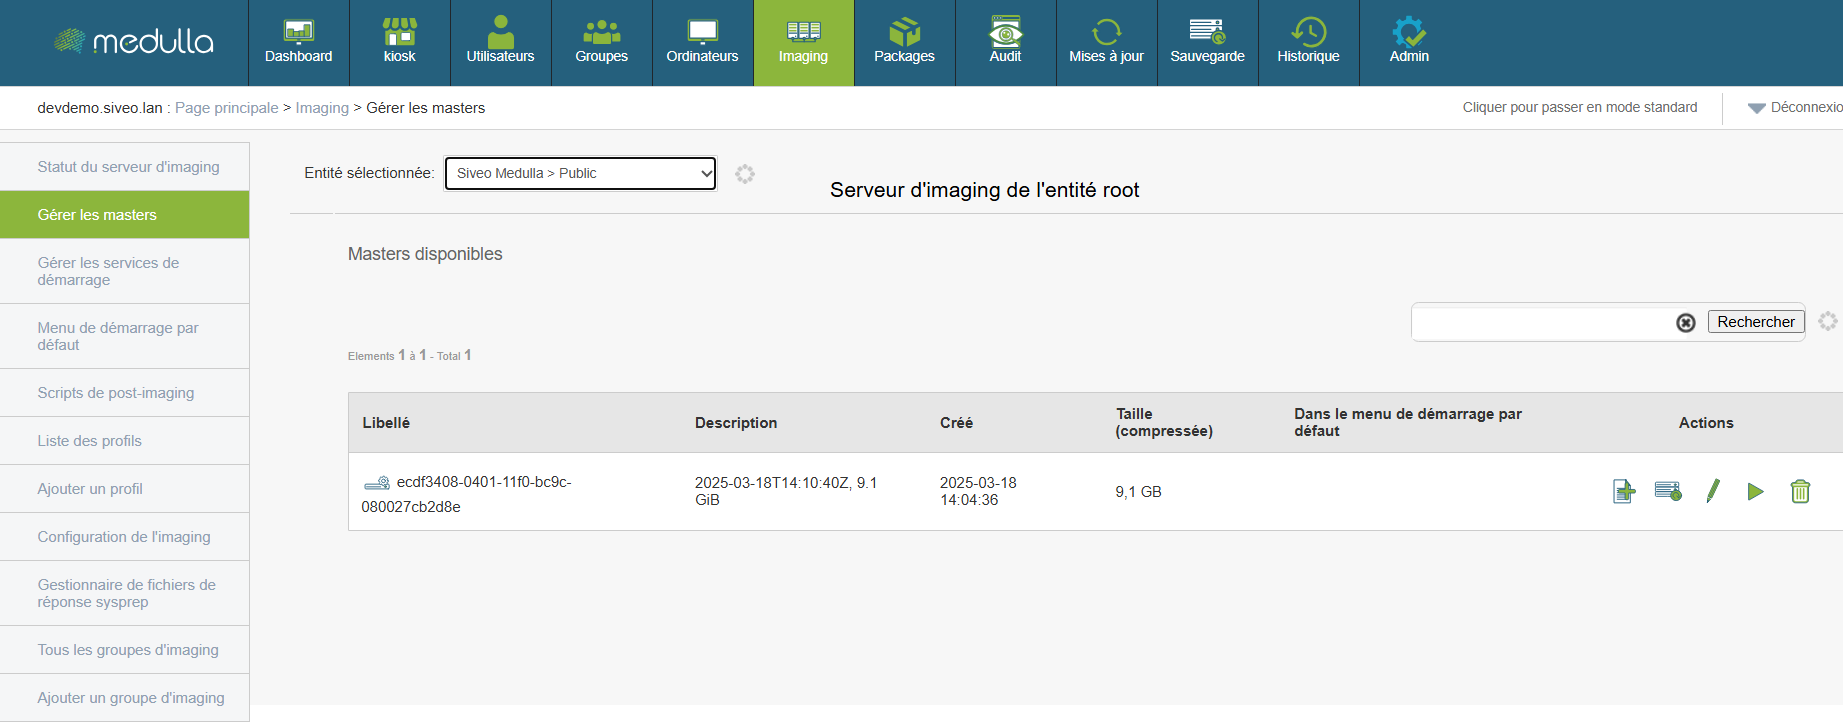
Before any deployment, it is essential to know which masters are available and how to use them.
Reading the Displayed Information
Each master is presented as a line containing several elements:
-
Label: the image’s automatic identifier.
-
Description: optional text describing the image’s content or purpose.
-
Creation date: indicates when the image was generated.
-
Compressed size: the size of the image file (in GB).
-
Default boot menu: Specifies whether the image is used automatically during network boot.
-
Actions: Set of options available for the image.
Use a master for deployment
-
Select a master from the list.
-
Check its date, description, and size to ensure it matches what you want for the deployment.
-
Select the image as the basis for the deployment of one or more workstations via the dedicated interface.
The master’s system will be automatically installed on the target workstations, without requiring manual intervention on each machine.
Actions Available for Each Image
For each master, you can perform several operations:
Before using a master, verify that it matches your desired configuration, including the operating system, version, and installed software. Delete a master only if you are certain it is no longer in use, as this action is irreversible. If you are unsure which image to choose or what action to take, we recommend contacting your technical support representative for guidance.