Imaging Profiles
Medulla features imaging profile management. These profiles allow you to associate a master with one or more postinstall configurations, enabling you to link the master and the profile either to machines, to imaging groups, or to apply it directly at the server level.
This simplifies the deployment of workstations via Medulla’s imaging module.
How do I create a profile for a machine and associate it with a master?
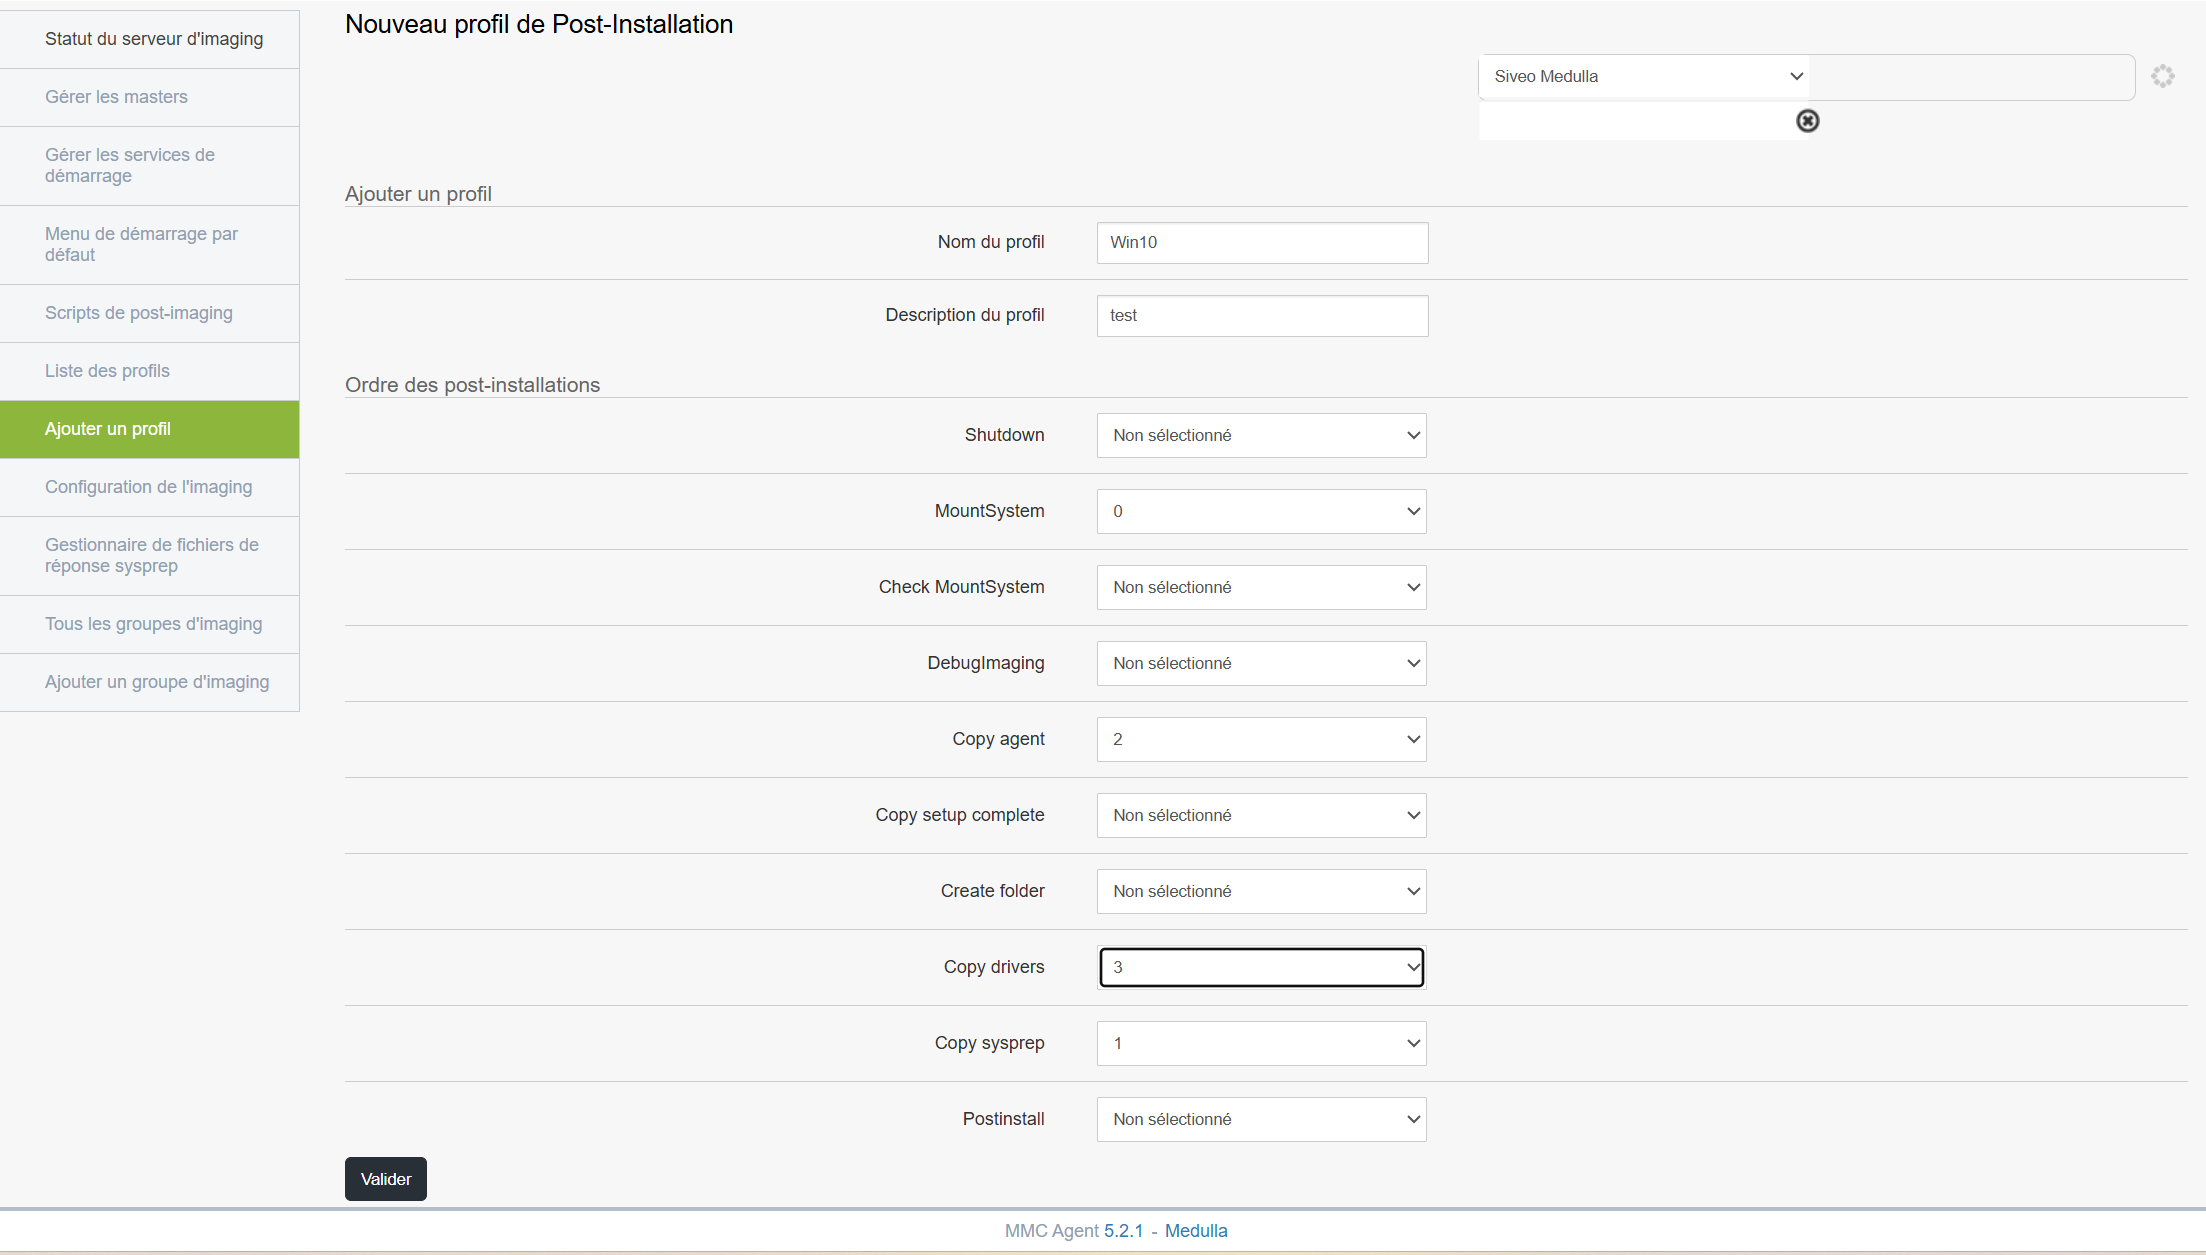
Click Add Profile.
Fill in the fields:
- Profile Name
- Description
In the "Order of Post-Installation Tasks" section, select the post-installation tasks you want to associate with the profile and list them in the order of execution from 0 to 10 (0 being the first step and 10 the last).
Click "Validate" once you are finished.
Once the profile has been validated, follow the steps below depending on how you want to associate your profile:
Associate a master with a profile on a machine:
In the Computers tab, click the left-hand menu: All GLPI Computers.
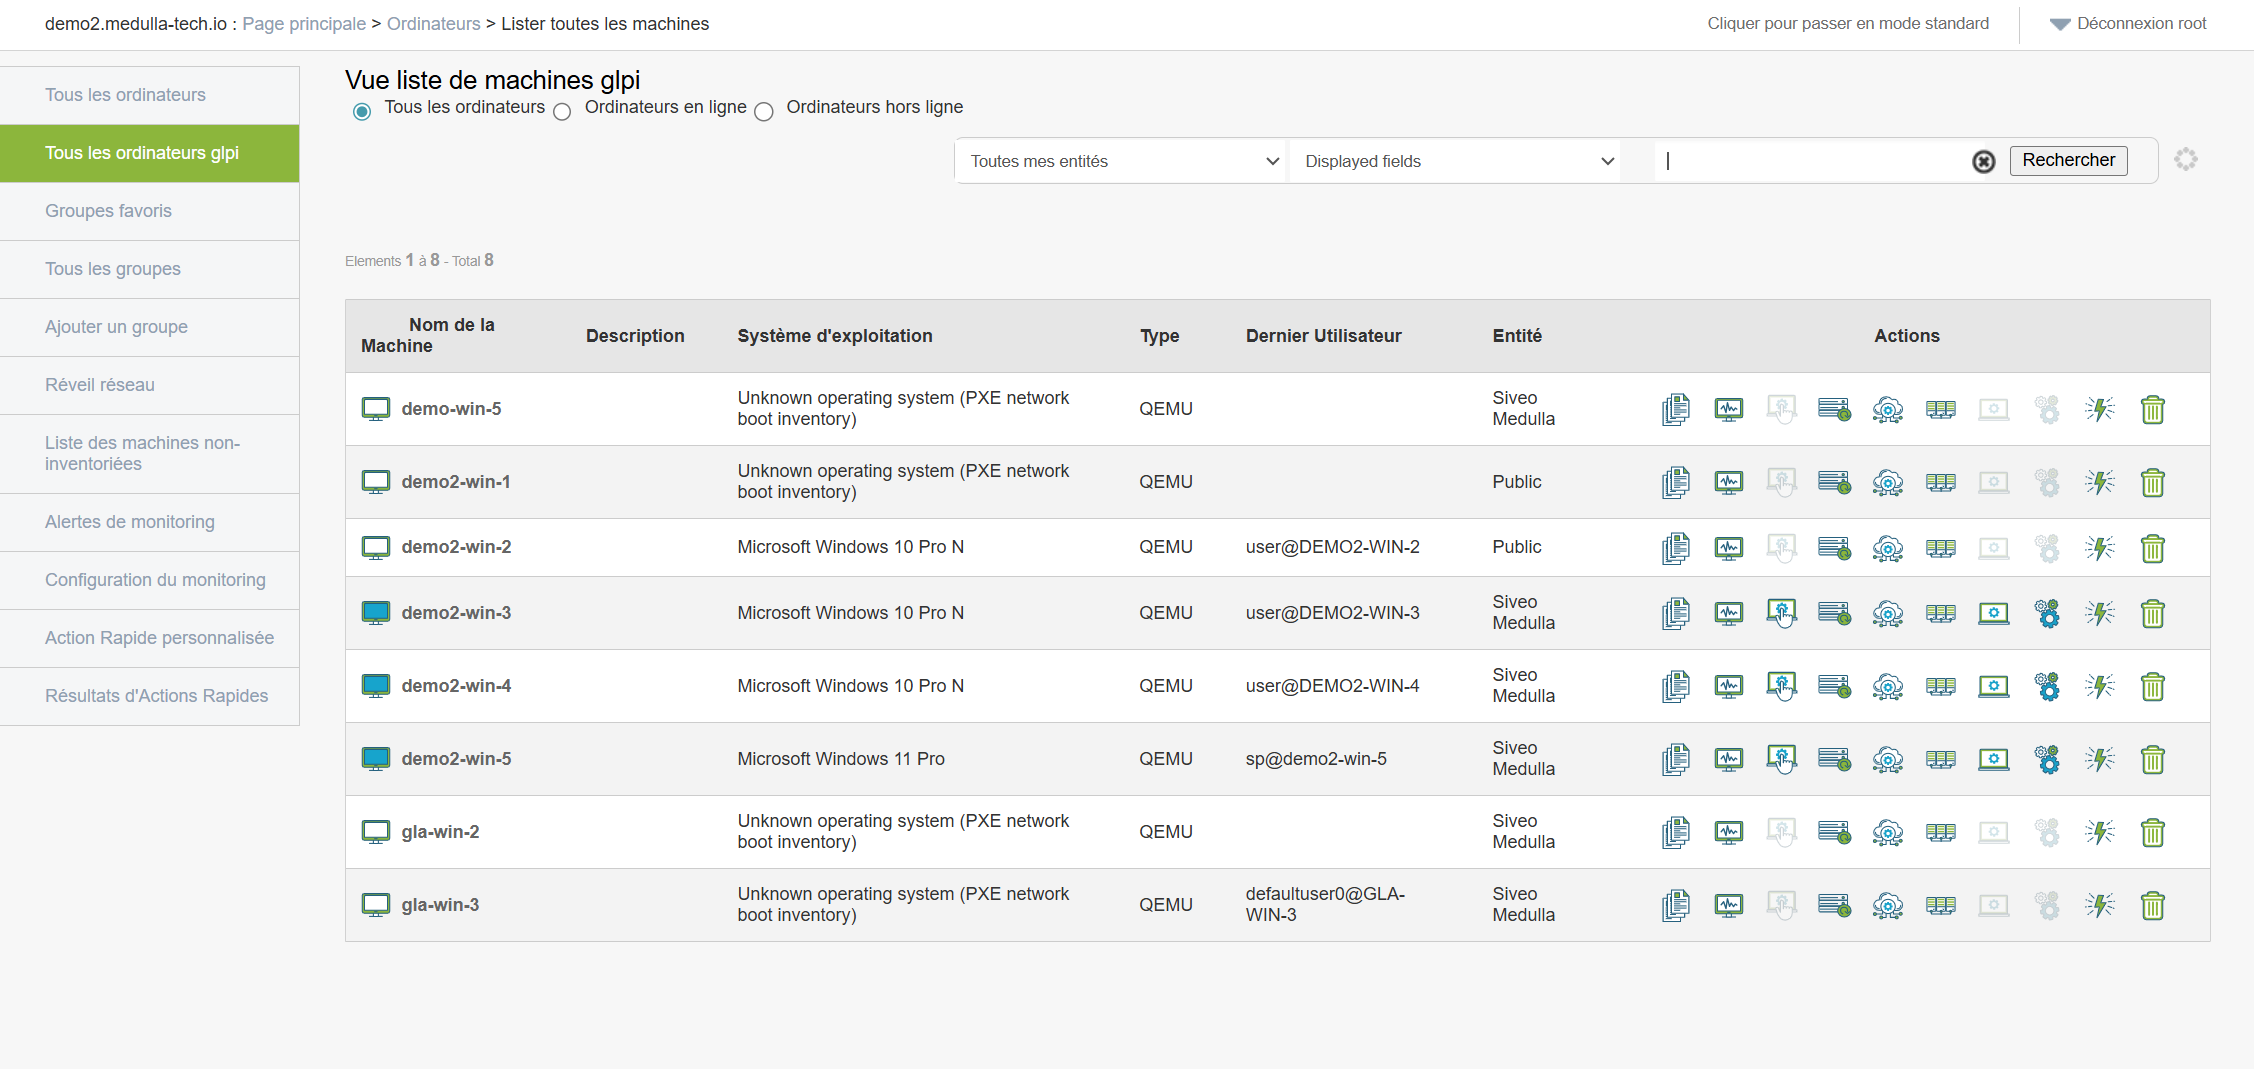
Select your machine and click the Imaging button: 
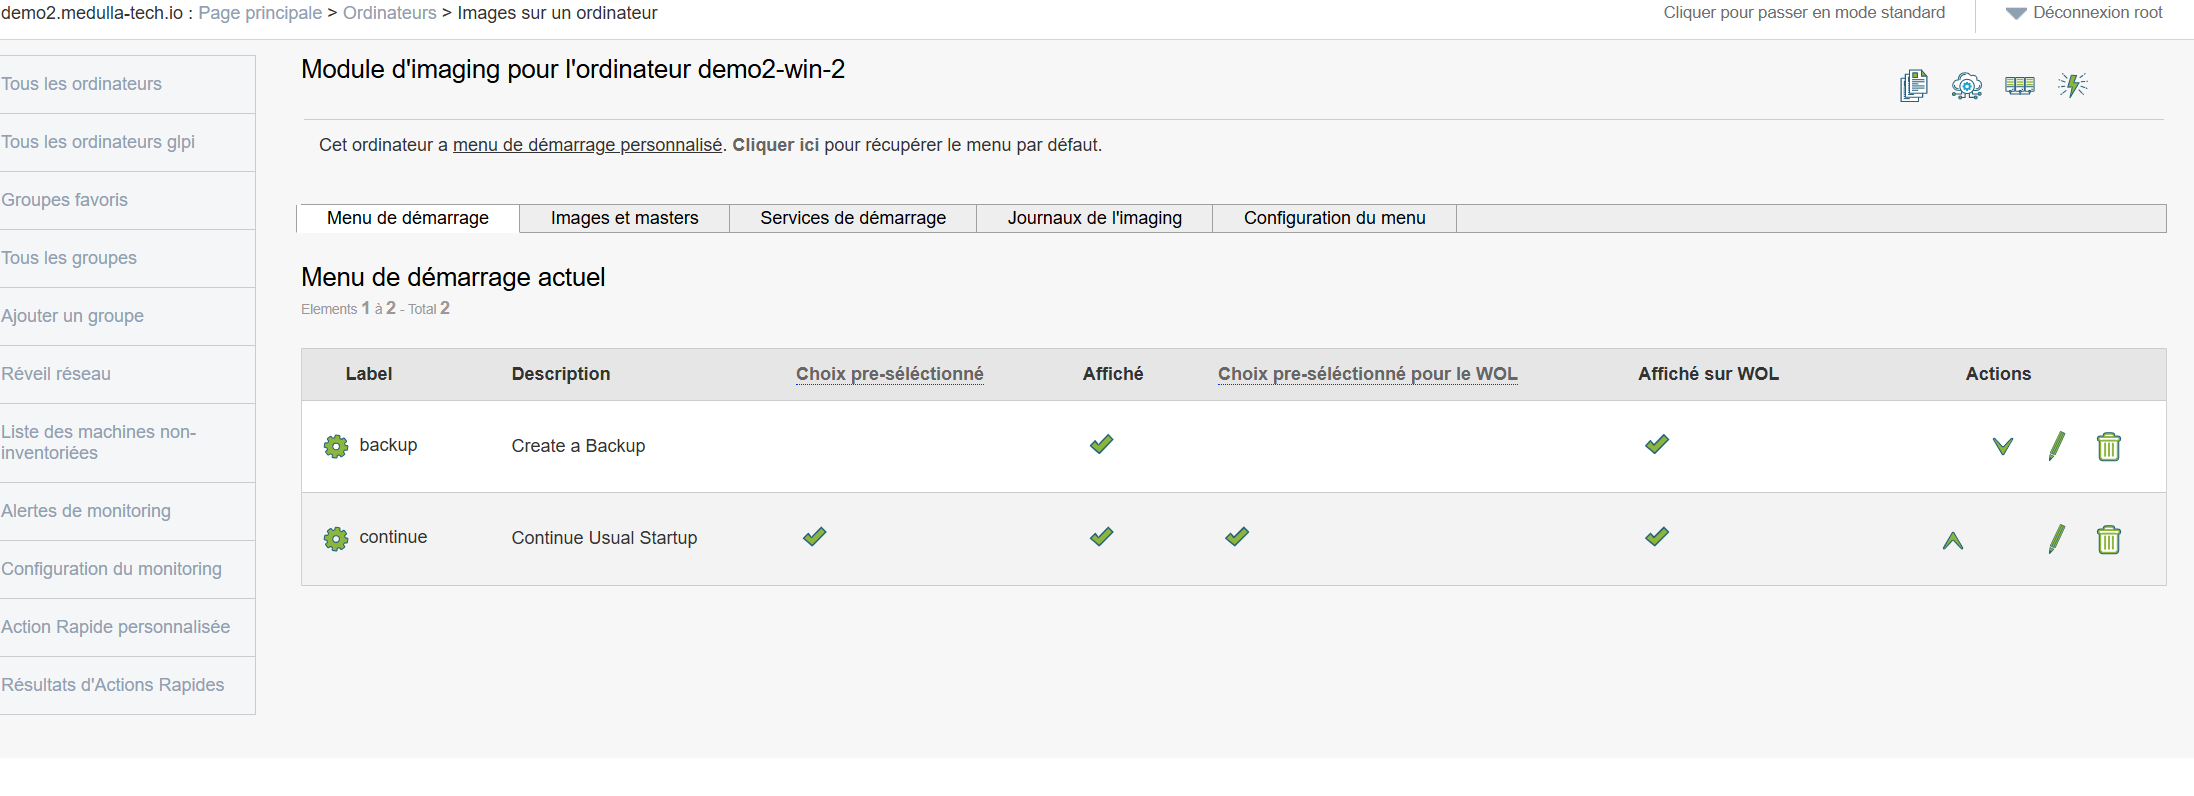
In the interface above, there are no masters associated with this machine. To associate a master and a profile with this machine, follow the steps below: Click on “Image and Masters.”
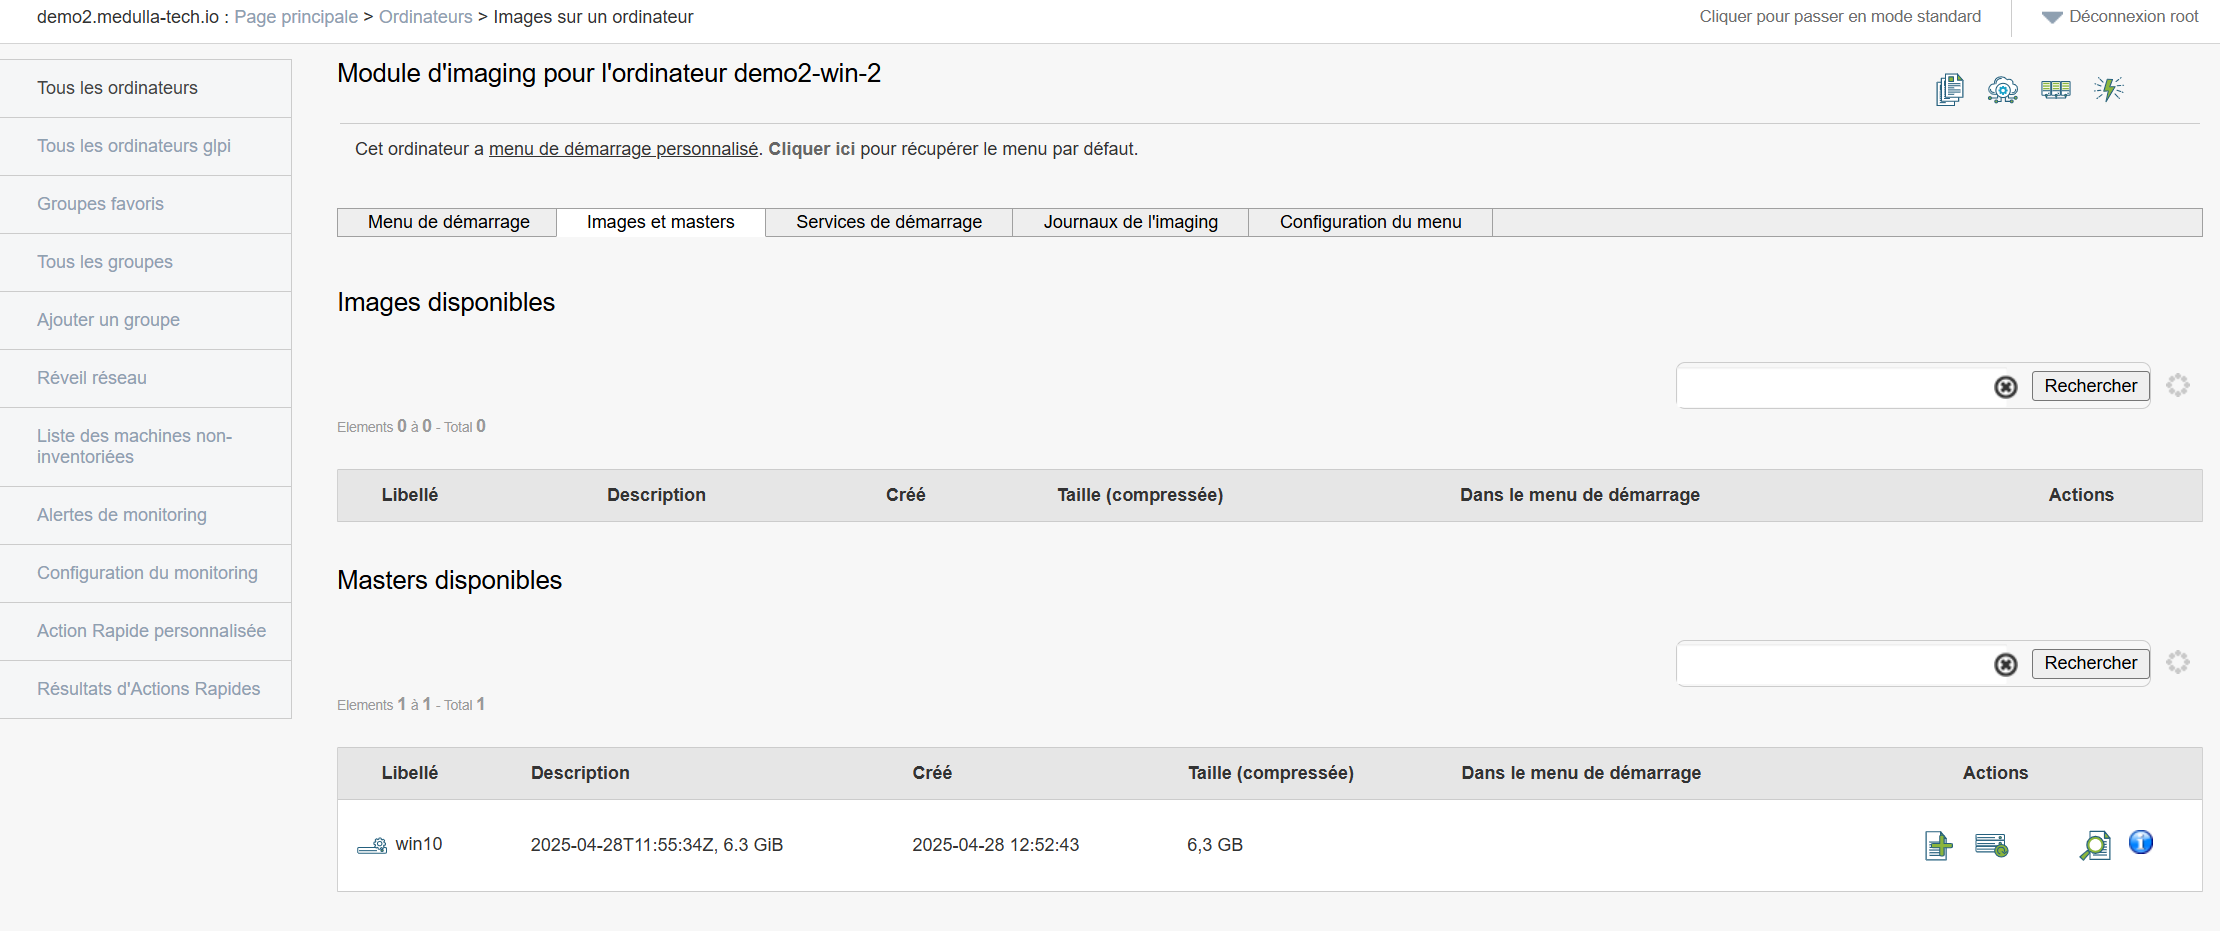
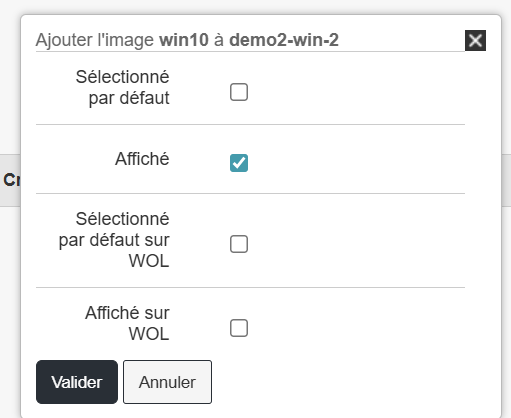
In the Available Masters section, click the Next button on the row of the master you want to select: 
A pop-up window will appear, as shown in the example below:
You can make your selection and click "Confirm."
After that, the row will change and display a small green checkmark in the “Added to Startup Menu” field:

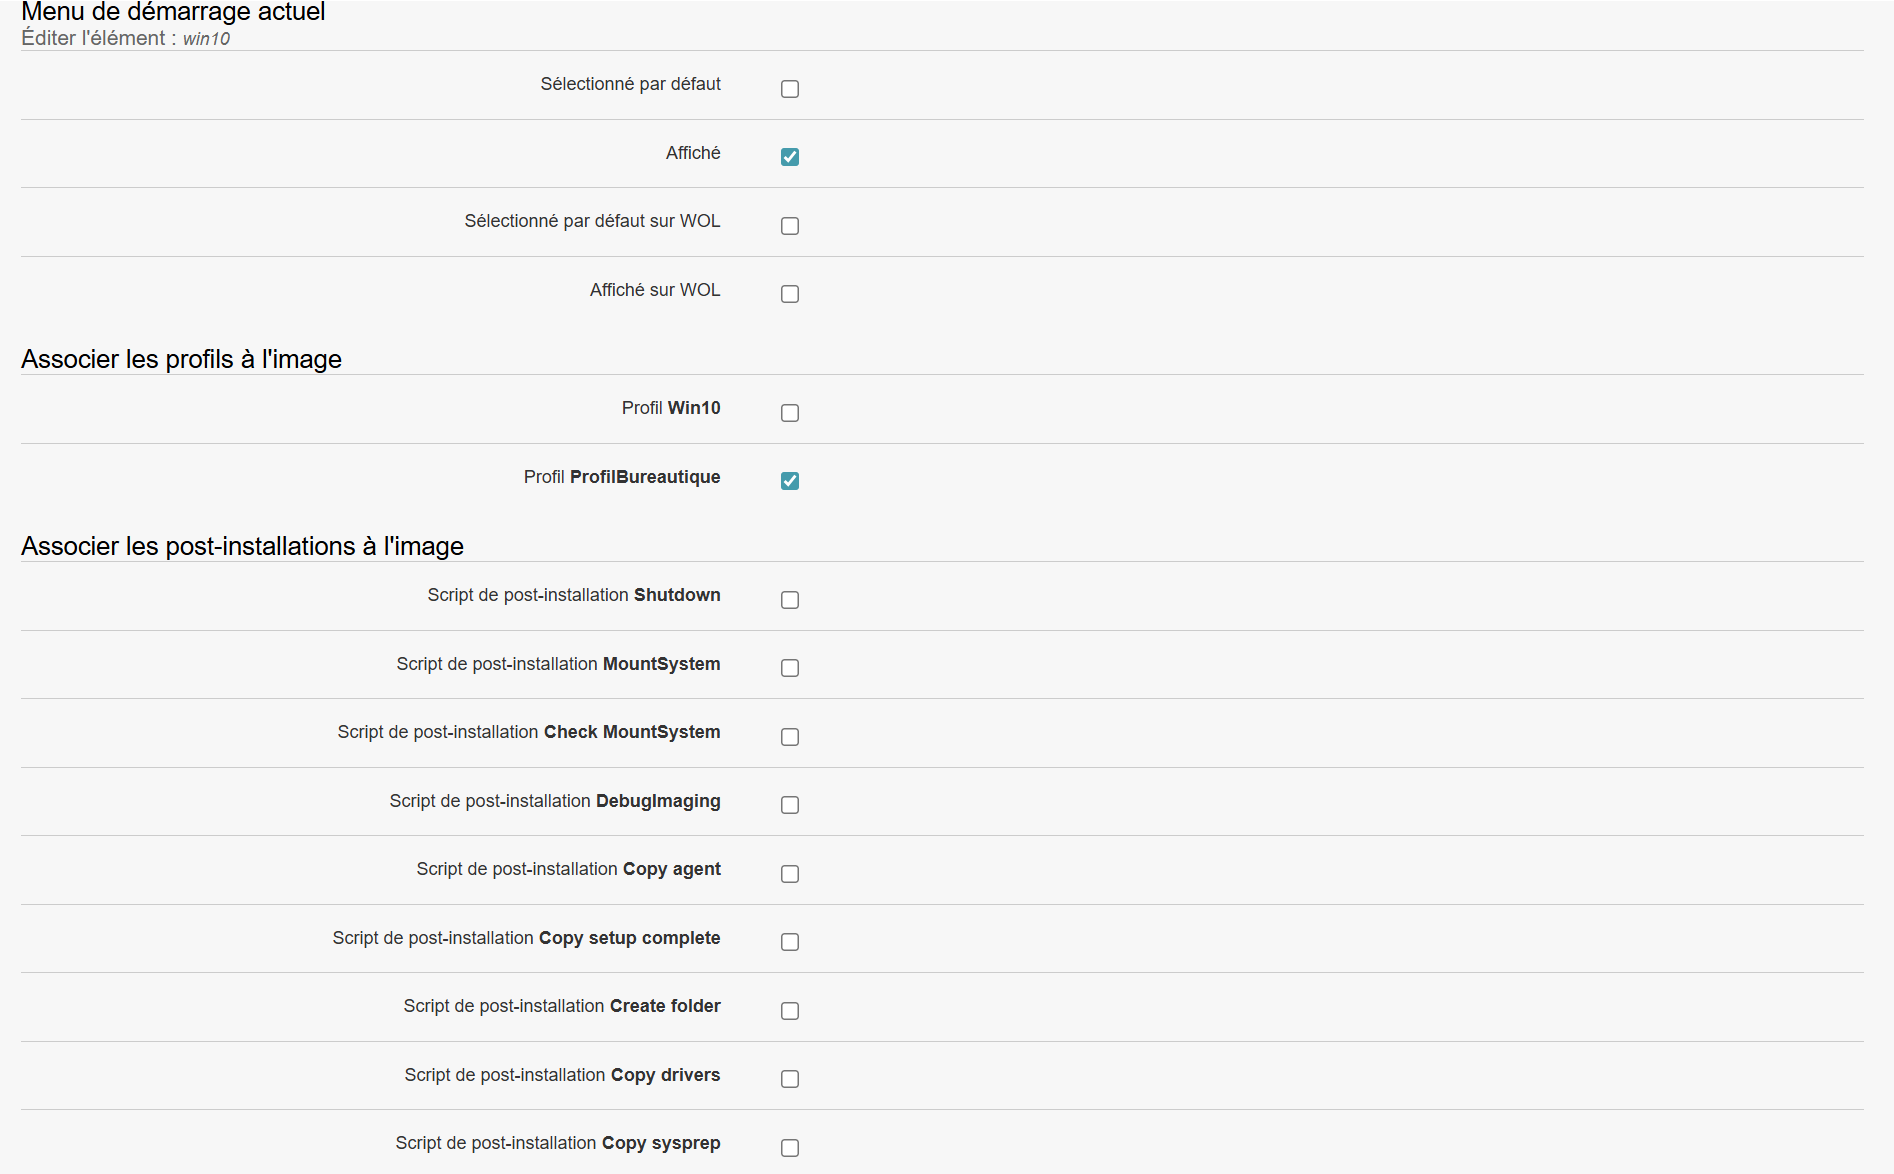
Return to the "Startup Menu" tab;
Click the "Edit" button for the master you just added: 
Check the profile you want to associate with the master for this machine: In my example, I selected the "OfficeProfile."
Then click "Confirm."

The master is now associated with one or more post-installations.
Next, boot your machine via PXE, and Medulla will automatically offer the master image with the associated profile.
You can perform the same steps on an imaging group or via the default boot menu of the imaging server.