
Capturing a Windows 11 screenshot
Applies to: Imaging / Windows Master
Version: All
Environment: On-Premise
Category: Imaging
Background
This procedure allows you to create a Windows 11 master image compatible with the Medulla Imaging module.
The process consists of several steps:
- Downloading the Windows ISO image
- Clean installation of the system
- Preparing the master in Audit mode
- PXE capture of the image via Medulla
- Converting the image to a master
Important:
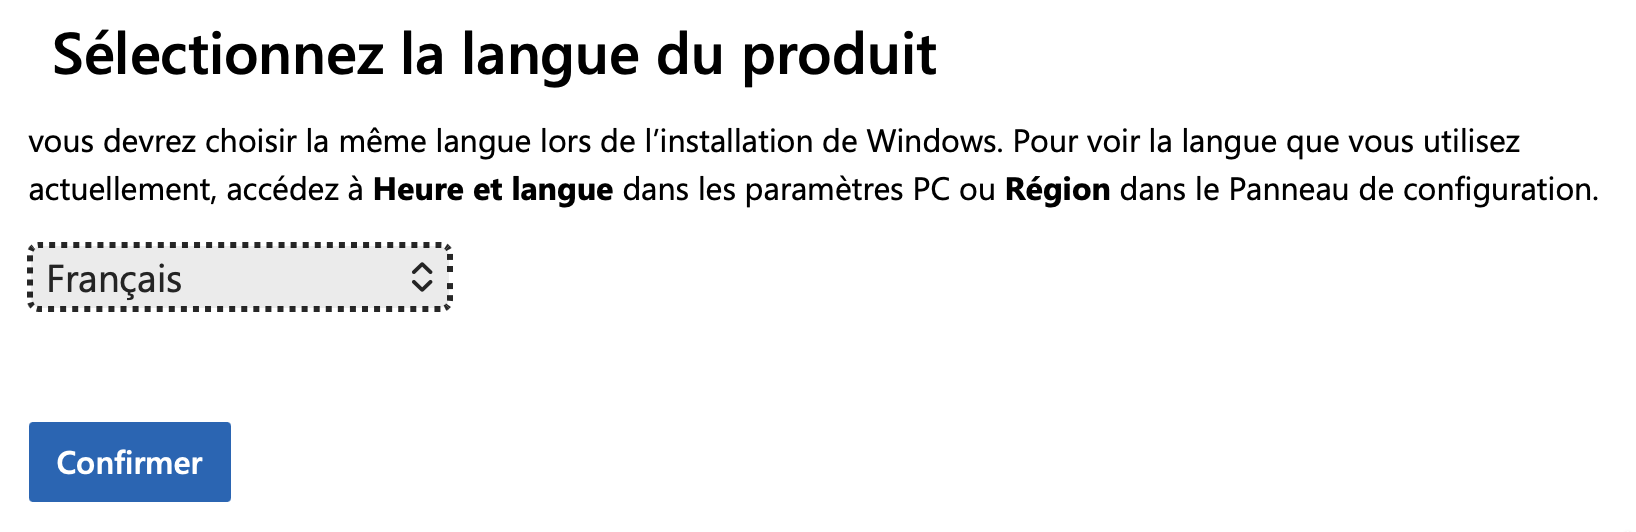
The language of the Windows ISO image must match the purchased Windows license key.
1. Download the Windows ISO image
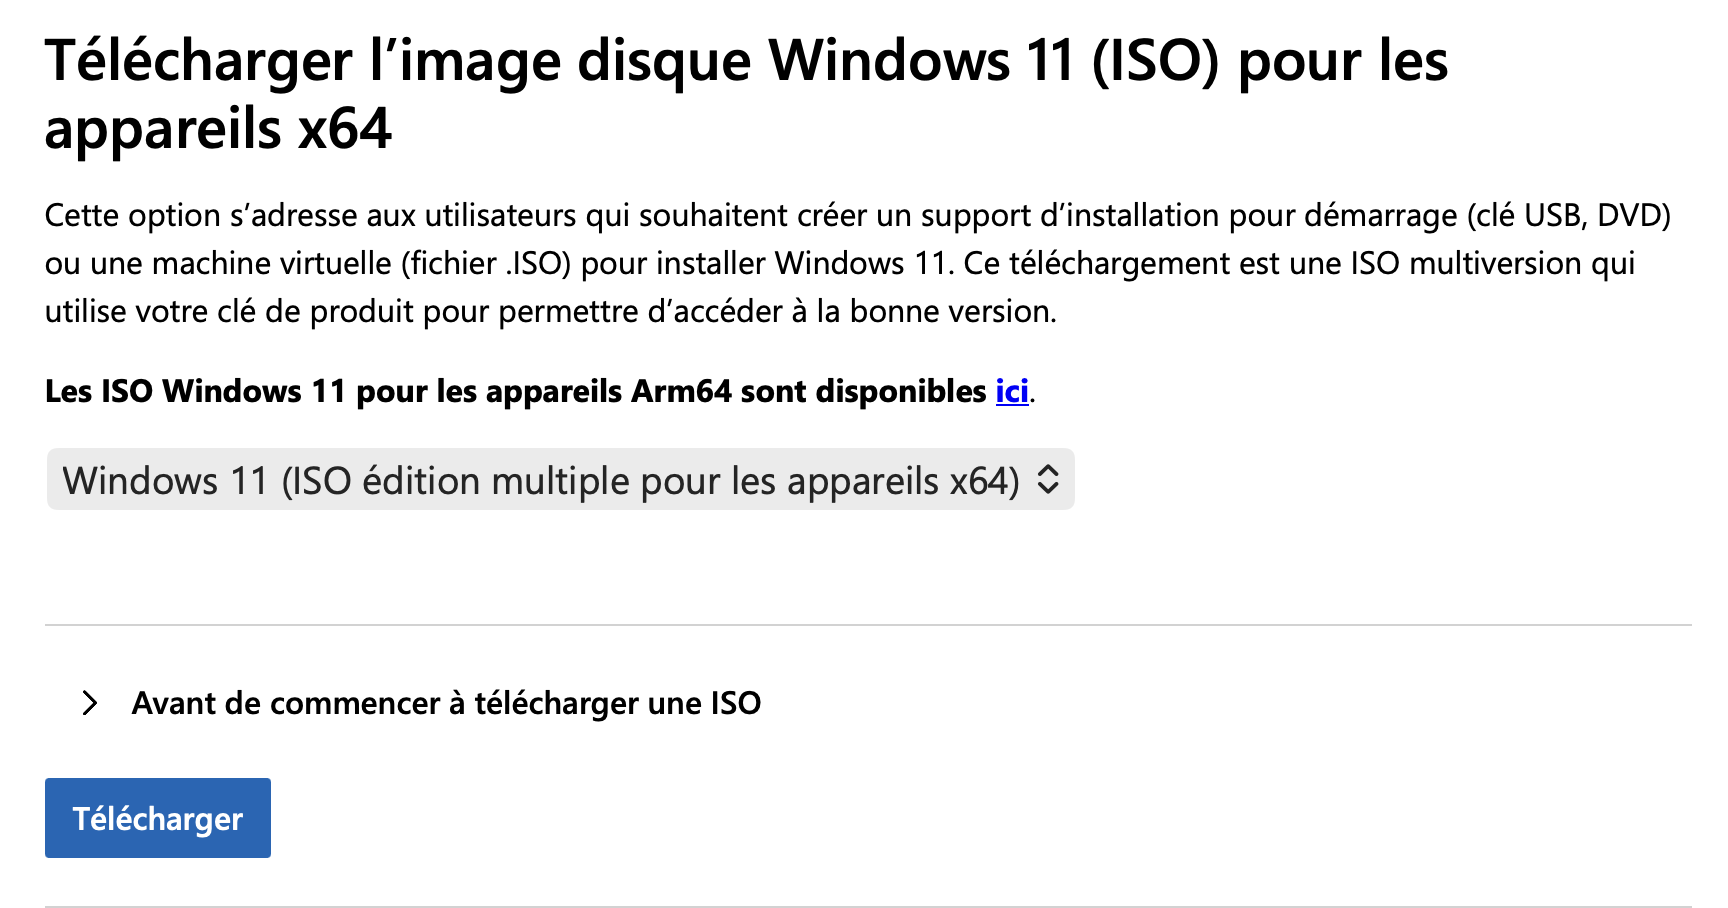
Download an official Windows ISO image from Microsoft:
Download Windows 11 – Microsoft
Select the version that matches your Windows license.
2. Installing Windows
Start the virtual machine (or physical machine) using the downloaded Windows ISO, then begin the installation.
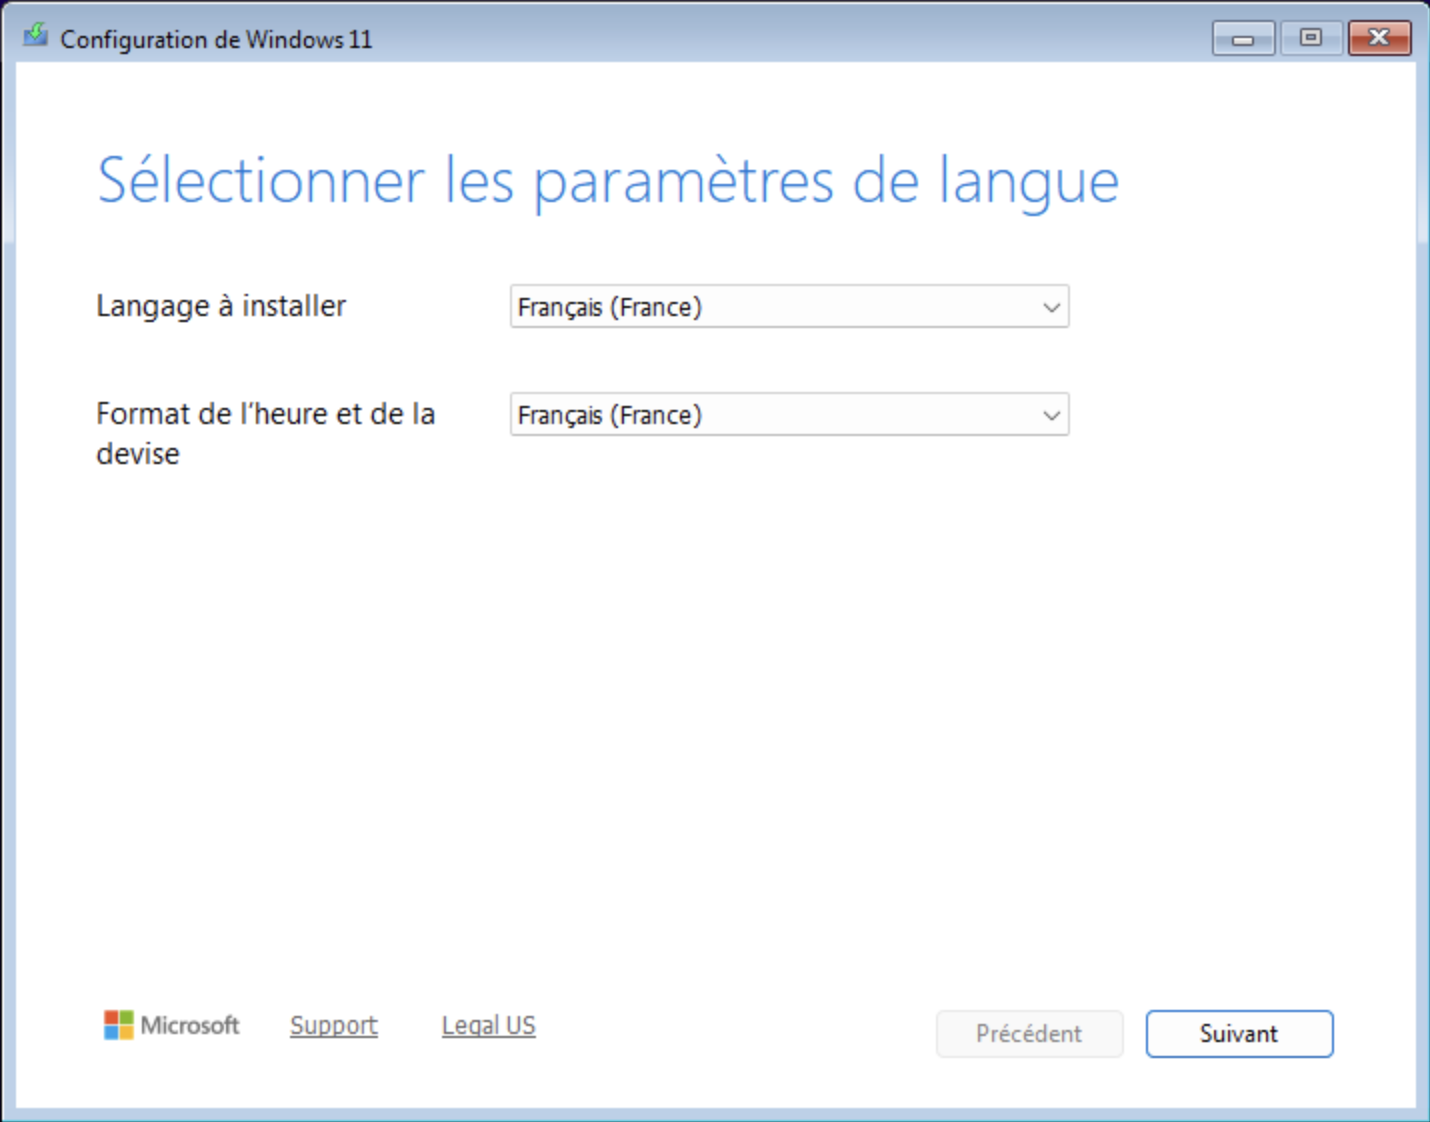
Choose the language
Select the language that matches your Windows license.
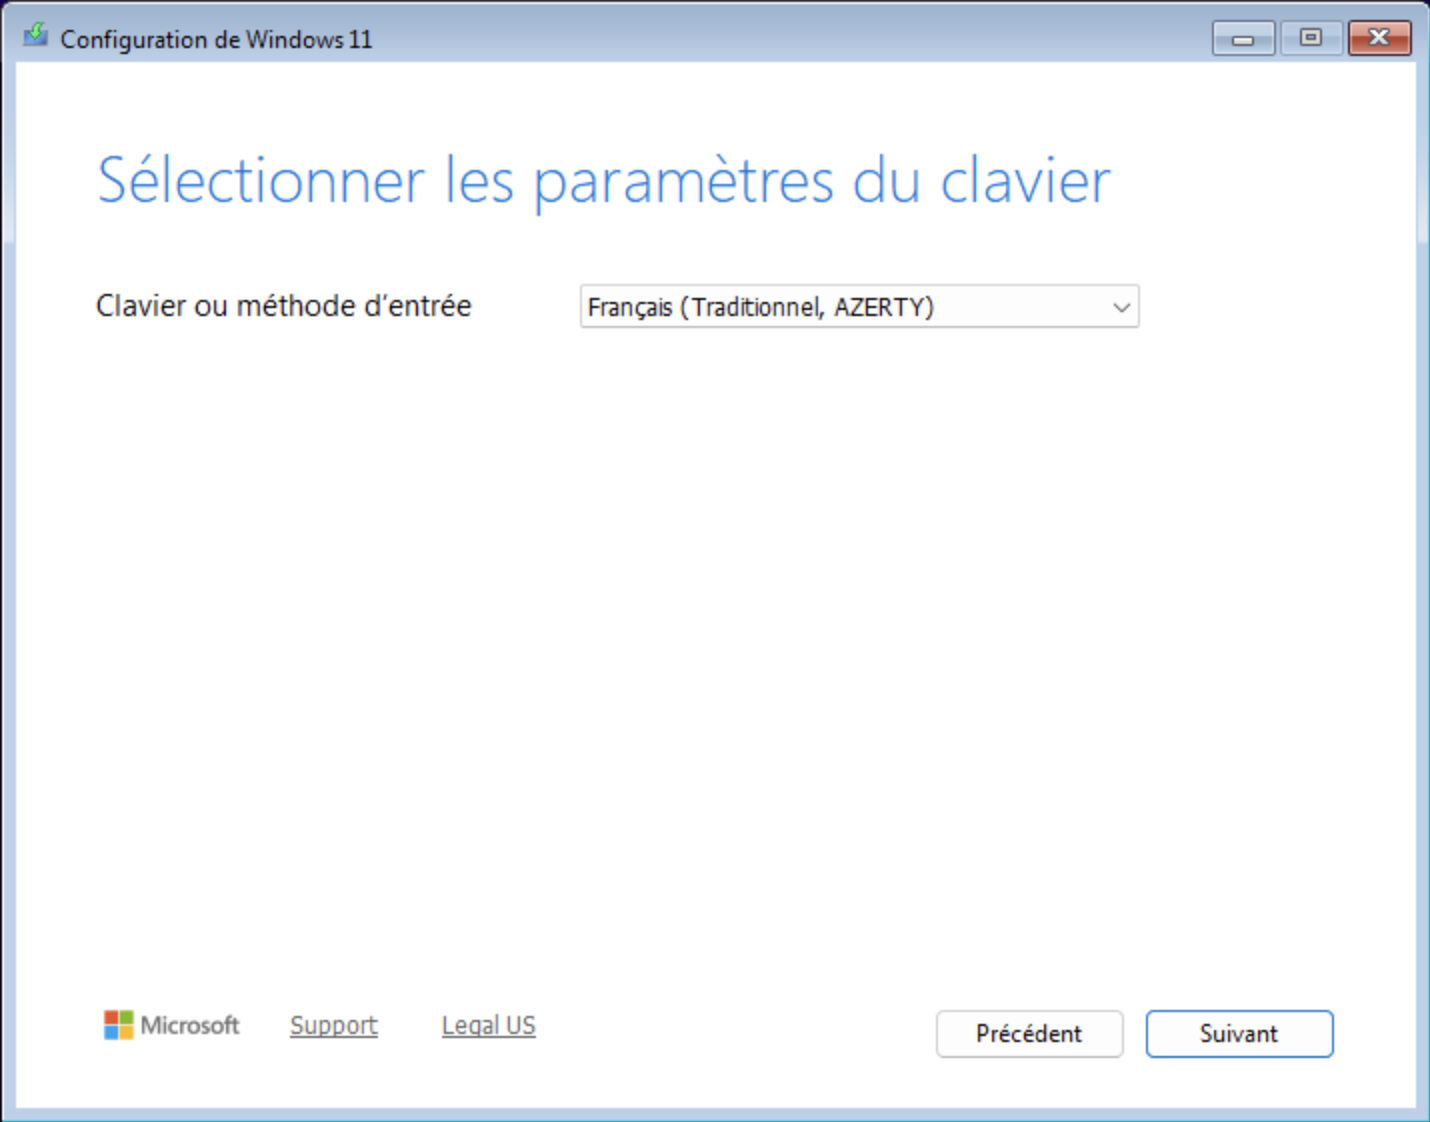
Choose a keyboard layout
Select the desired keyboard layout.
Choose the installation type
Set the installation settings exactly as indicated.
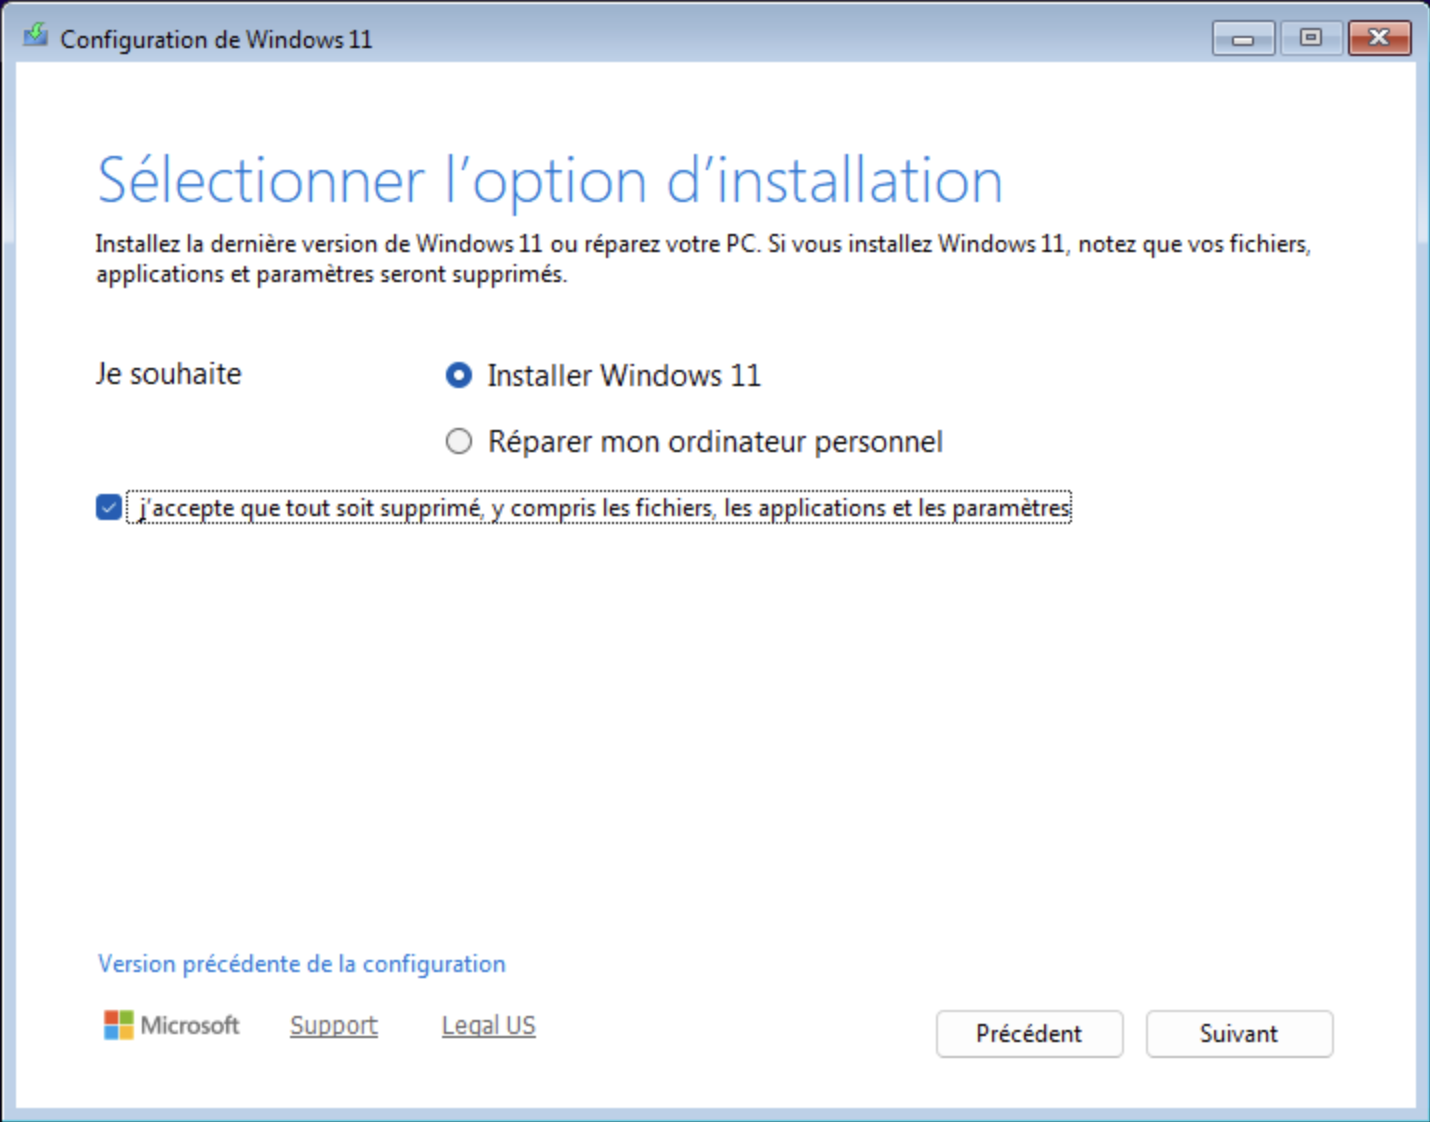
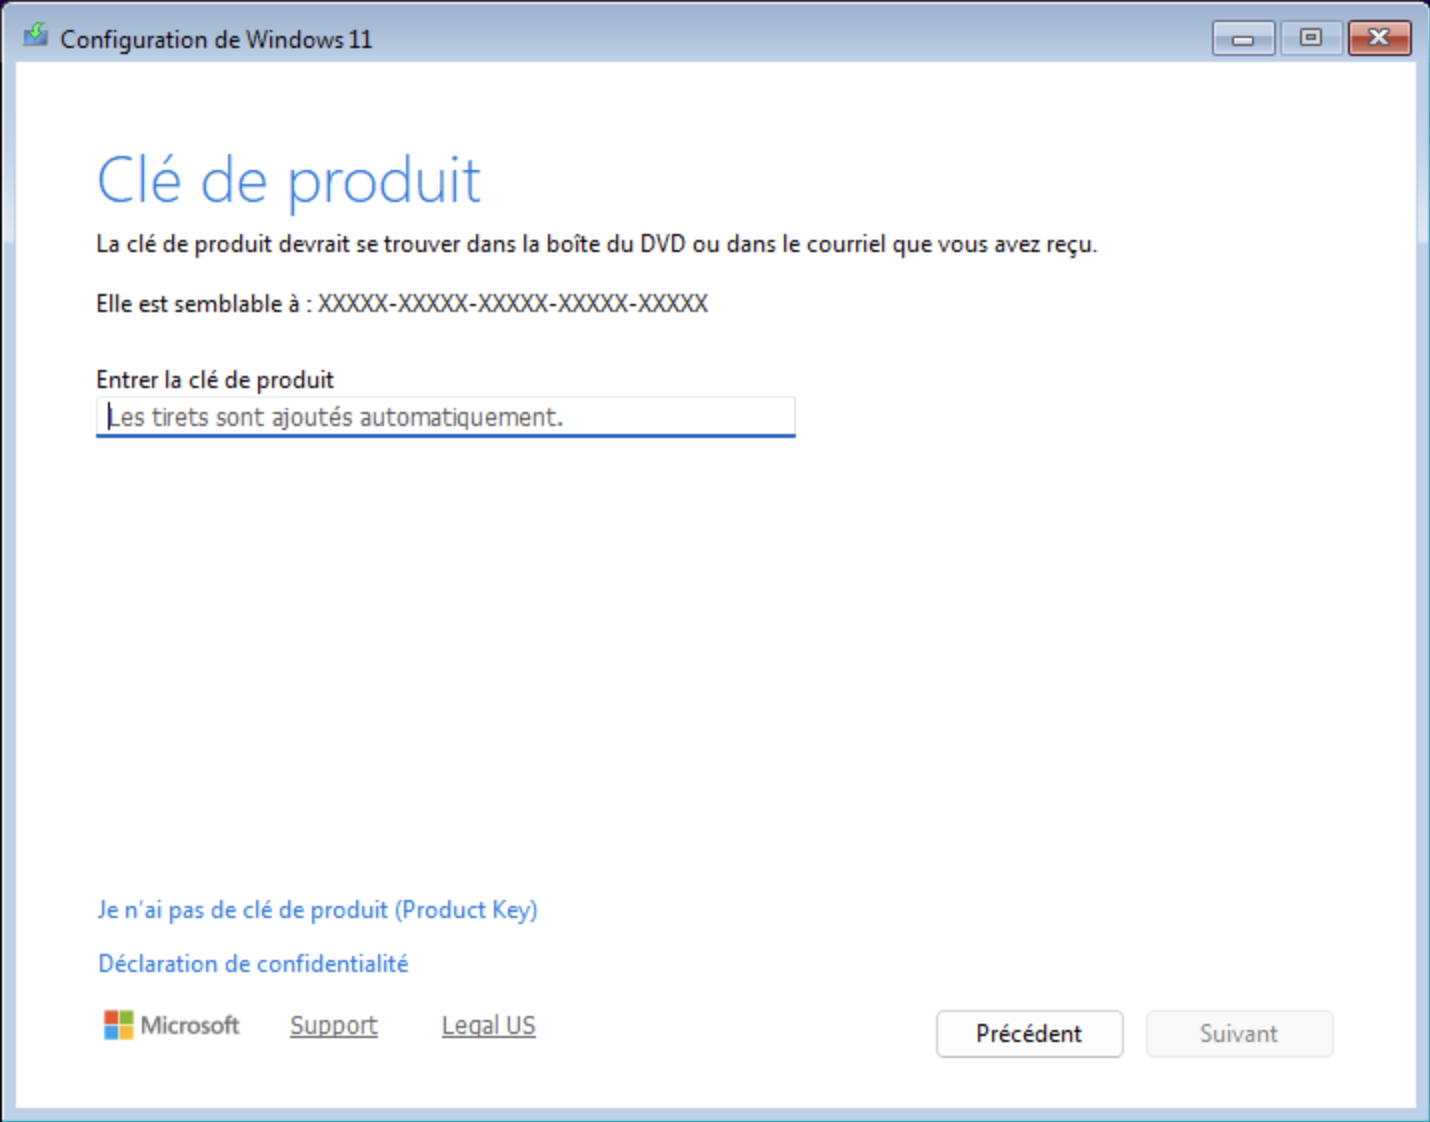
Skip the product key
Important:
Click:
I don't have a product keyThe license will be applied later.
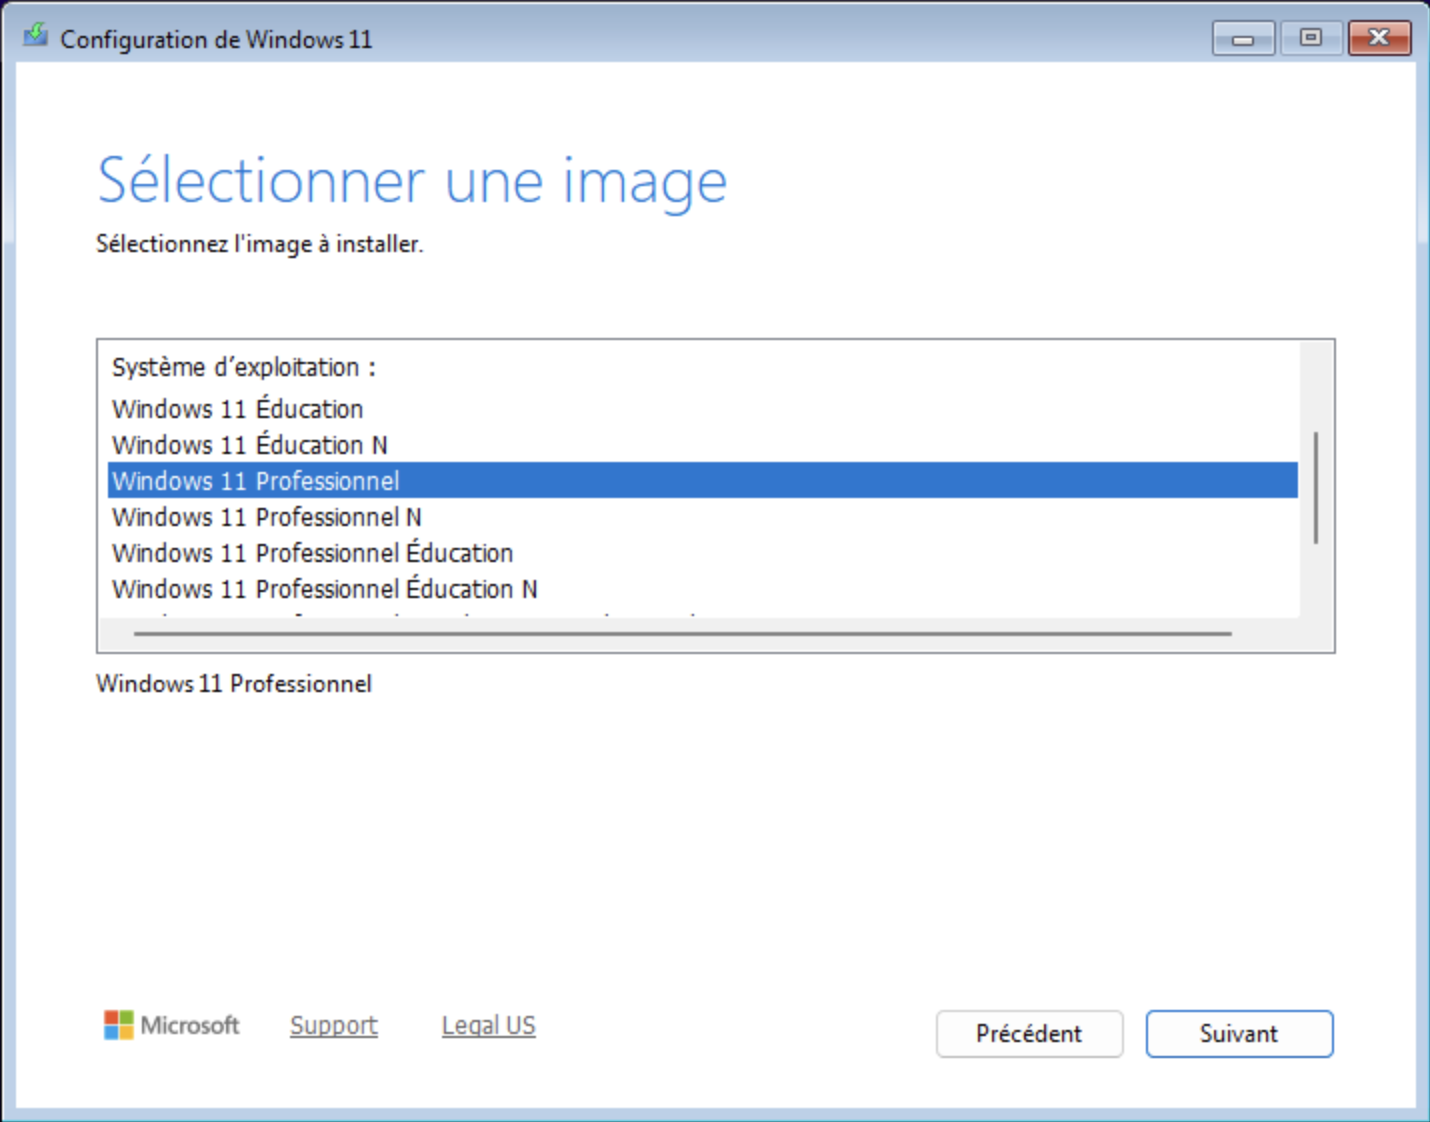
Select the Windows edition
Note:
Be sure to select the exact version of Windows that matches your license:
- Windows 11 Pro
- Windows 11 Enterprise
- Other licensed version
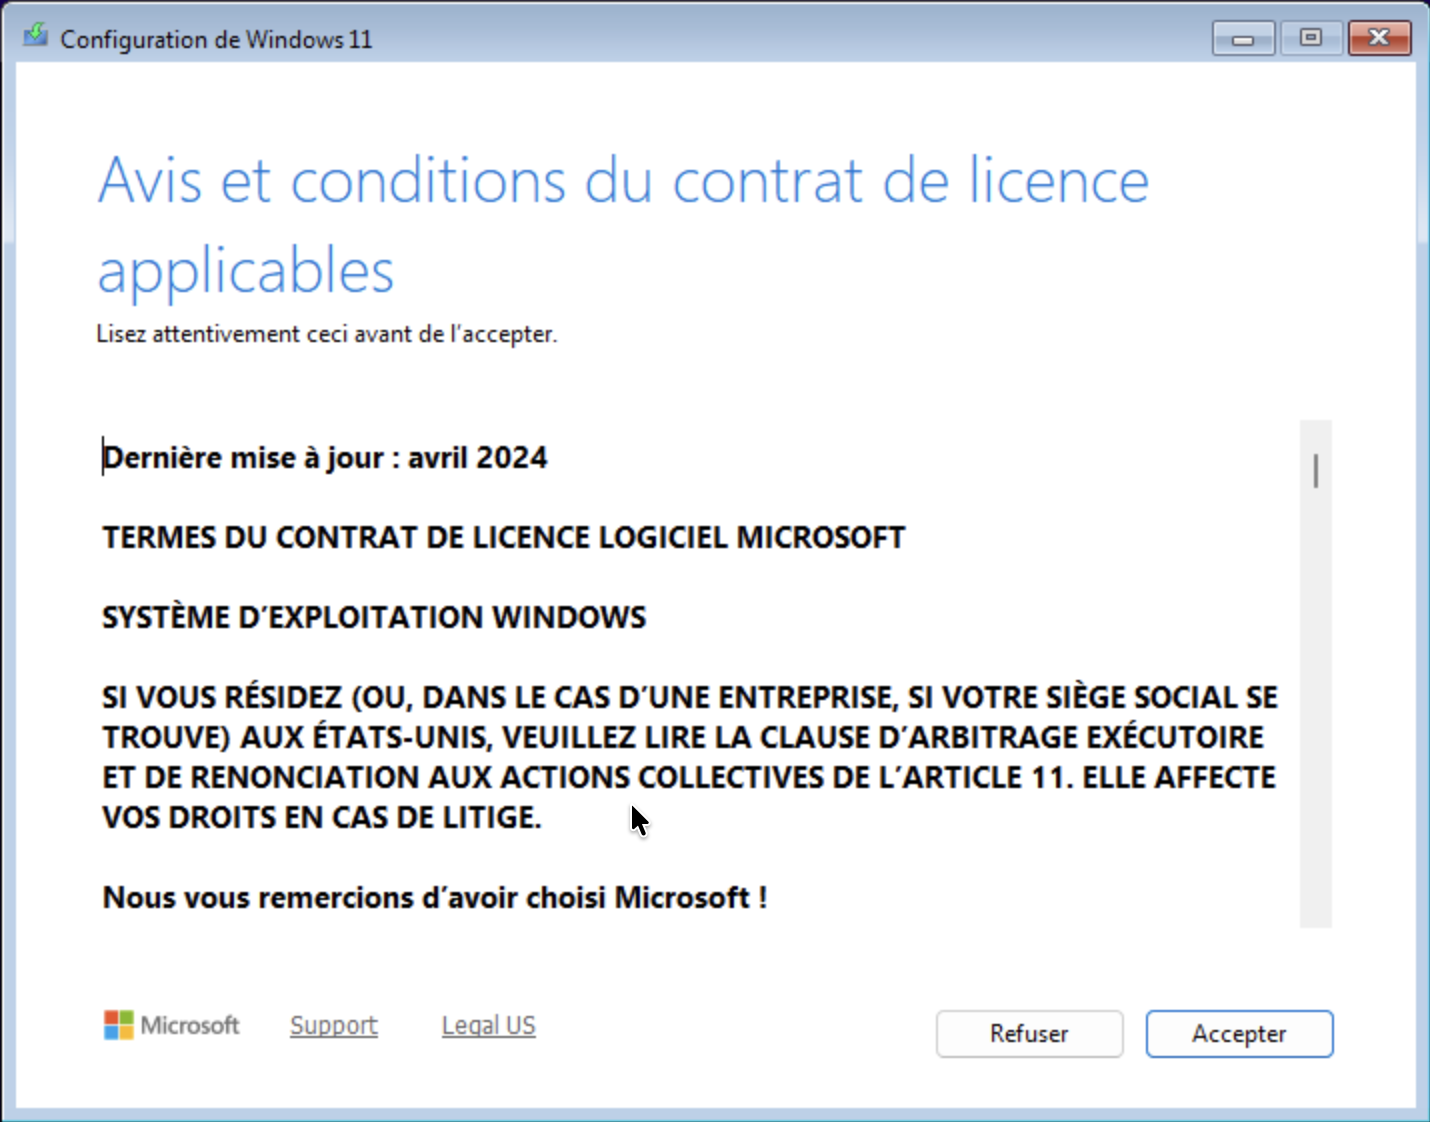
Accept the license agreement
Accept the Microsoft license terms.
Select the installation drive
Select the drive where Windows will be installed.
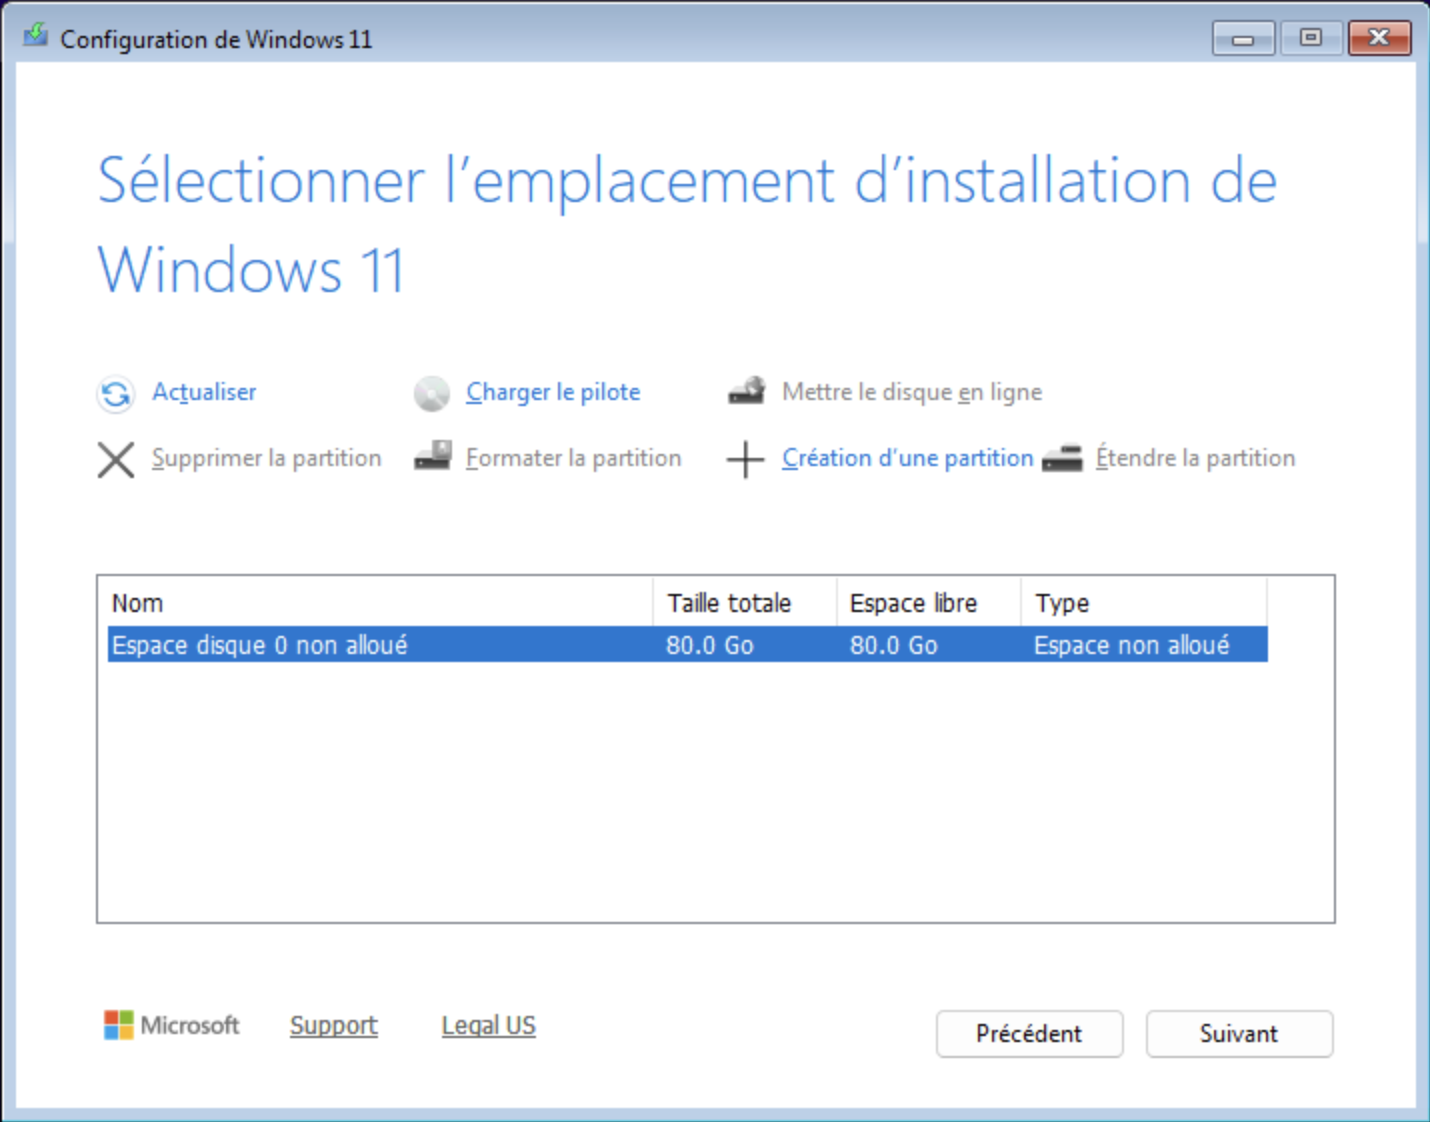
Start the installation
Start the installation and wait for the process to complete.
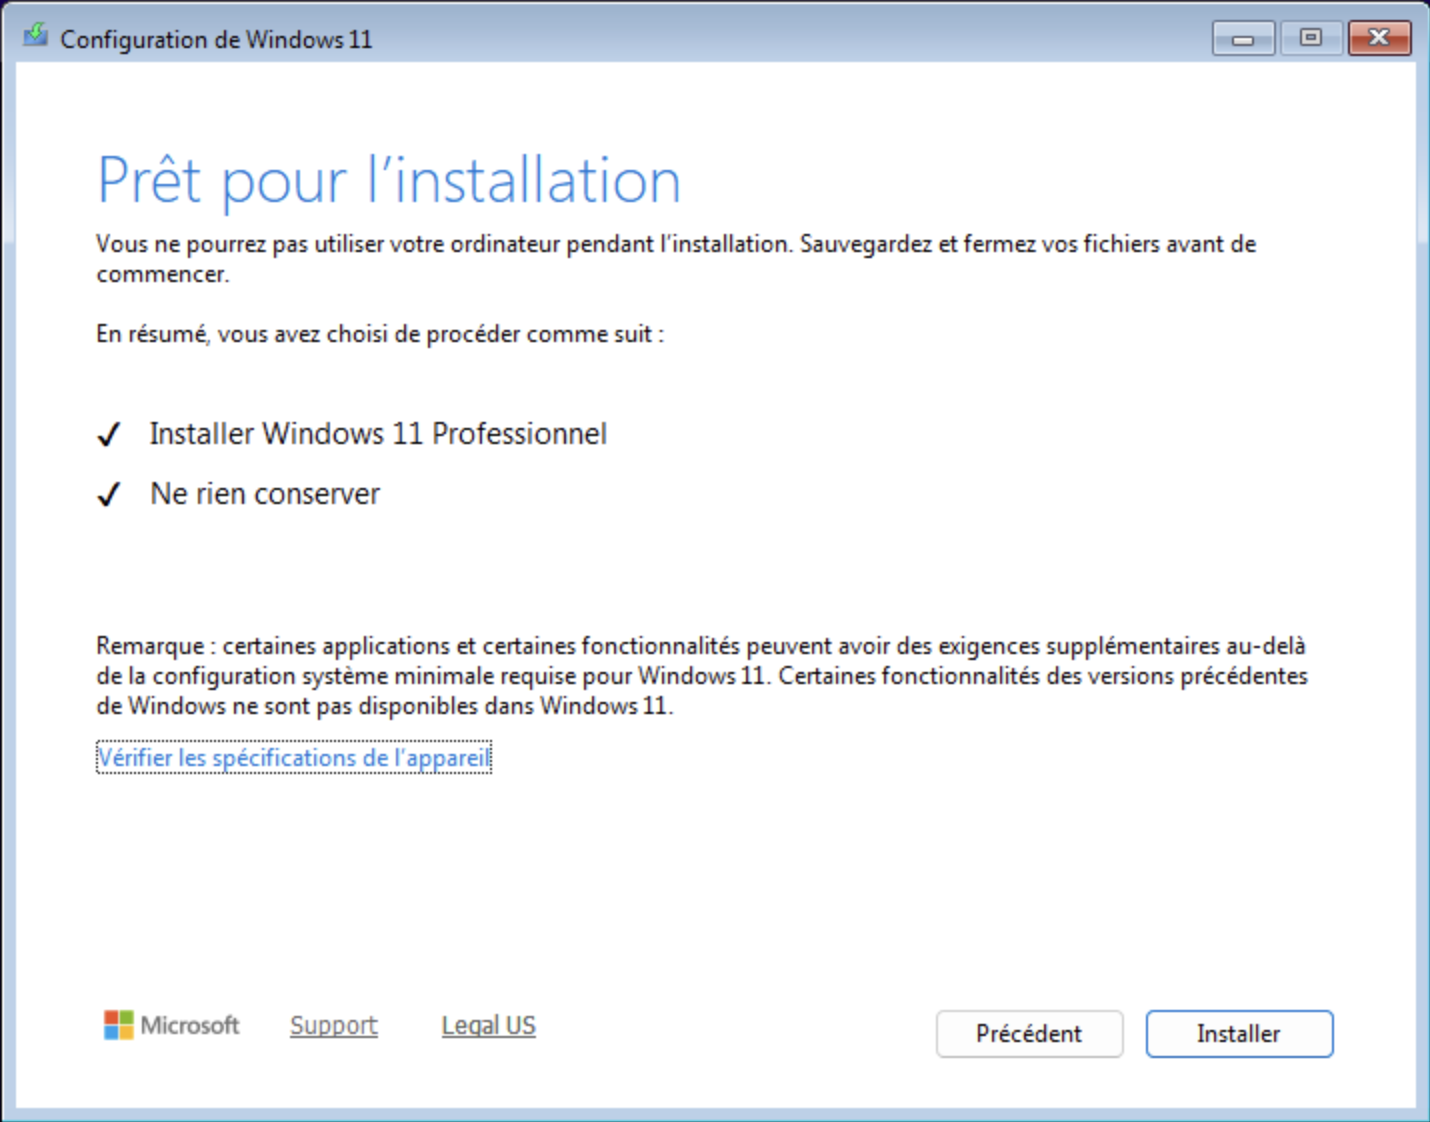
The computer will restart automatically several times.
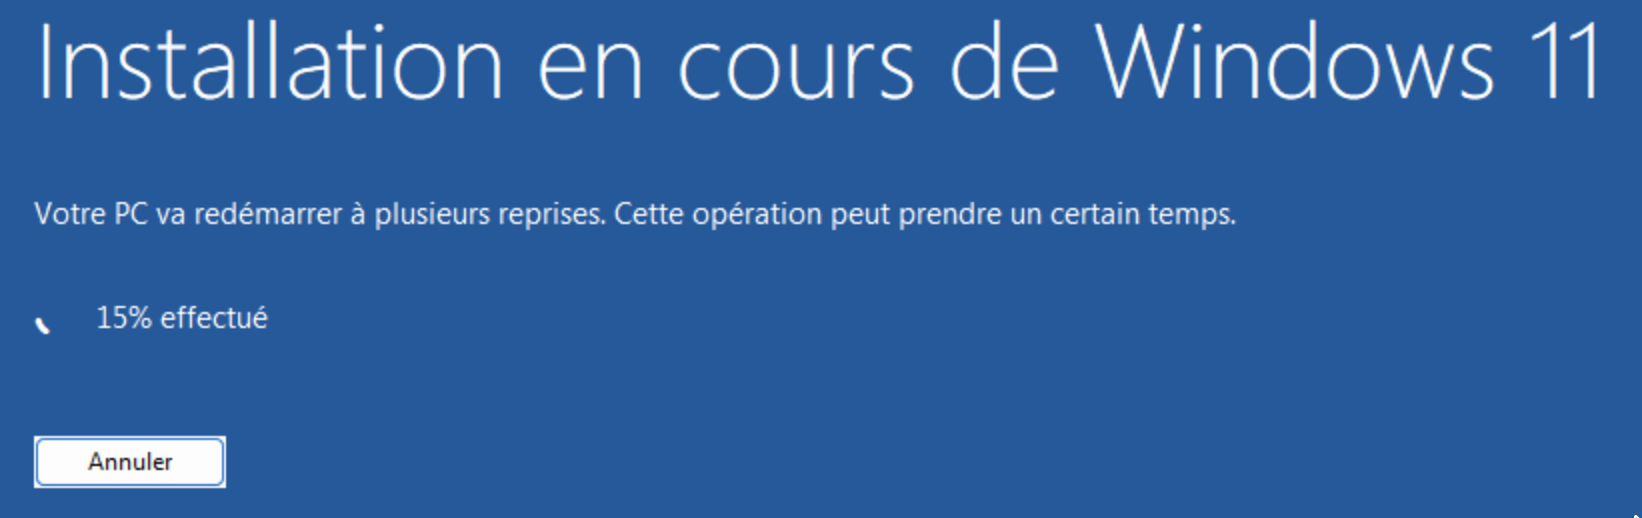
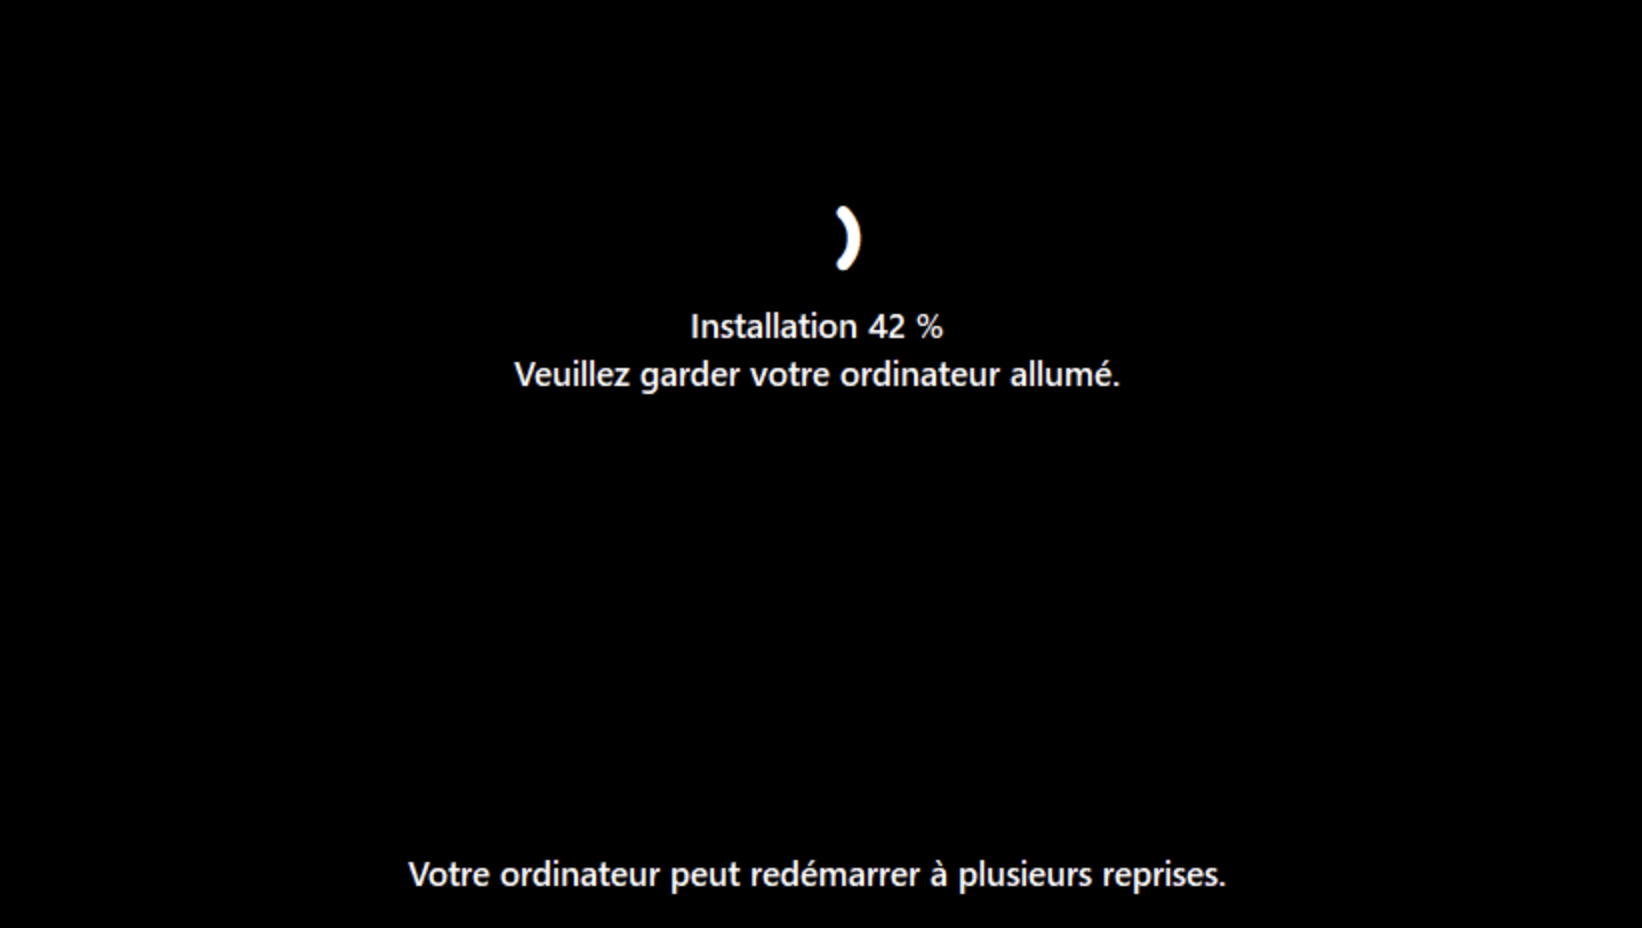
3. Preparing the Windows master
Once the OOBE (Windows initial setup) screen appears:
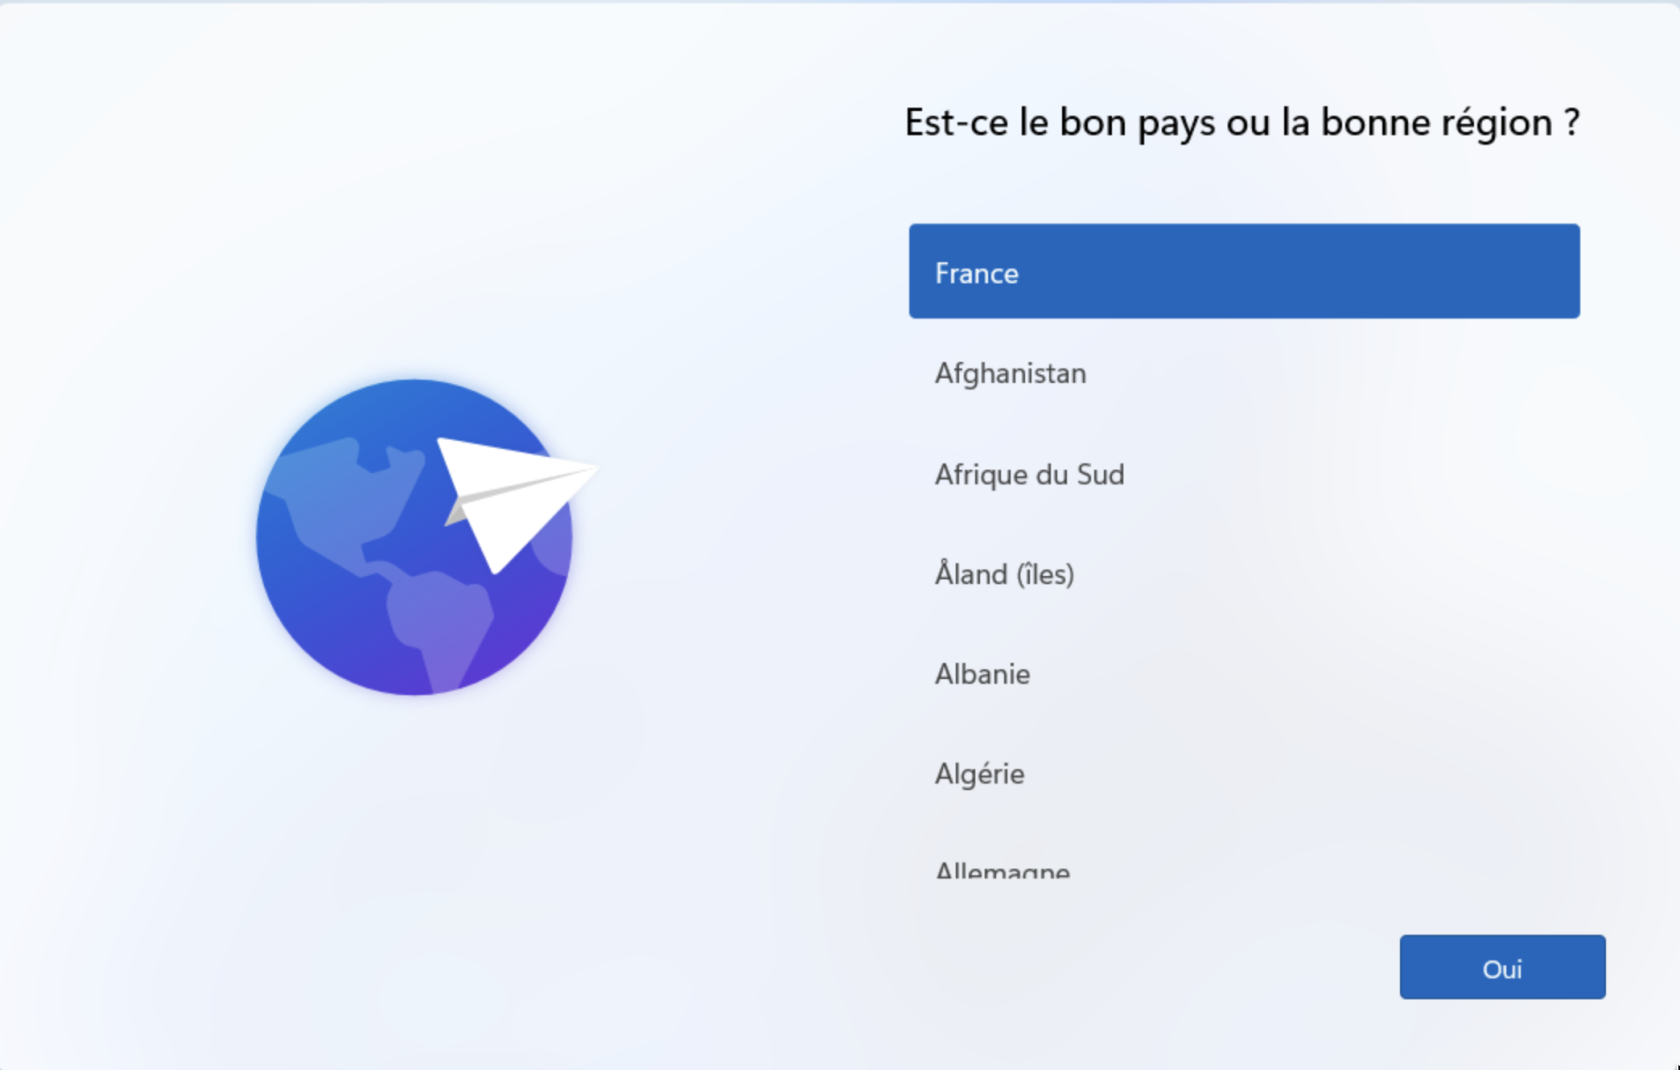
CTRL + SHIFT + F3The machine will automatically reboot into Audit Mode using the local Administrator account.
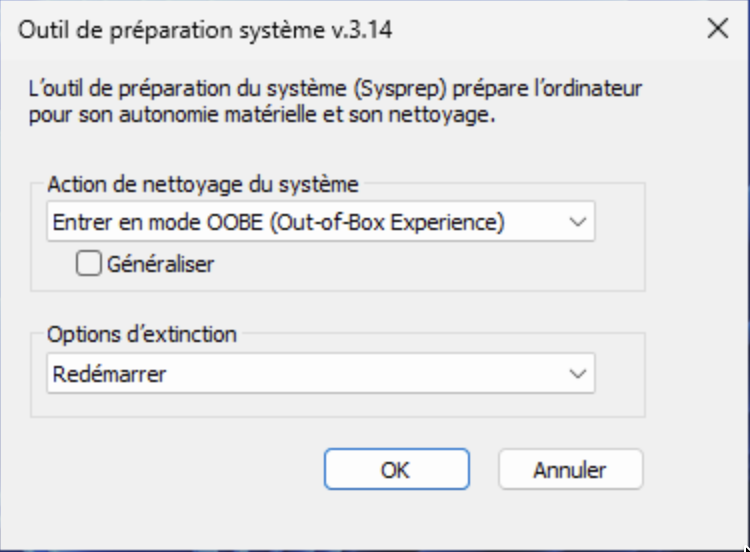
Tip:
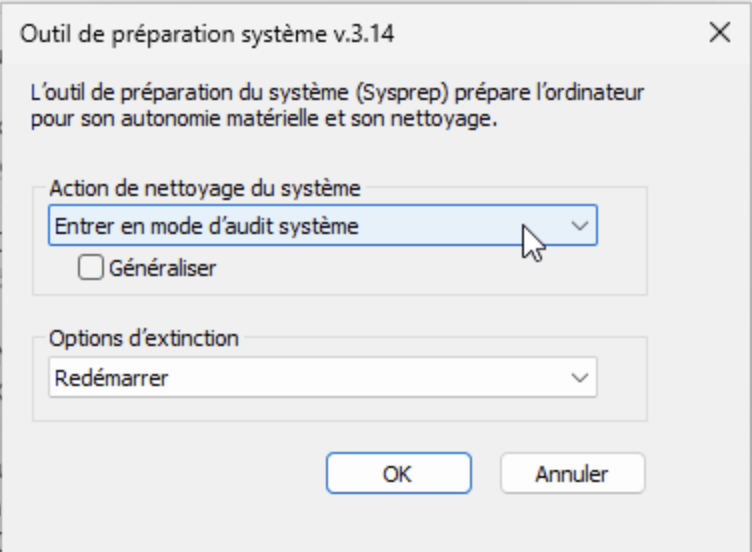
Leave the System Preparation Tool (Sysprep) window open. It will be used later.
Install Windows updates
Install all the latest updates via:
Windows Update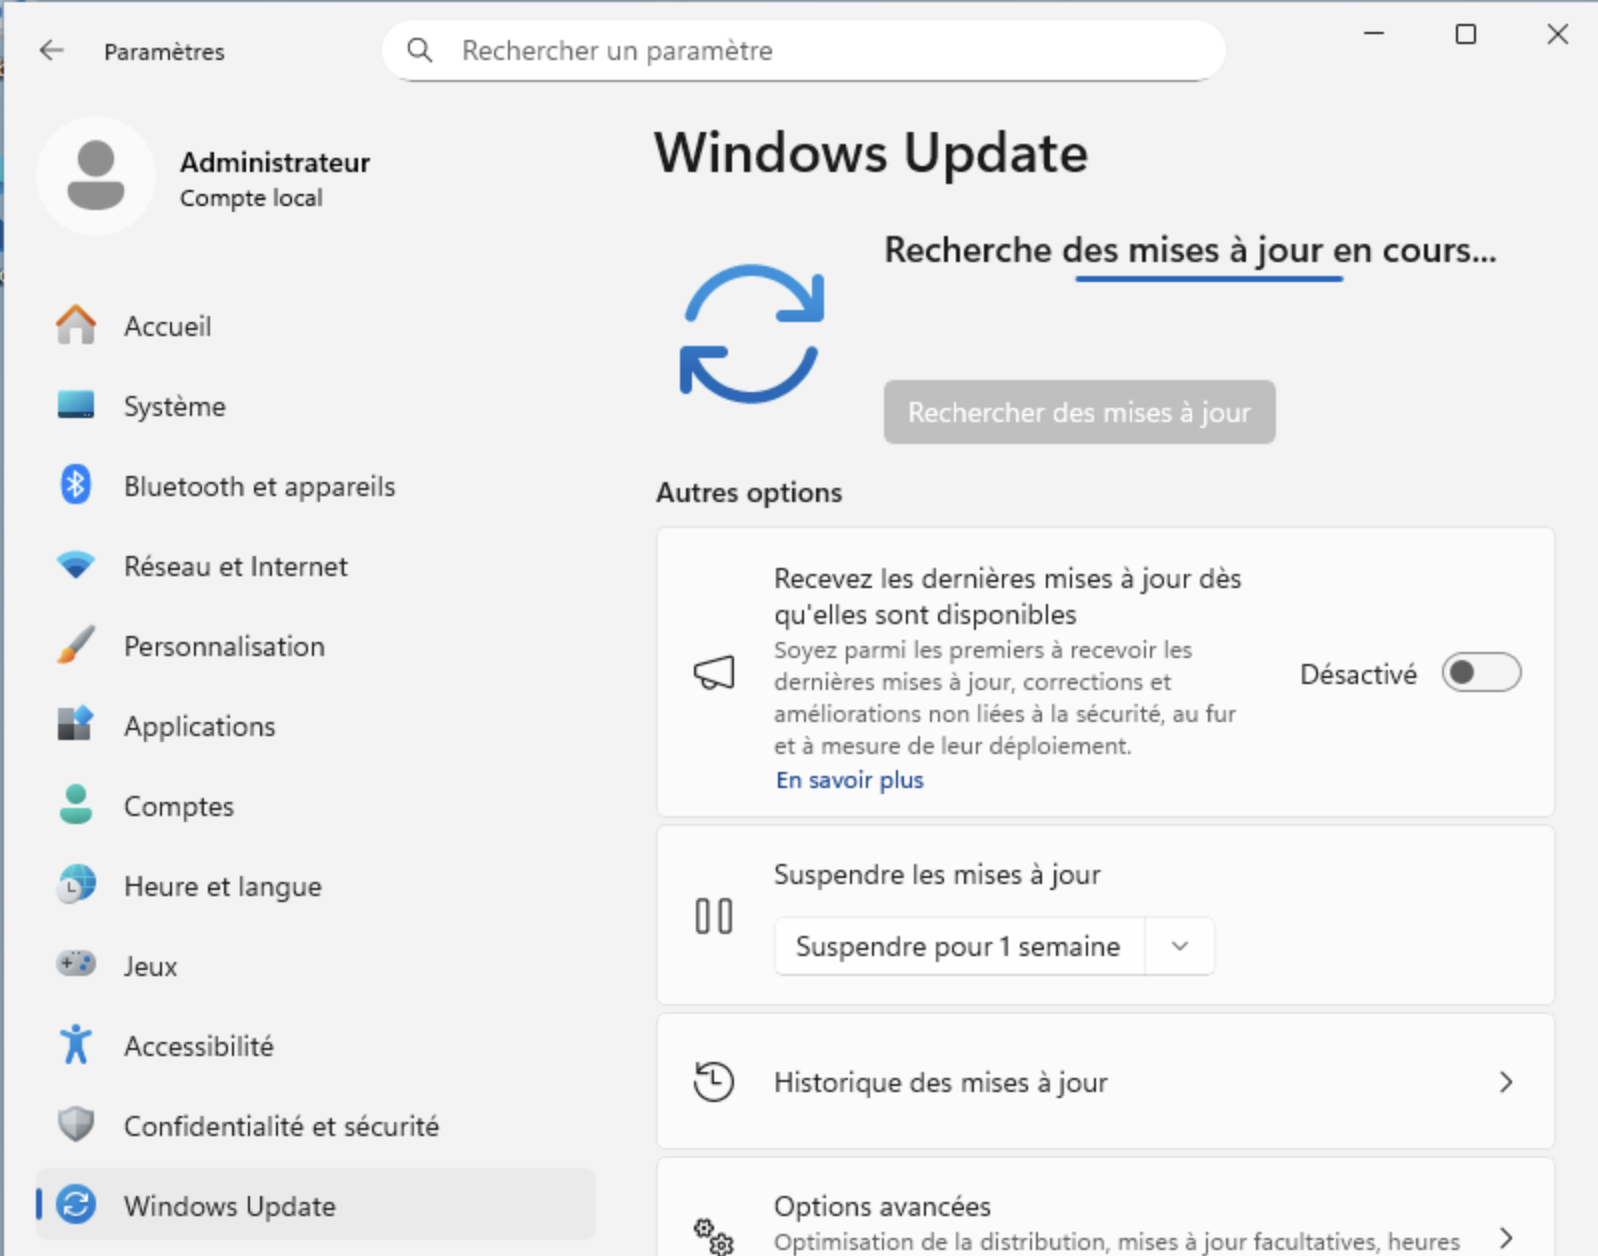
Caution:
If a restart is required and the OOBE screen reappears, press the following keys again:
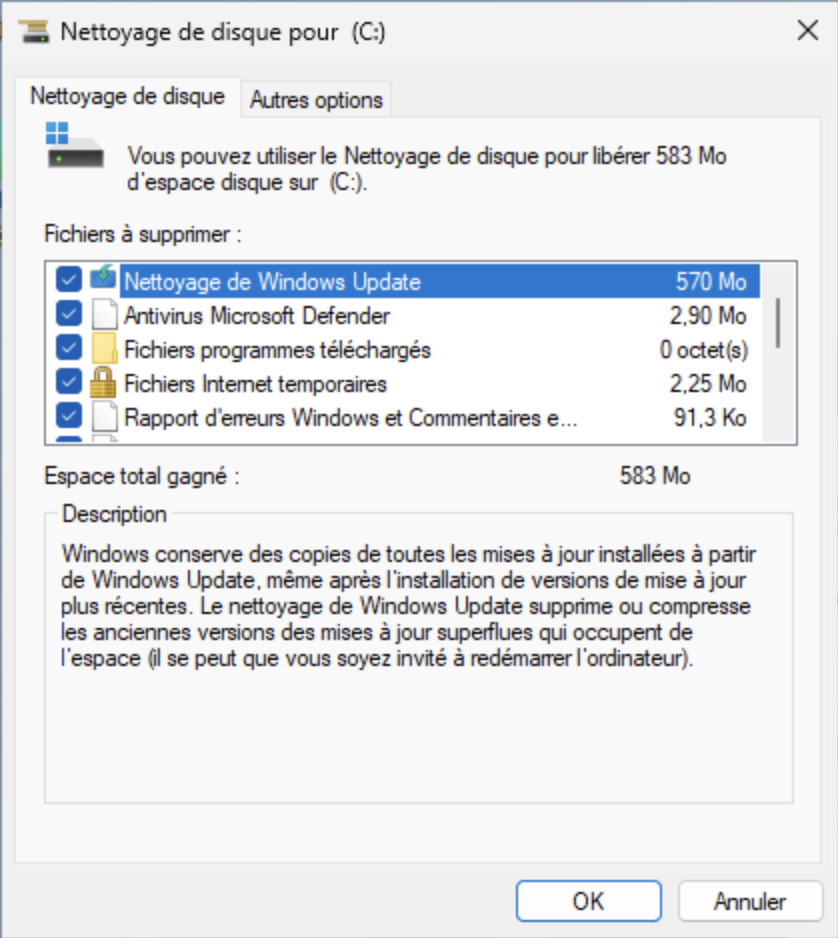
CTRL + SHIFT + F3Clean up the system
Run the tool:
Disk CleanupCheck all items, then confirm deletion.
Disable device encryption
Verify that disk encryption is disabled.
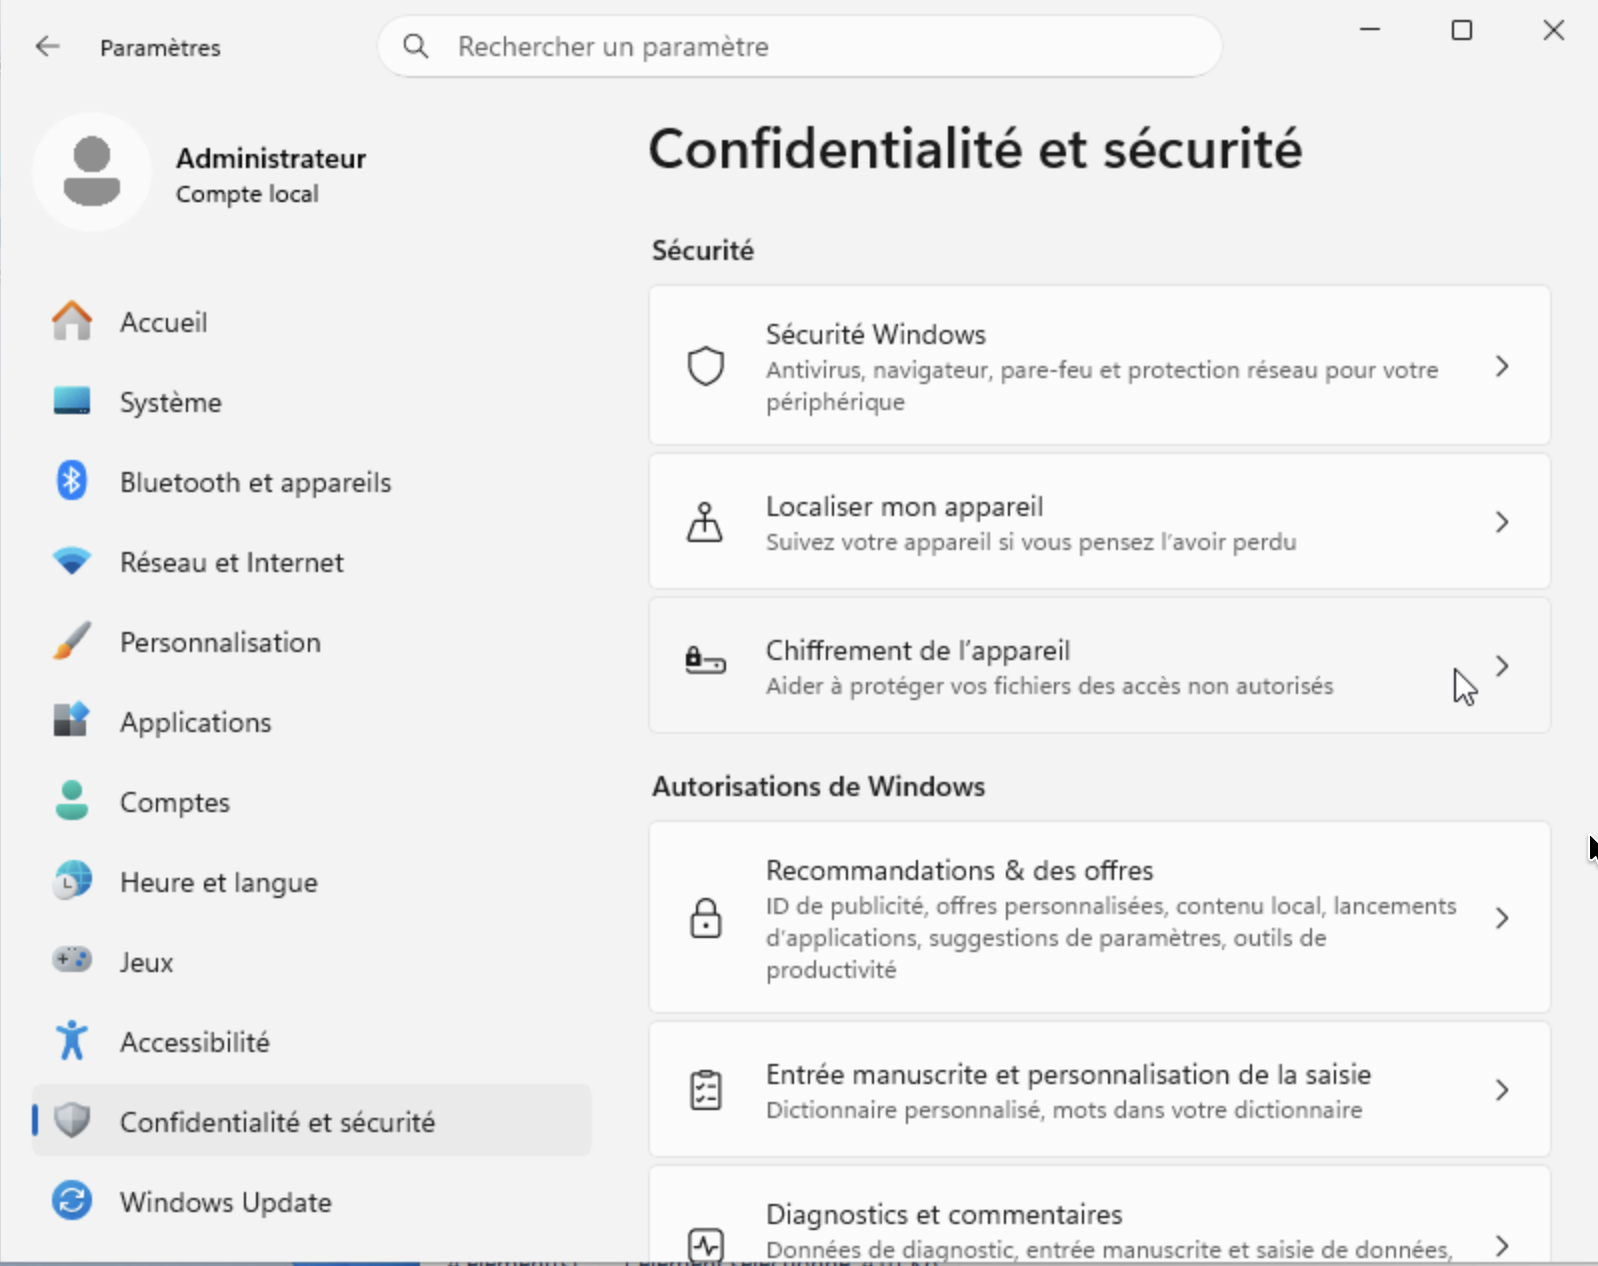
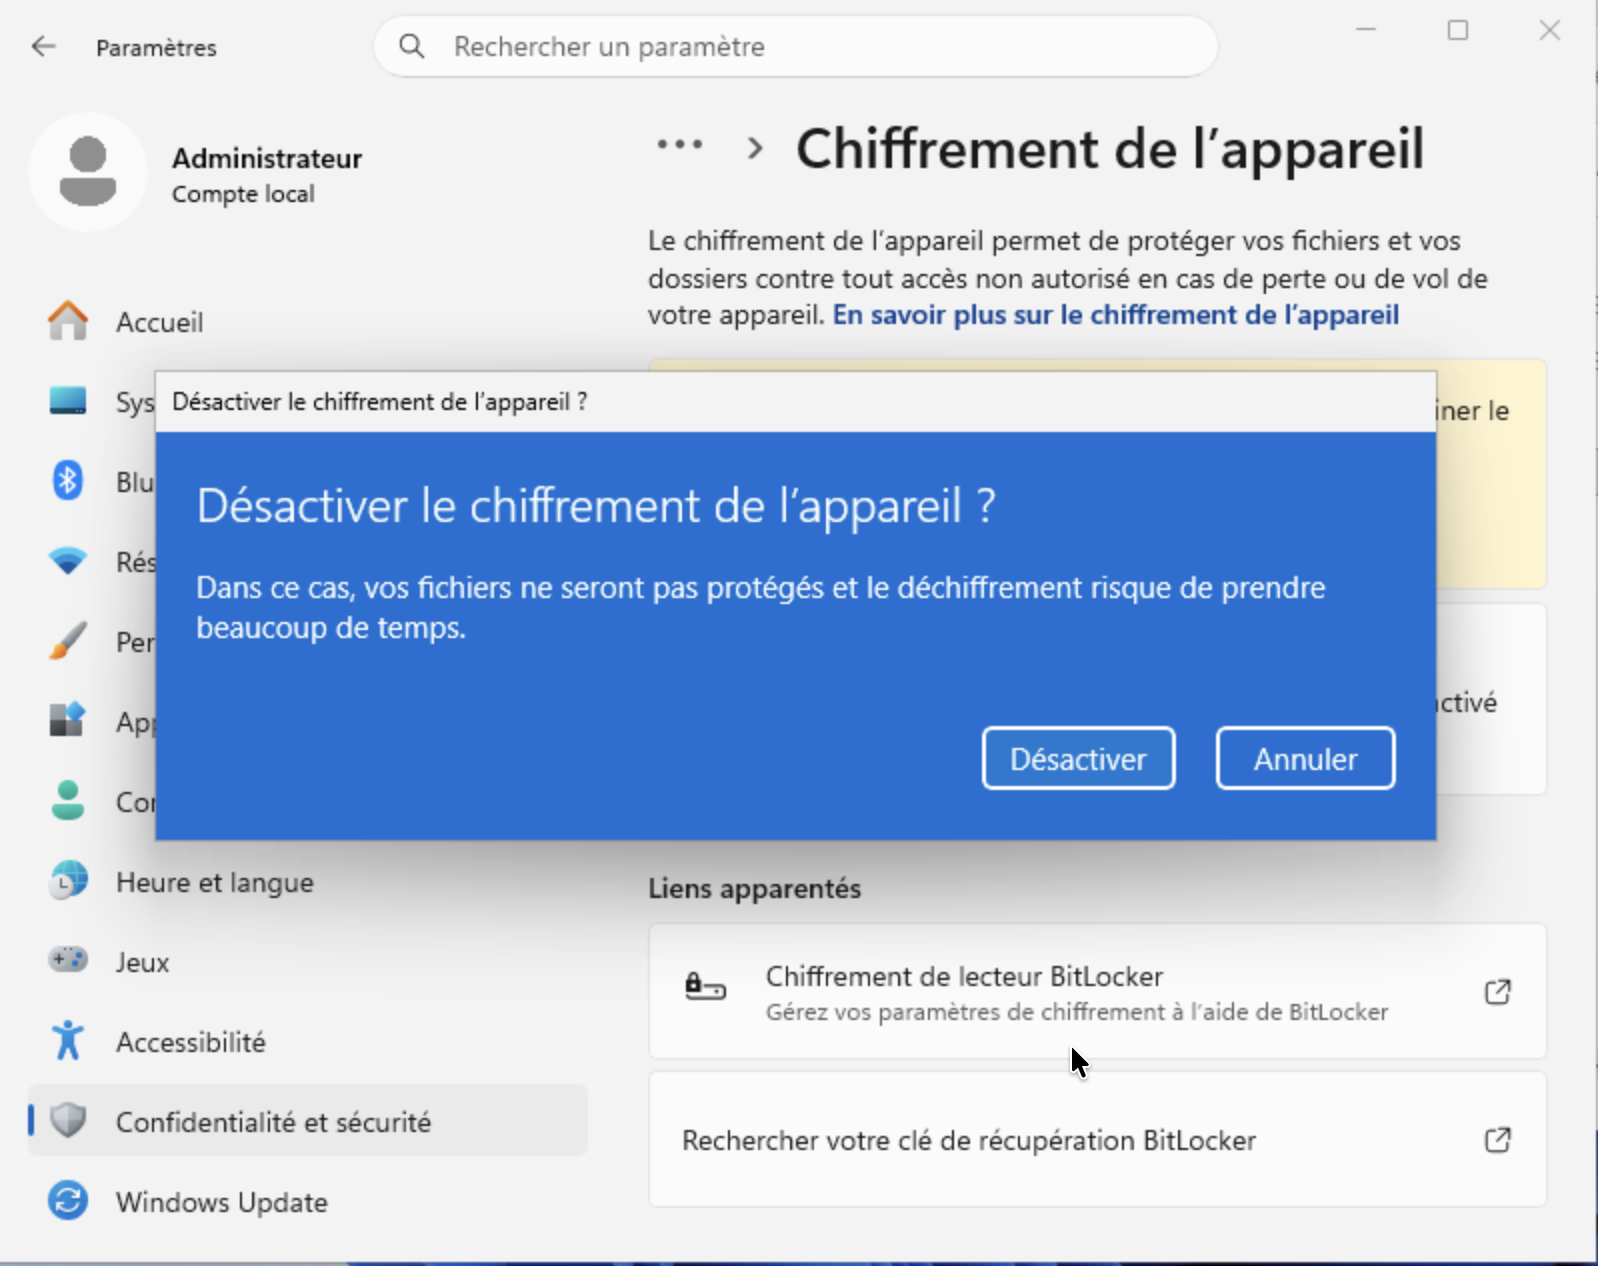
Wait until the operation is completely finished before continuing.
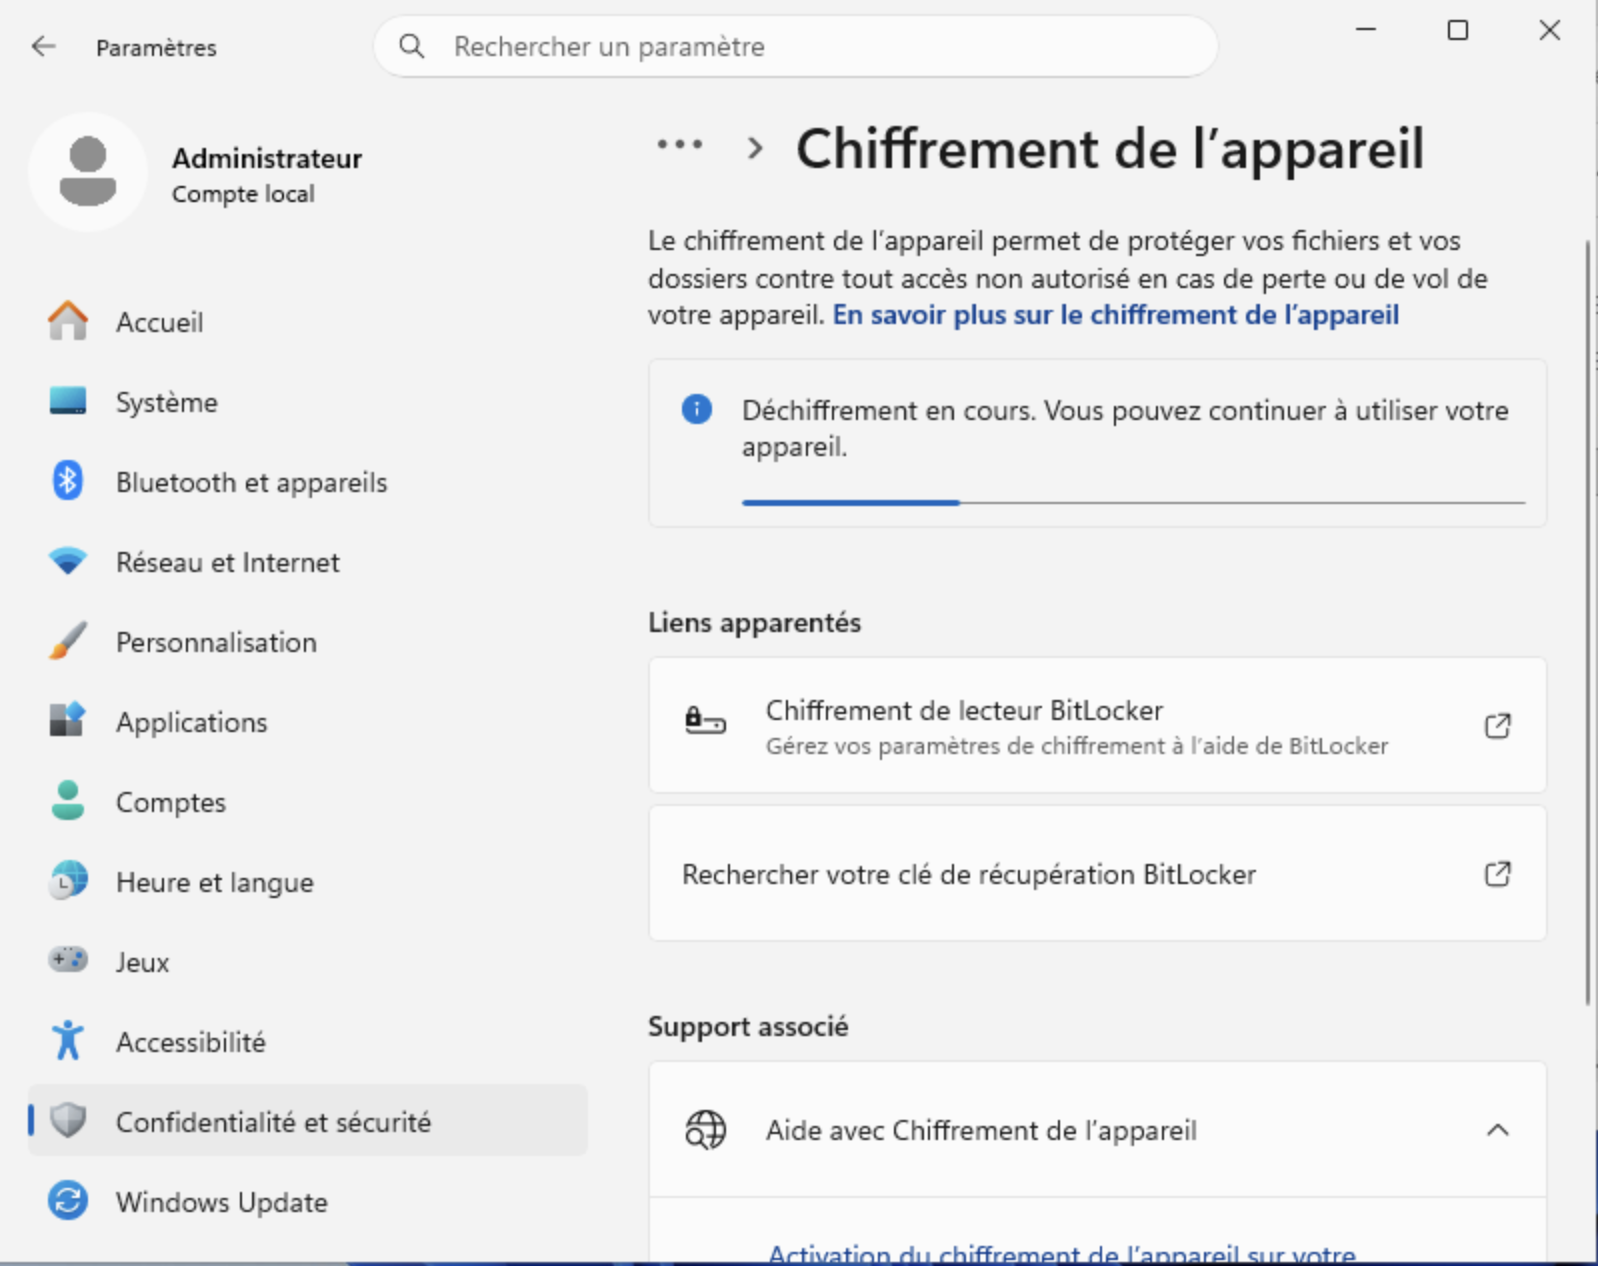
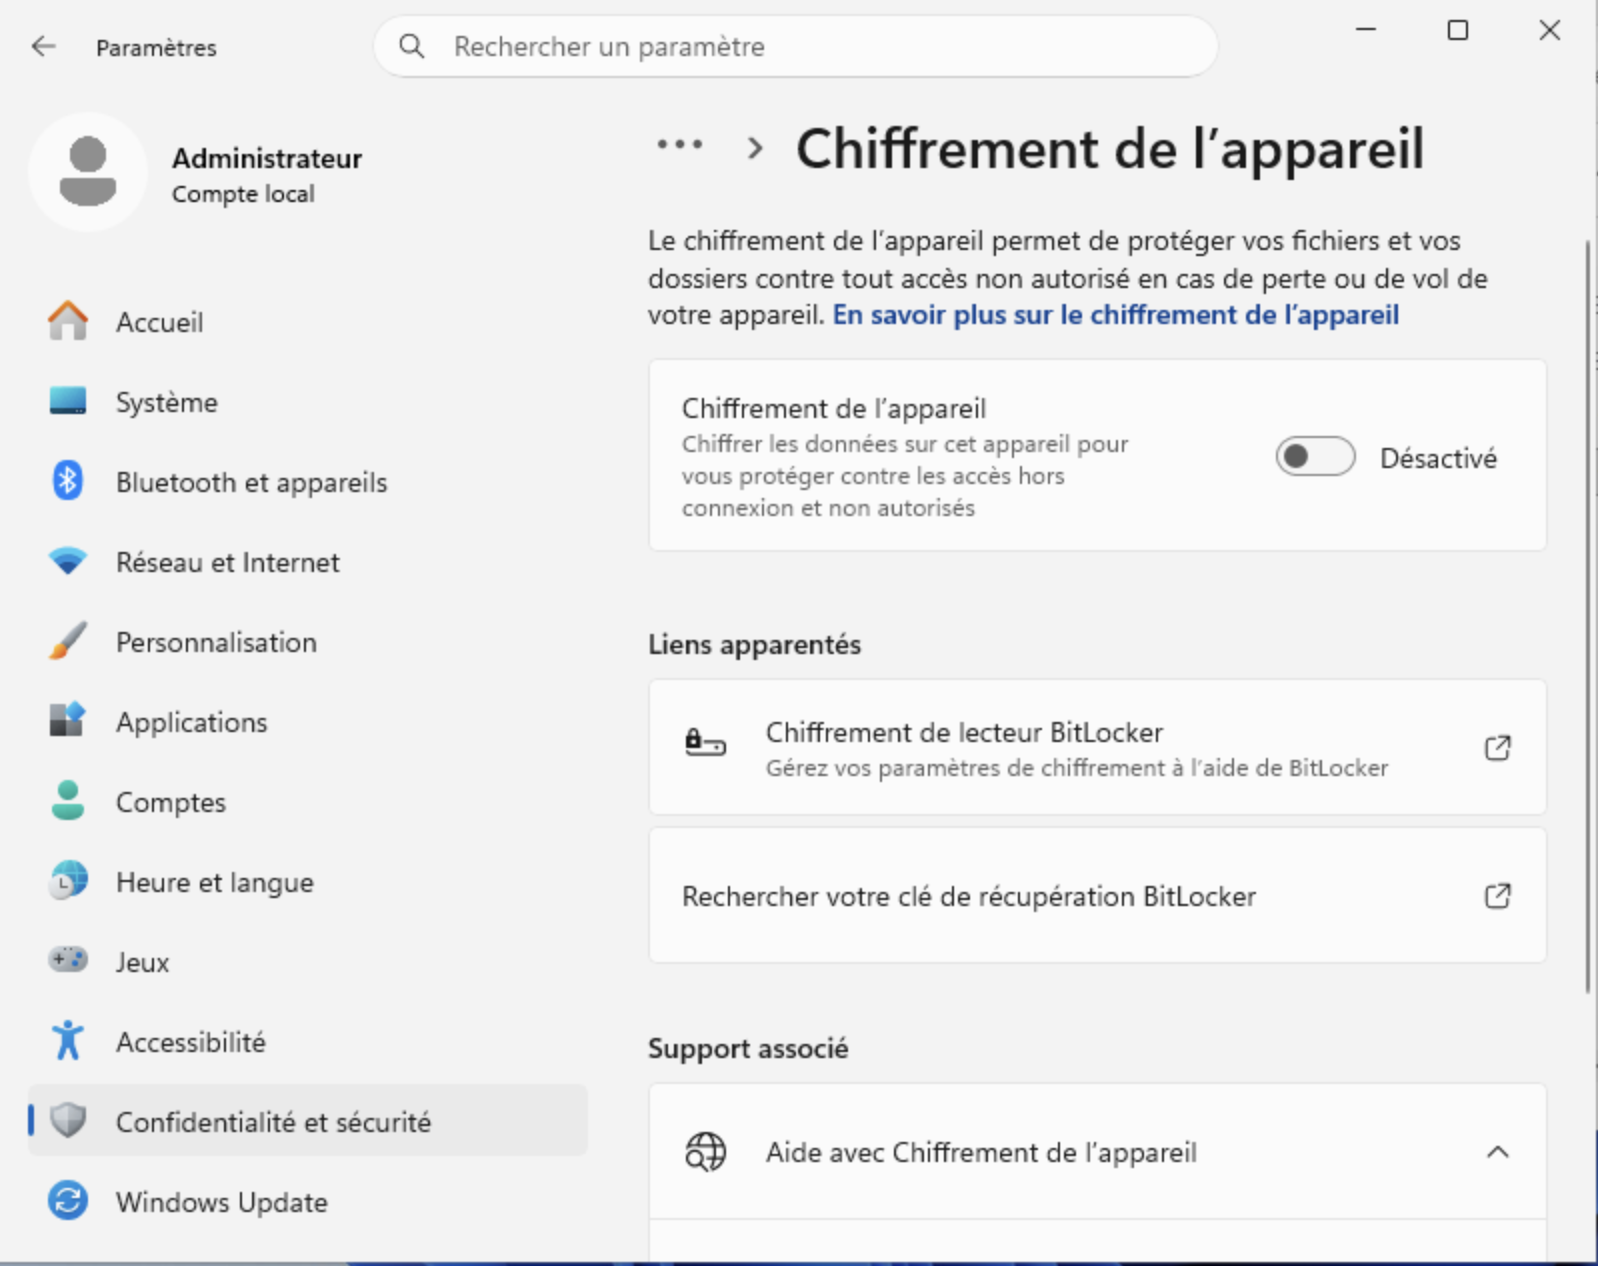
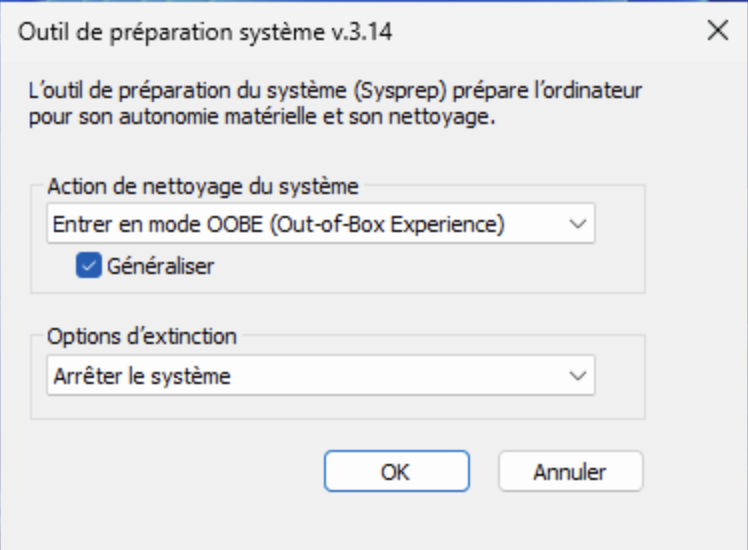
Prepare Sysprep
In the System Preparation Tool window:
- Select “Enter OOBE Mode”
- Check Generalize
- Select " Shut down the system"
Then click OK.
Important:
The machine must be shut down at the end of Sysprep. Do not restart it in Windows.
4. Capturing the image via PXE
Prerequisites
- The machine must boot from PXE first
- The DHCP server must point to the Medulla PXE server
- The Medulla PXE menu must be properly configured
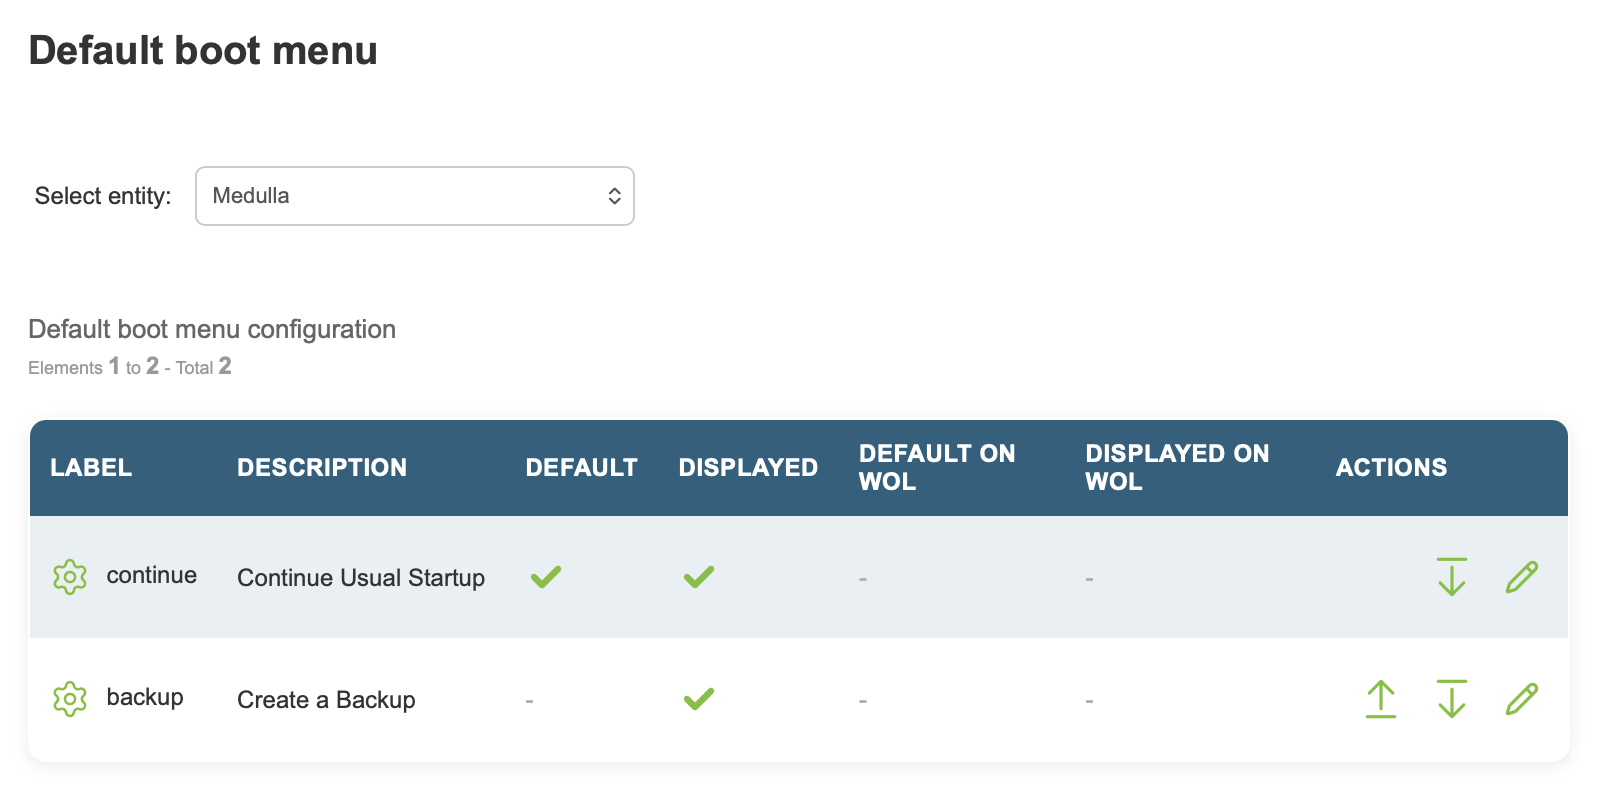
Configure the Medulla PXE menu
In the module:
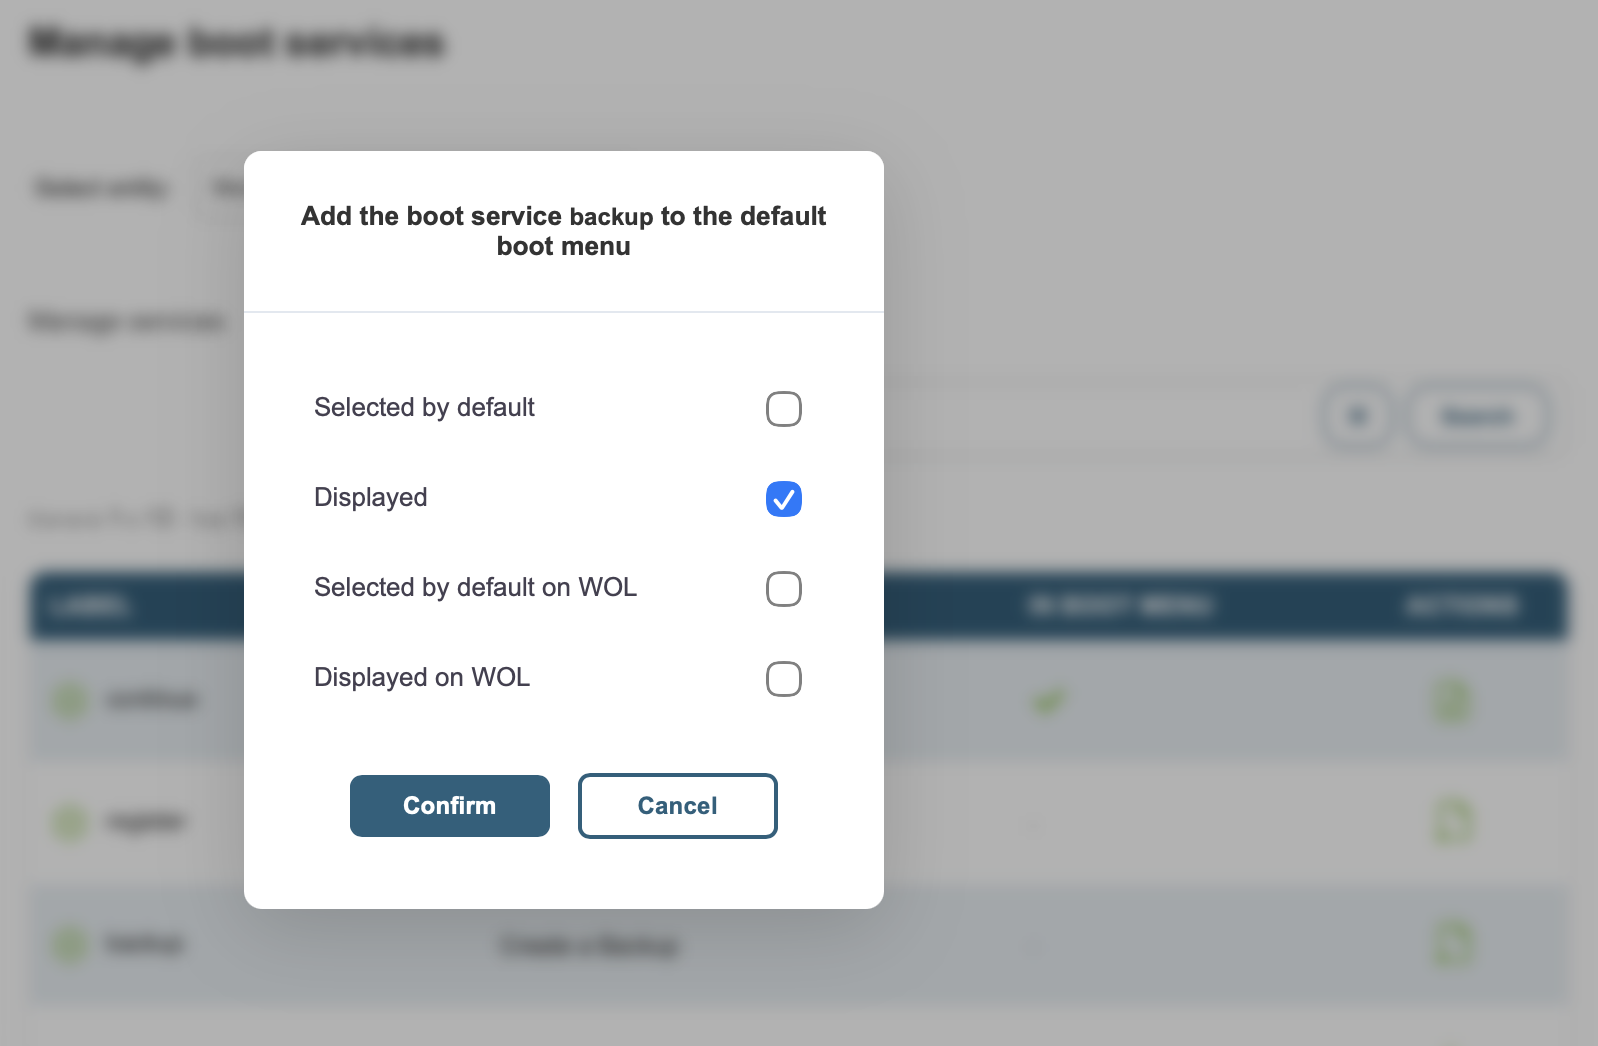
Imaging → Default boot menu- Continue
- Backup
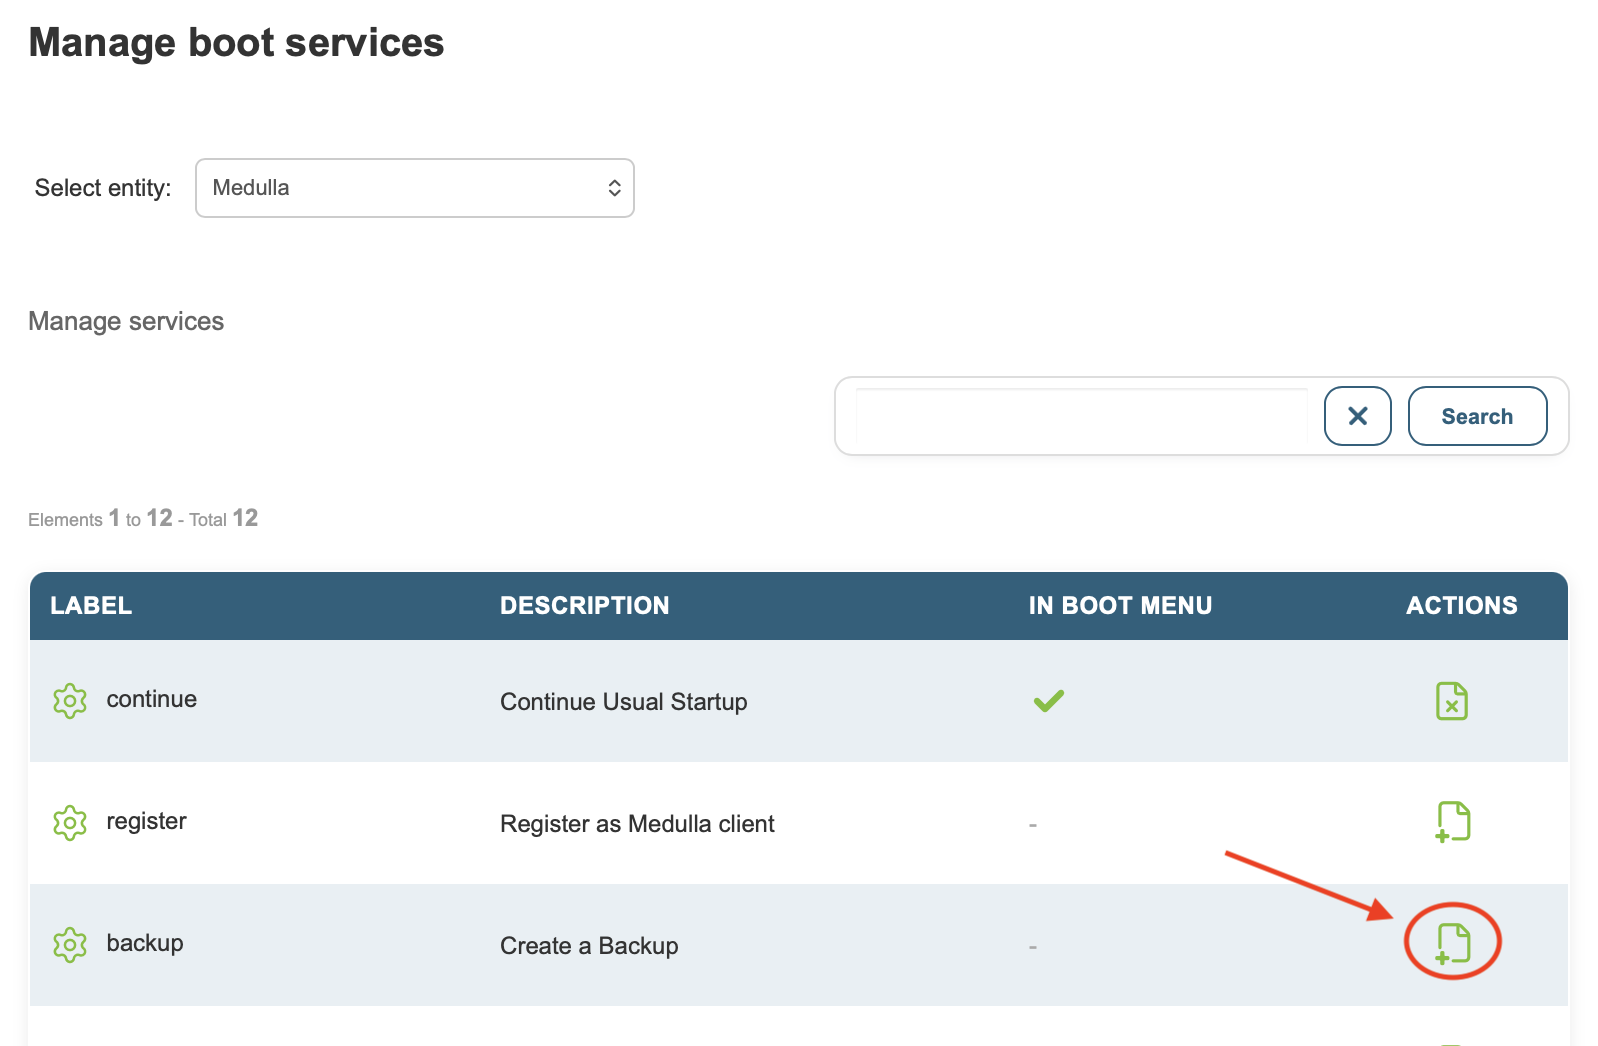
If necessary:
Imaging → Manage boot servicesAdd the services to the menu, then reorder them.
Save the machine
Boot the machine via PXE, then select:
Register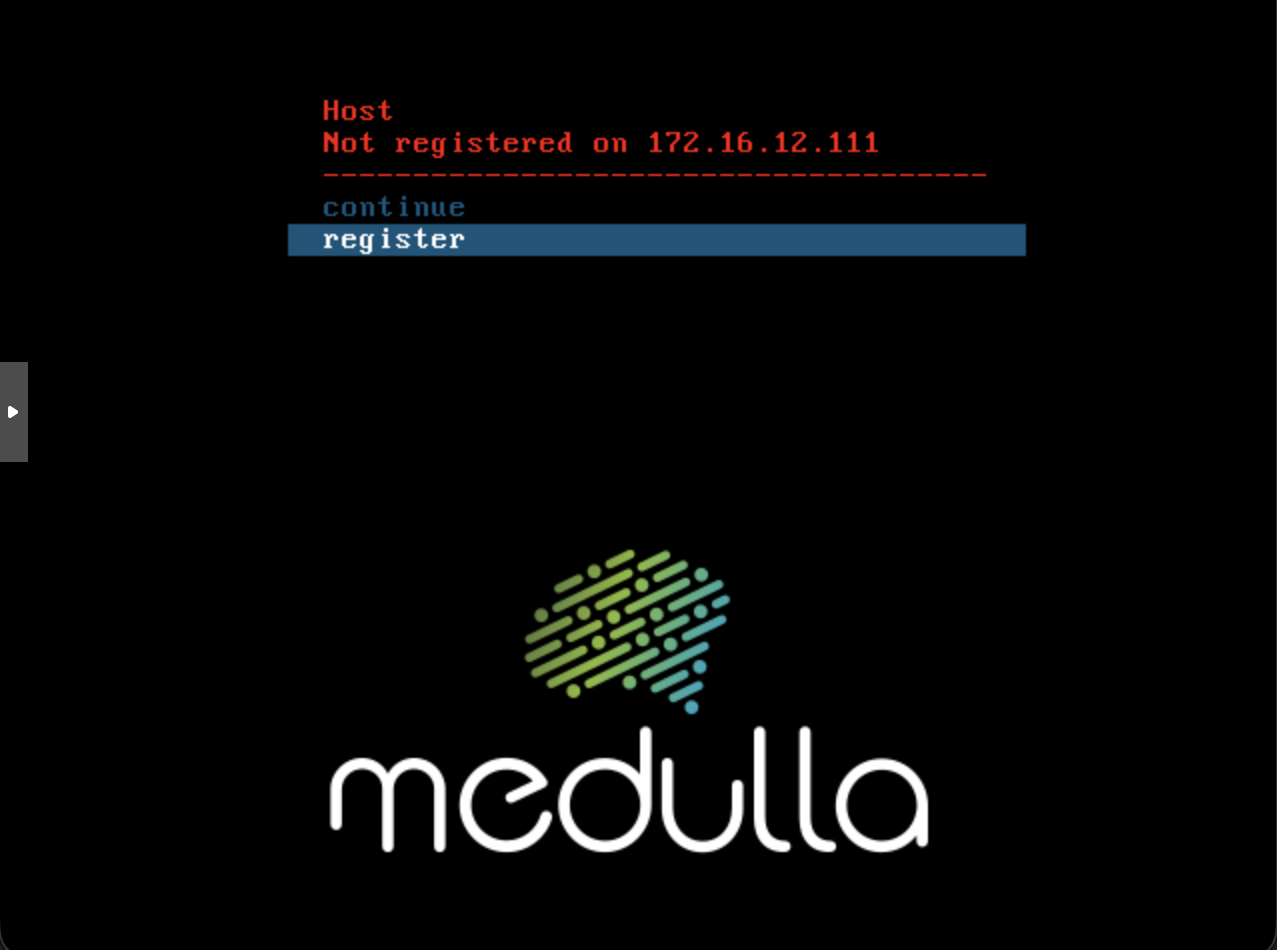
Give the machine a name, then confirm.
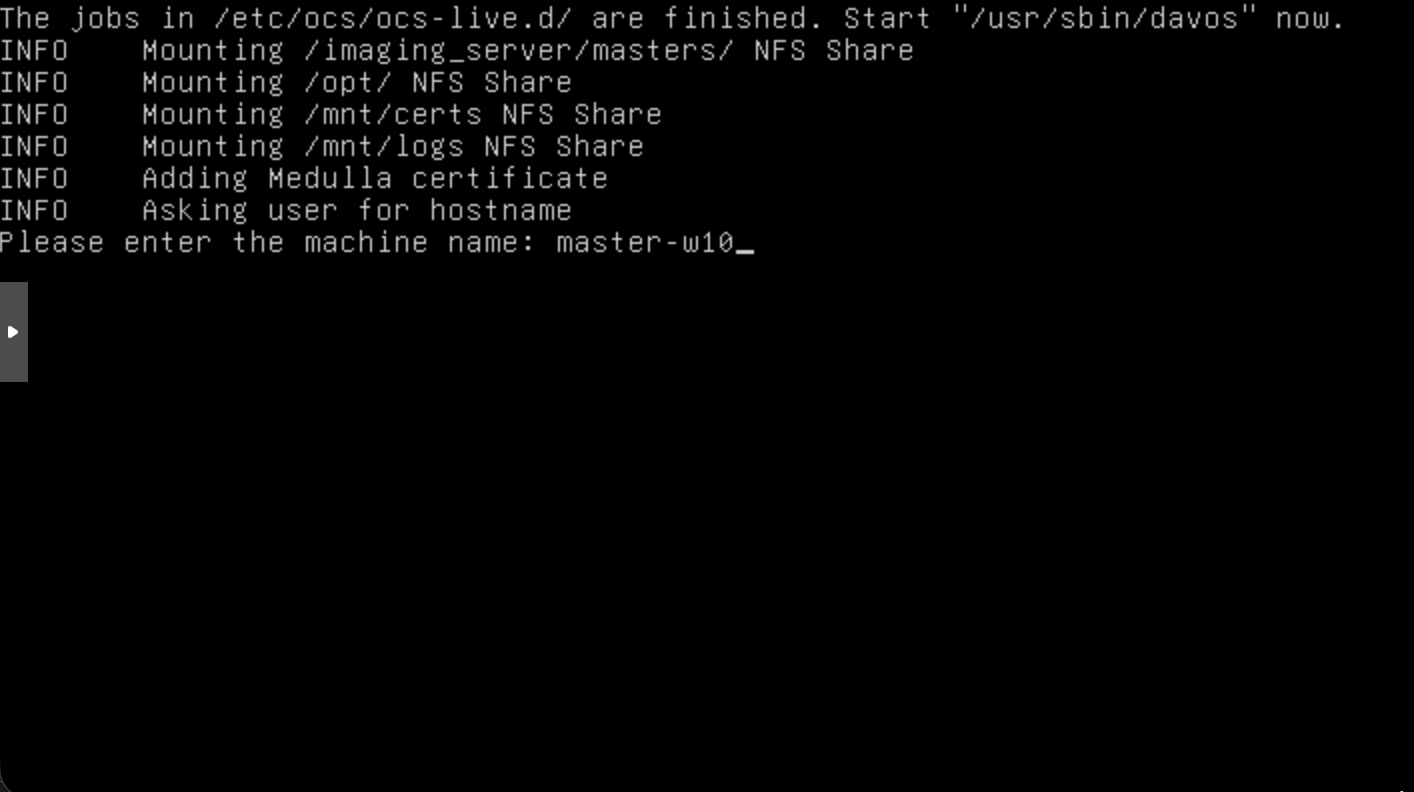
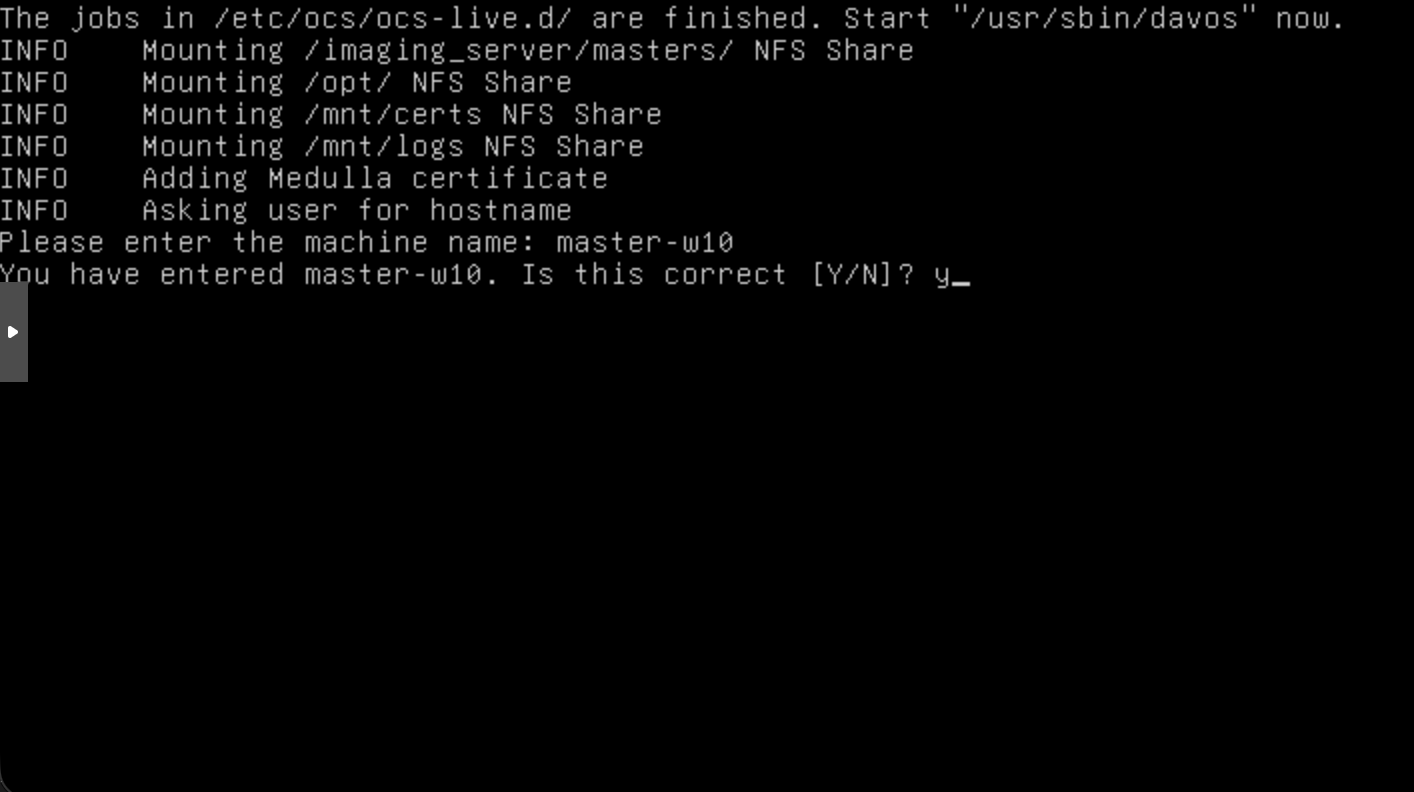
Image the disk
After restarting:
BackupWait until the capture is complete.
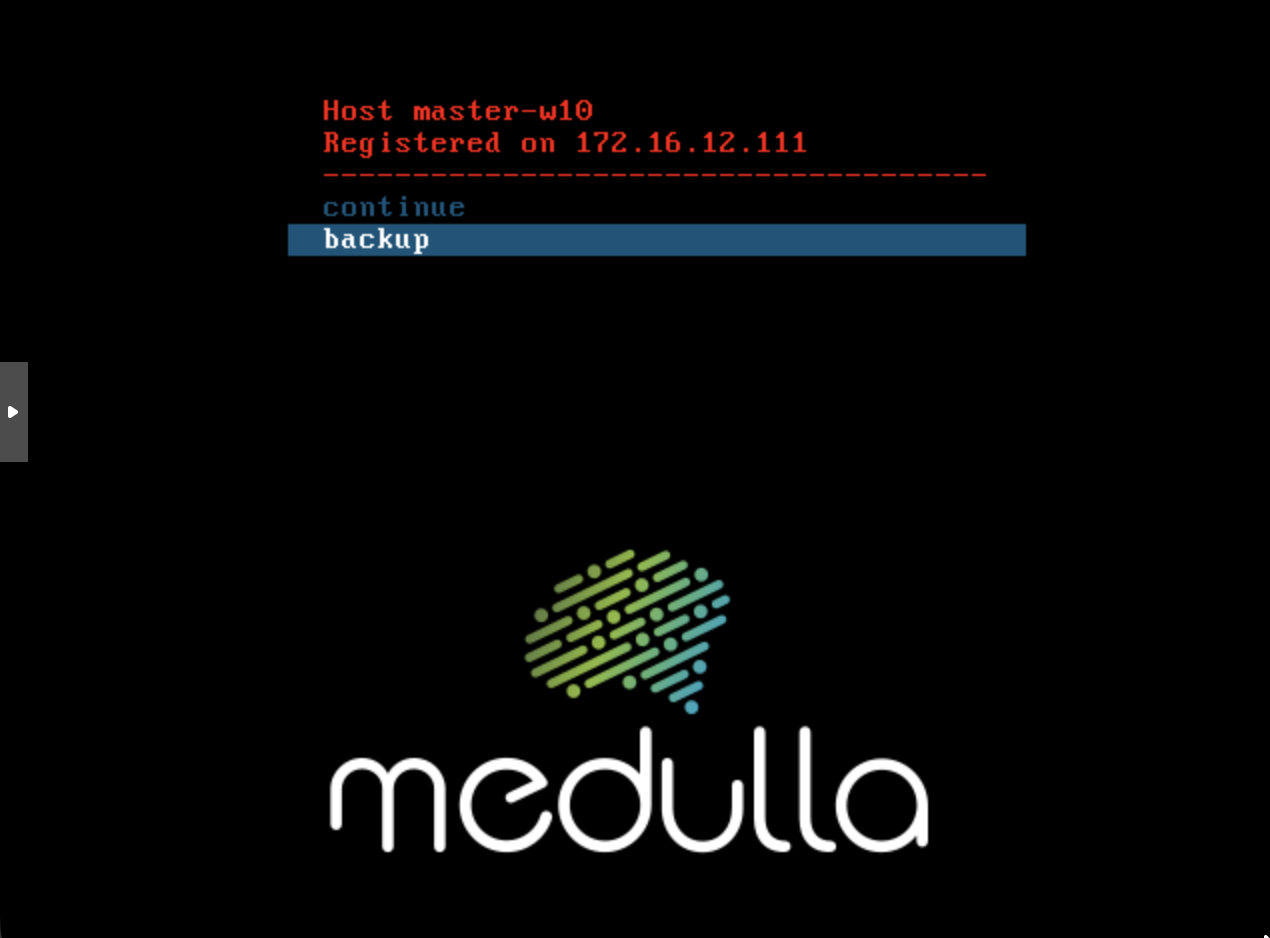
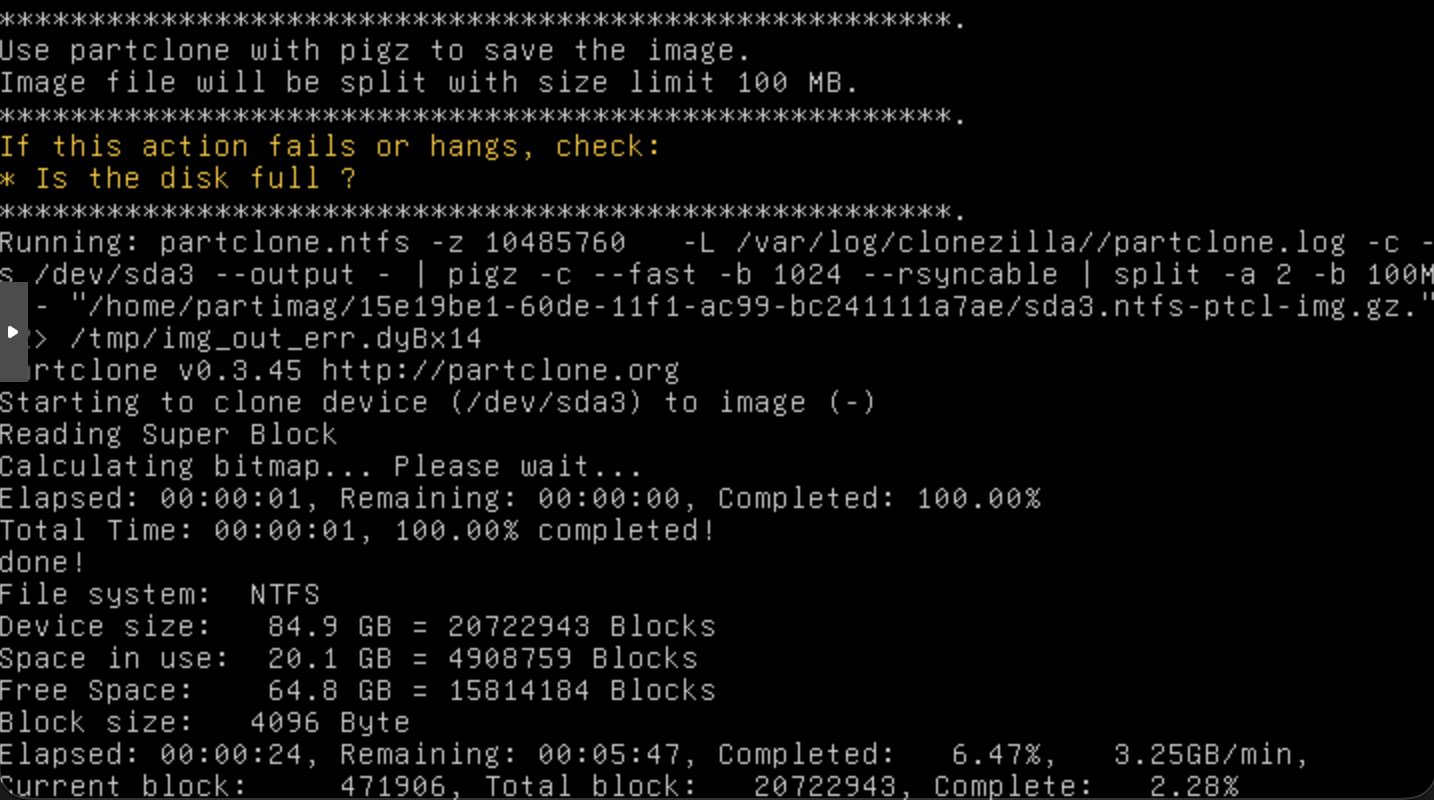
Note:
Once the capture is complete, the machine will automatically reboot and the PXE menu will reappear.
You can then shut down the machine.
5. Creating the Master in Medulla
In Medulla:
Computers → All GLPI ComputersClick on:
Imaging managementon the machine used to capture the image.
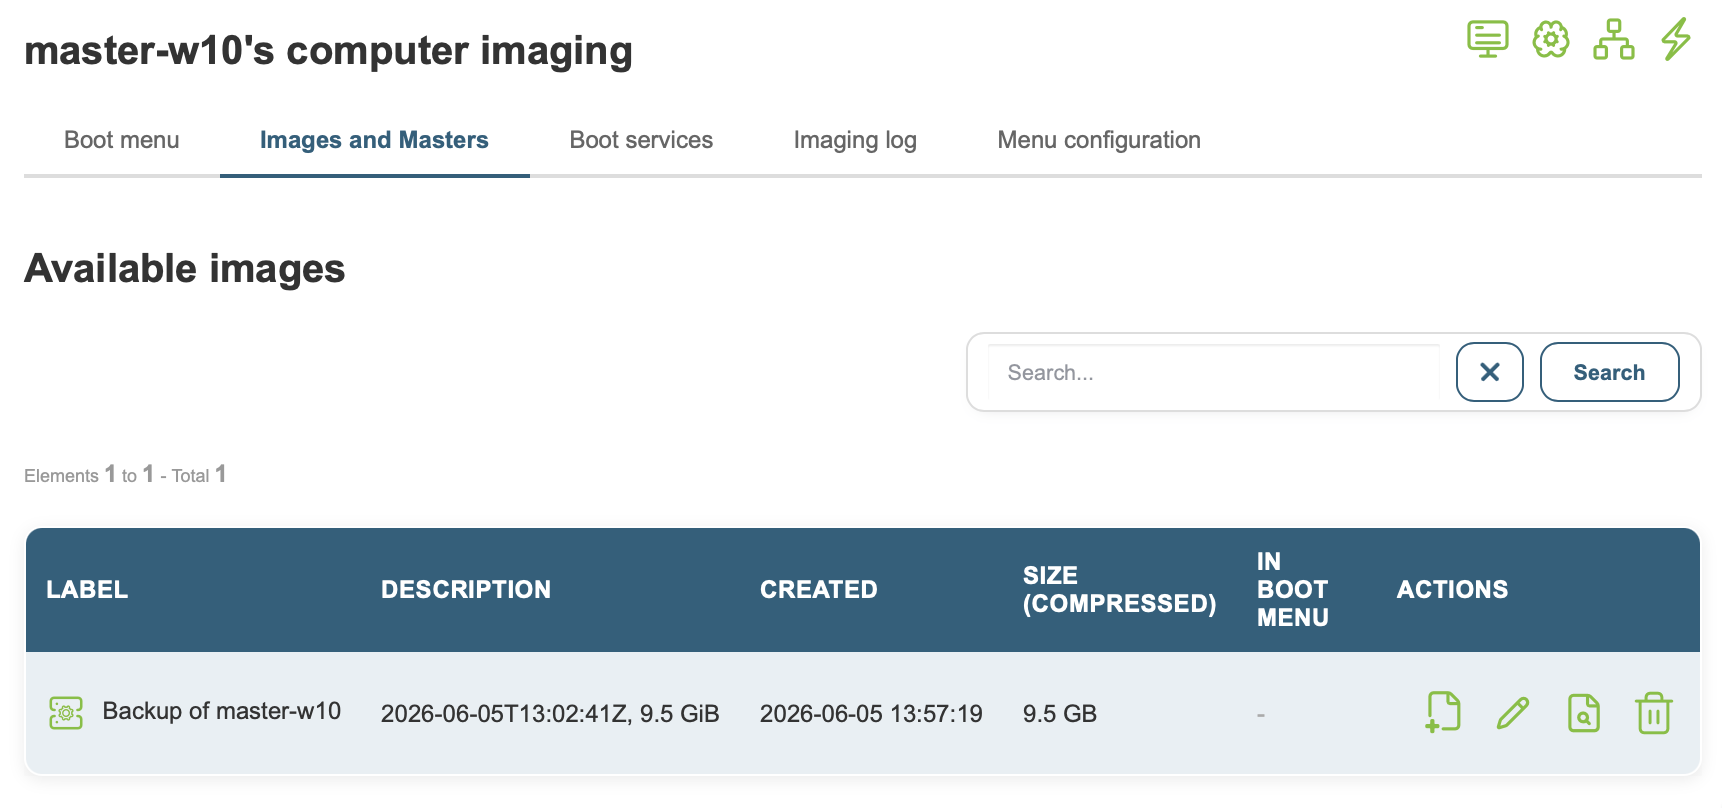
Convert the image to Master
In the tab:
Images and MastersLocate the captured image, then click:
Edit ImageSet:
- Master Name
- Description
Click:
Convert to Master → Save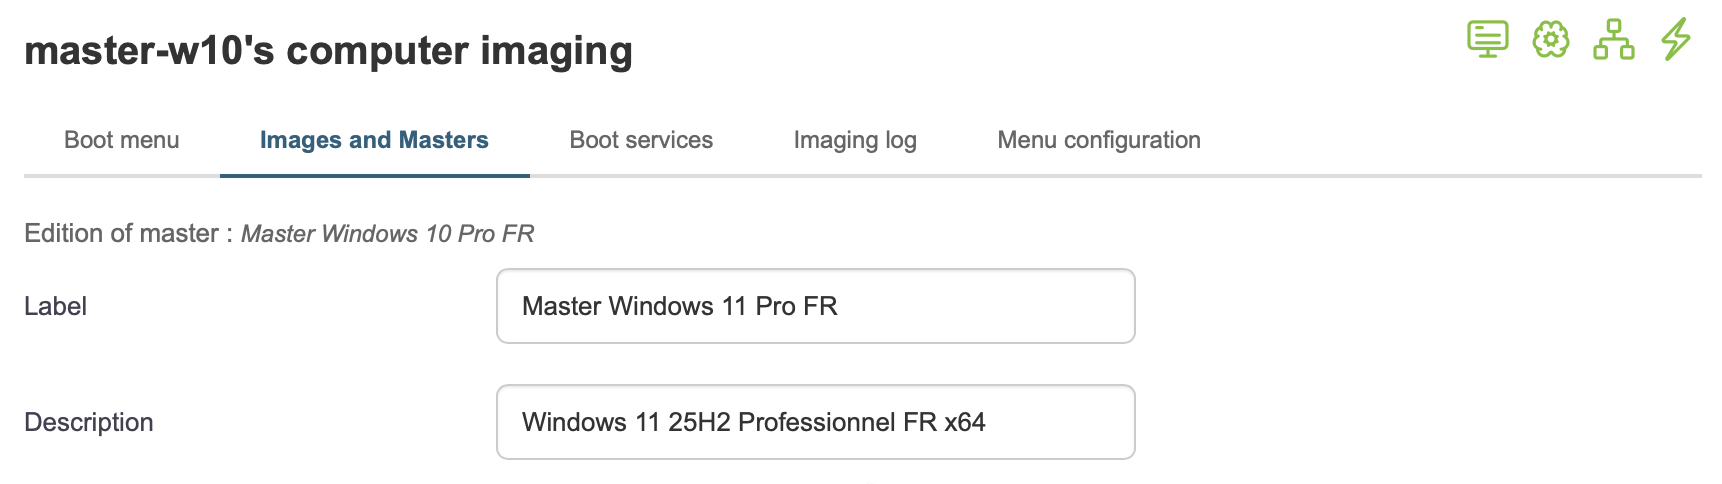
The master will then be available in:
Imaging → Manage mastersImportant
- Always install Windows updates before running Sysprep
- Always disable disk encryption before capturing
- Never restart Windows after running Sysprep
- The machine must boot via PXE before booting from the local disk
Default settings
| Item | Value |
|---|---|
| Recommended OS | Windows 11 |
| Preparation Mode | Audit Mode |
| Audit Mode Shortcut | CTRL + SHIFT + F3 |
| Sysprep Action | OOBE + Generalize + Shut Down |
| PXE Menu | Register, then Backup |