
Capturing an image on Linux (Mint 22.3)
Applies to: Imaging / Linux Mint
Version: All
Environment: On-Premise
Category: Imaging
Background
This procedure allows you to prepare a Linux Mint master image compatible with the Medulla Imaging module.
The process includes:
- Installing Linux Mint in OEM mode
- Preparing the system
- Capturing the PXE image
- Creating the master image in Medulla
1. Installing Linux Mint
1. Starting the OEM installation
Boot the virtual machine, then select:
OEM Install (for manufacturers)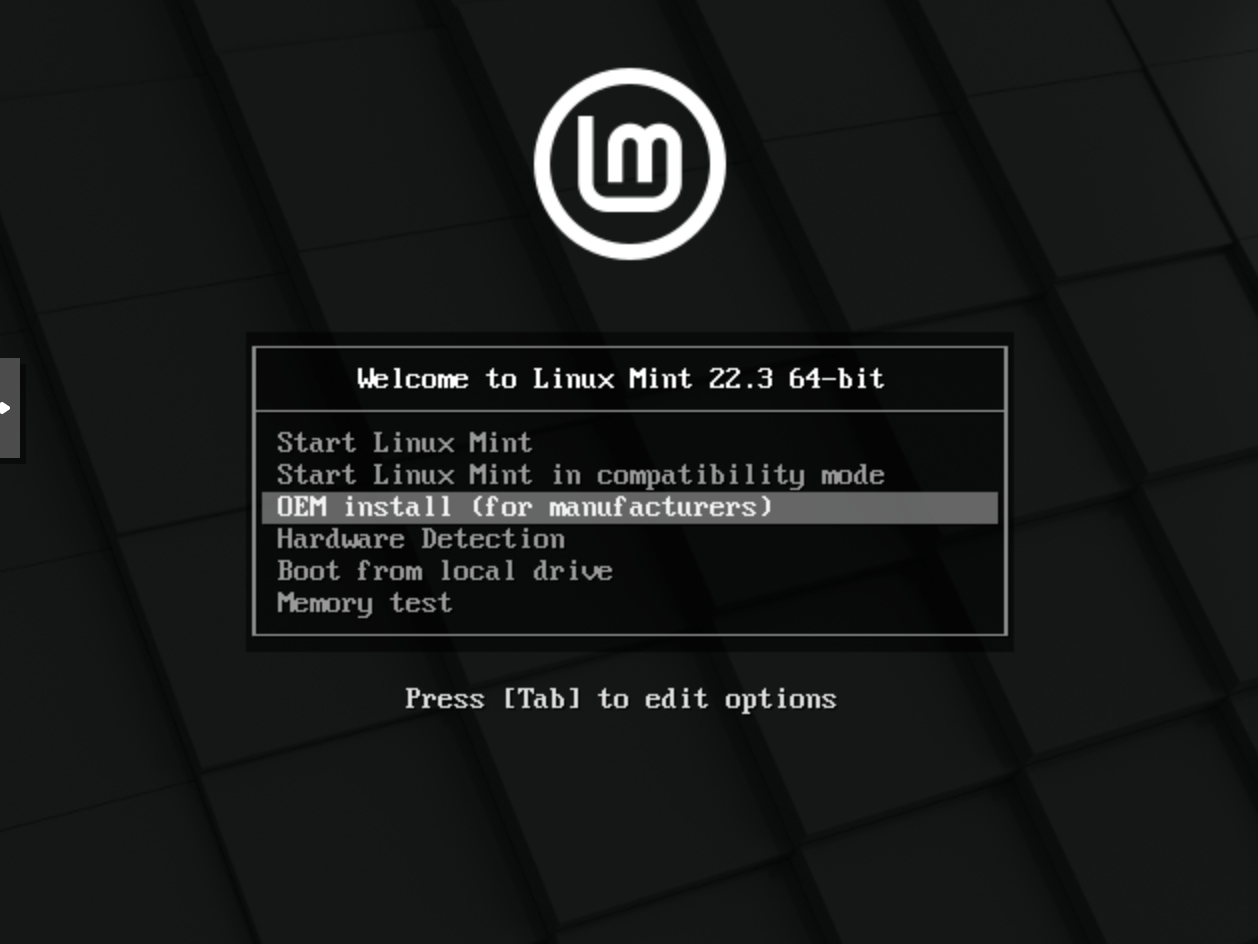
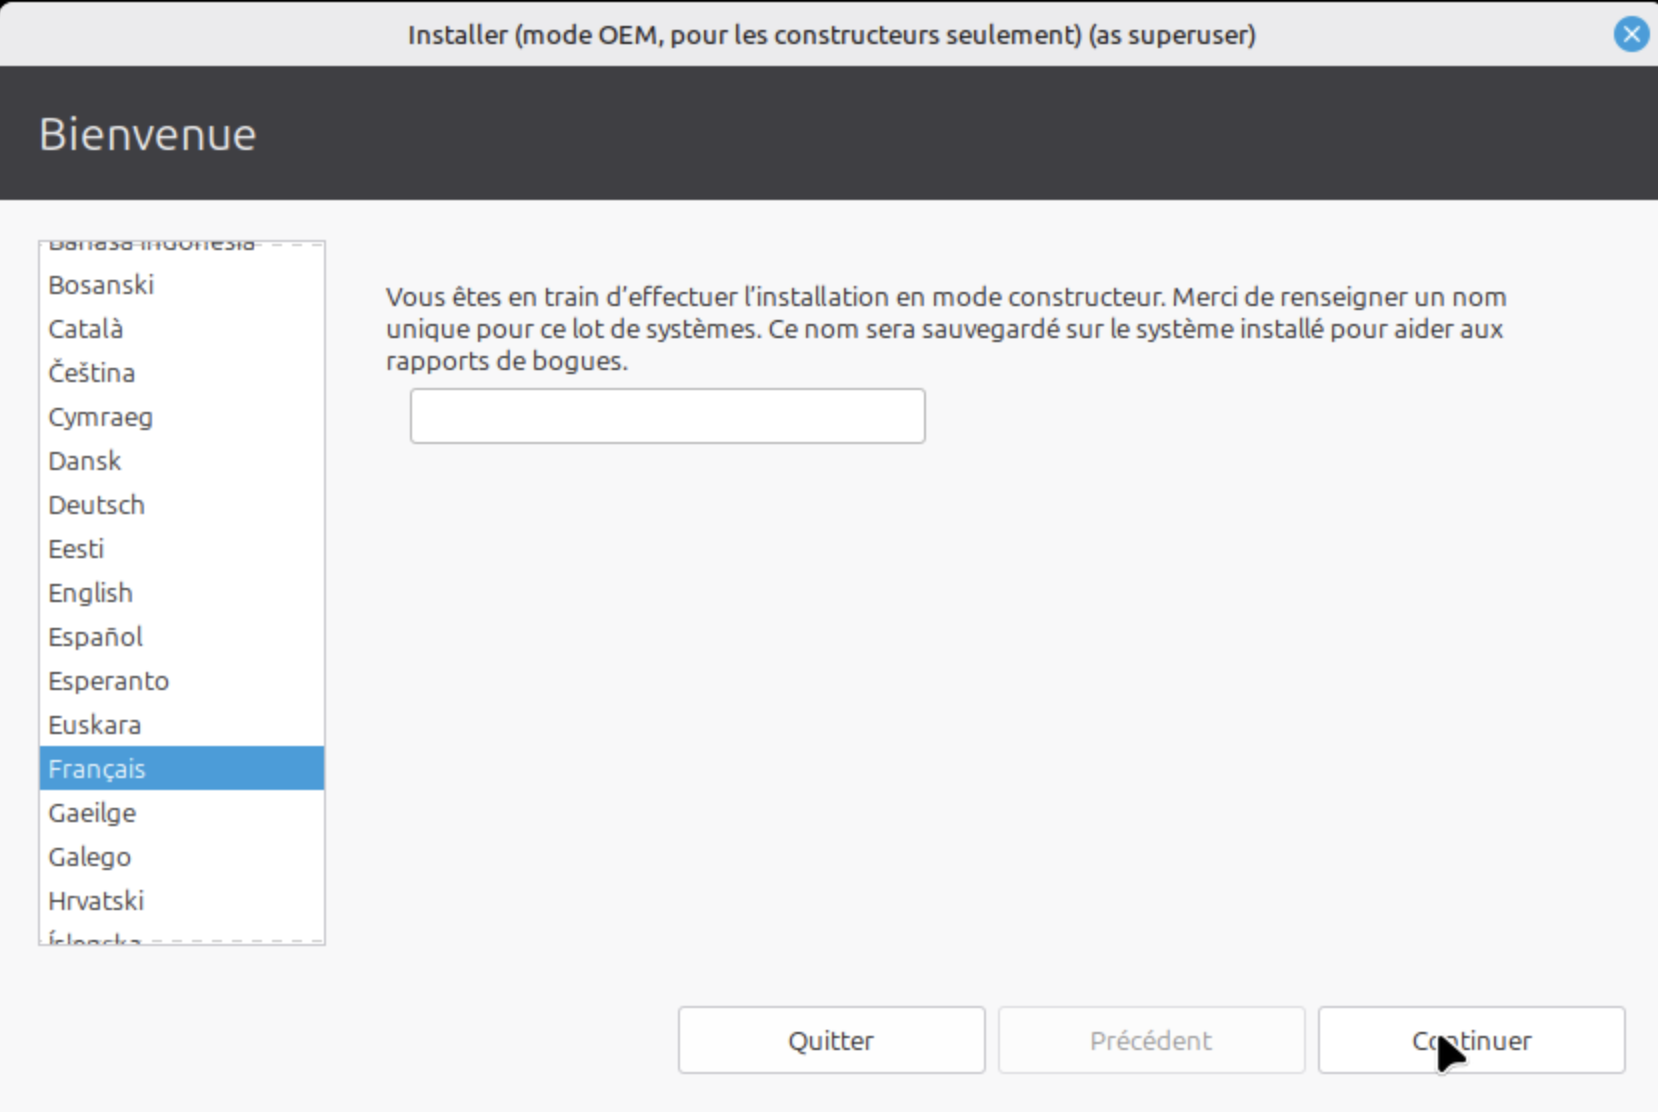
2. Choose the language
Select the desired language.
3. Choose the keyboard layout
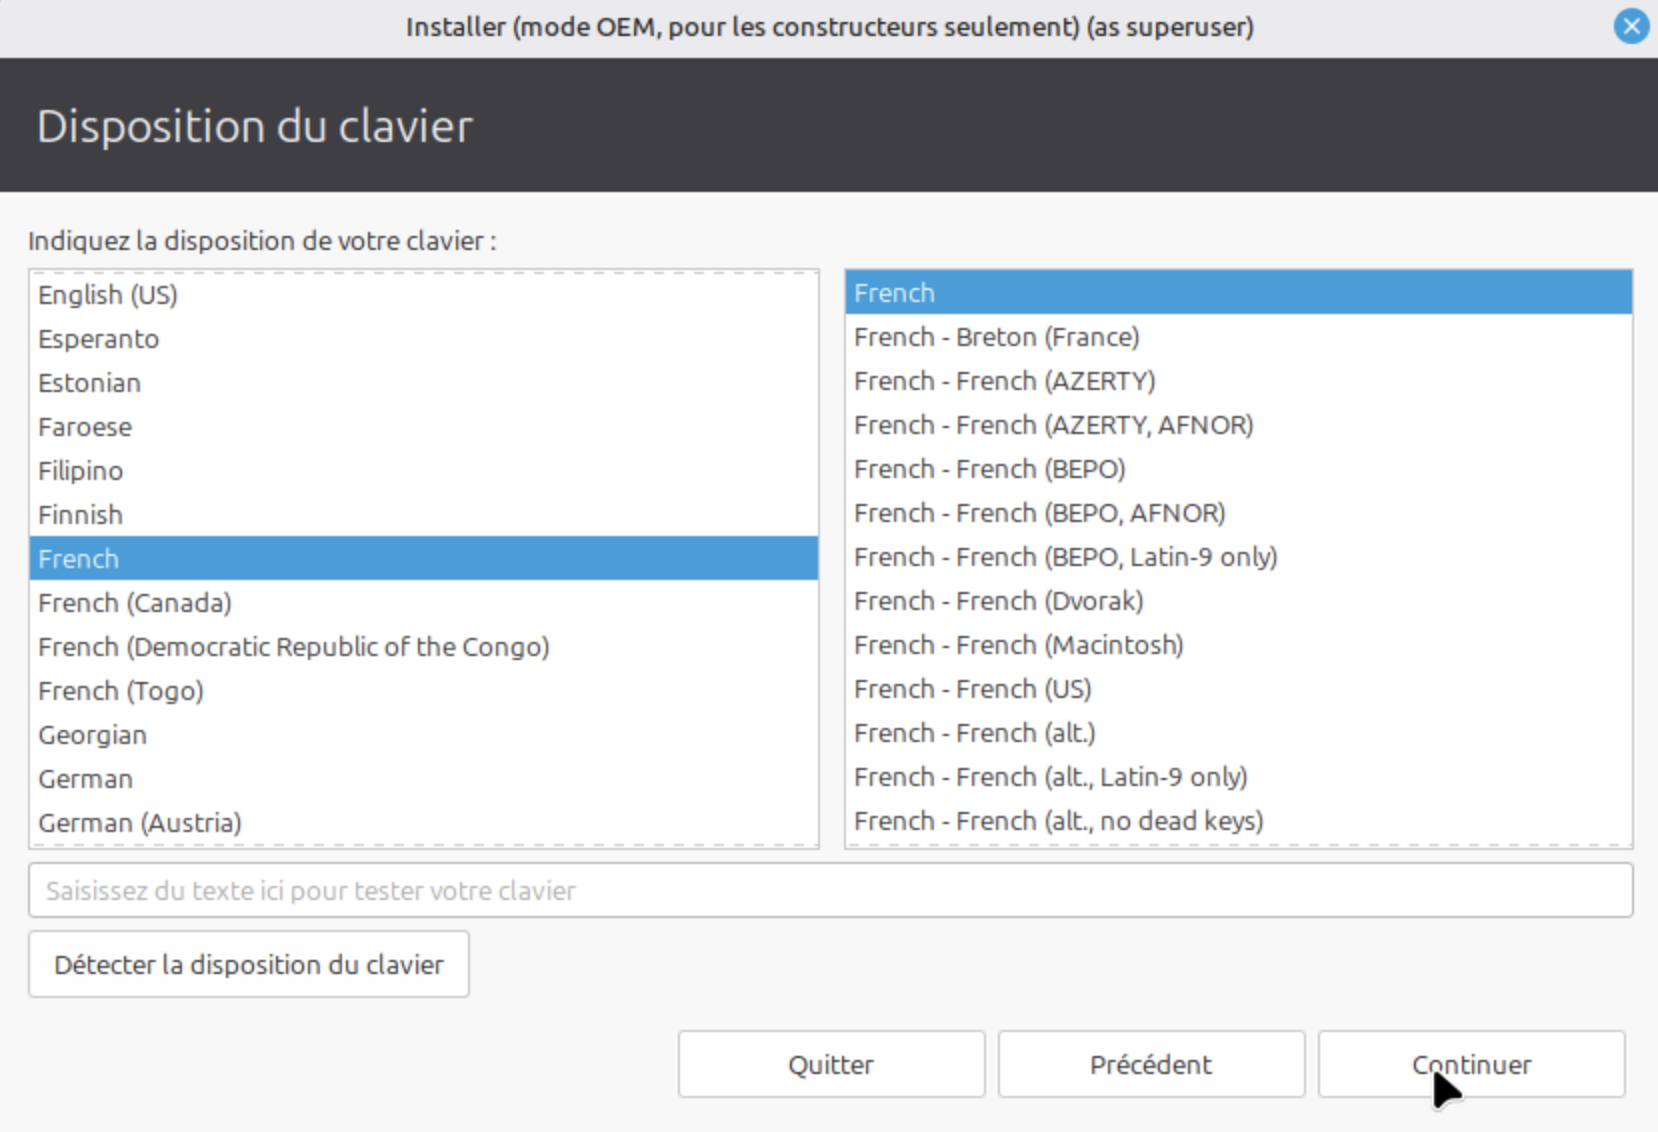
Select the keyboard layout that matches your environment.
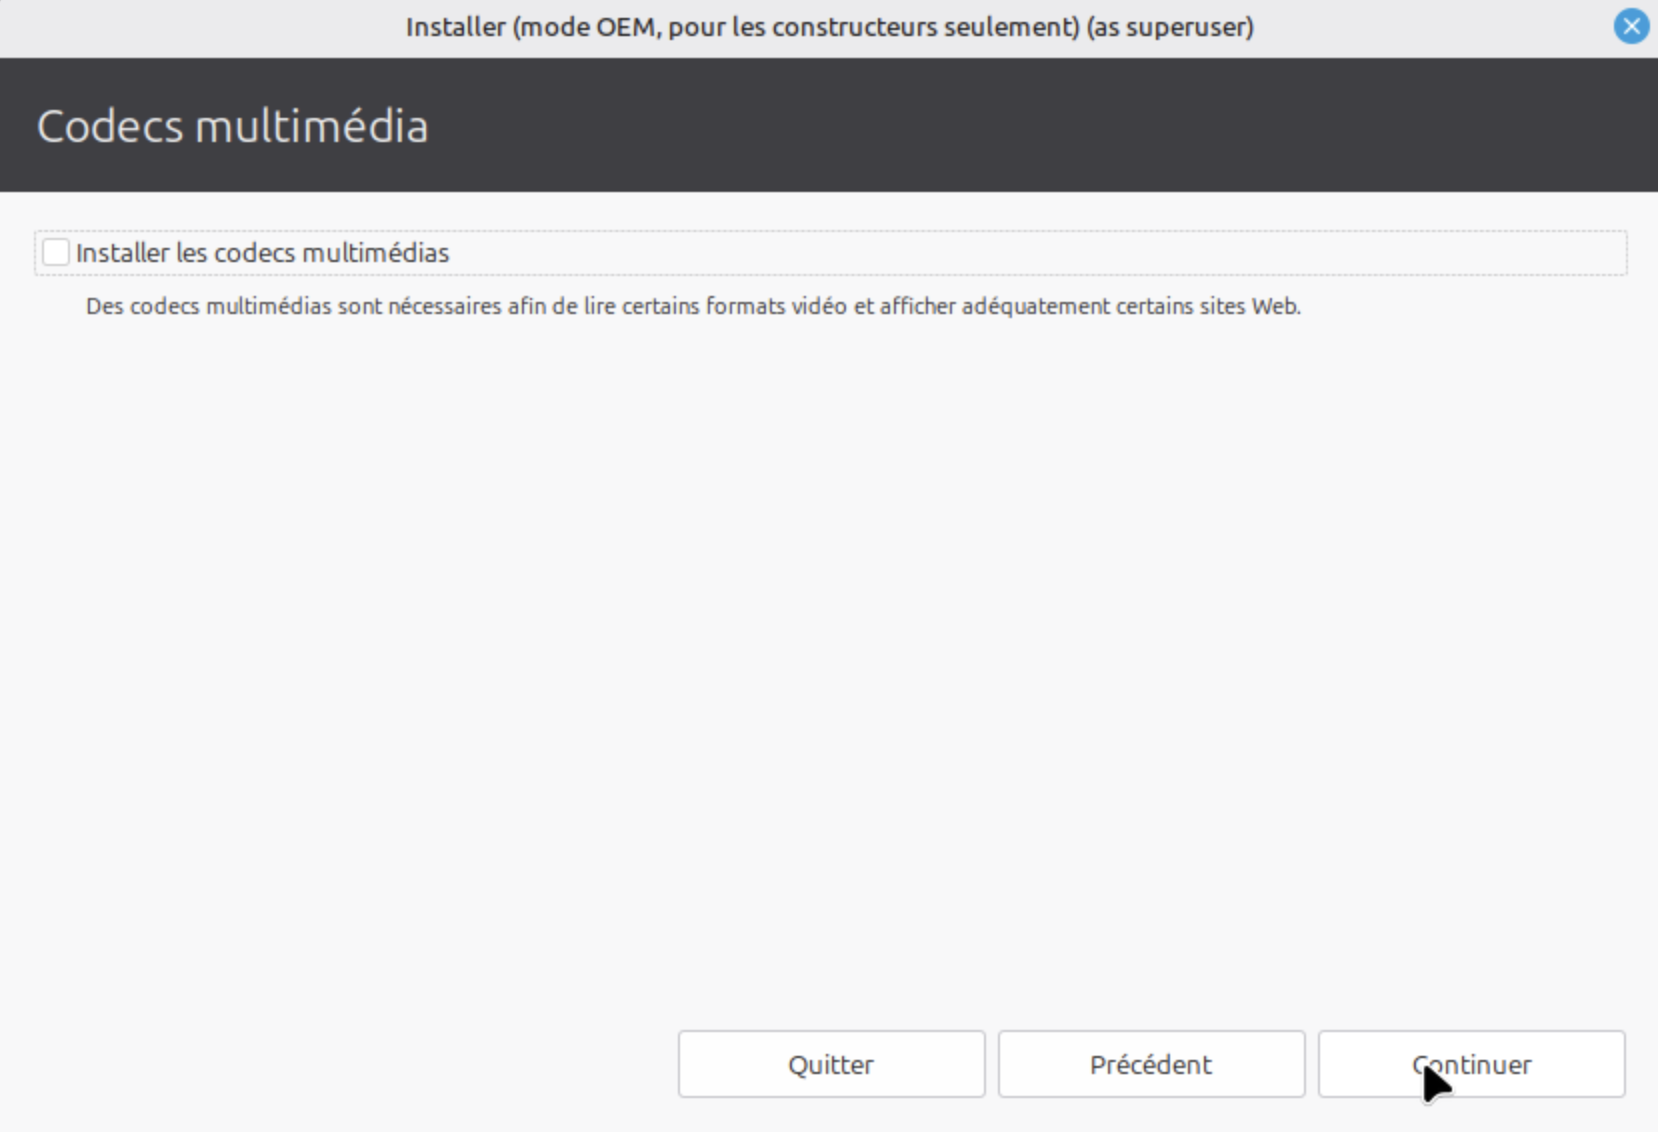
4. Choose additional components
Configure the additional components.
5. Configure the installation type
Set the parameters exactly as indicated.
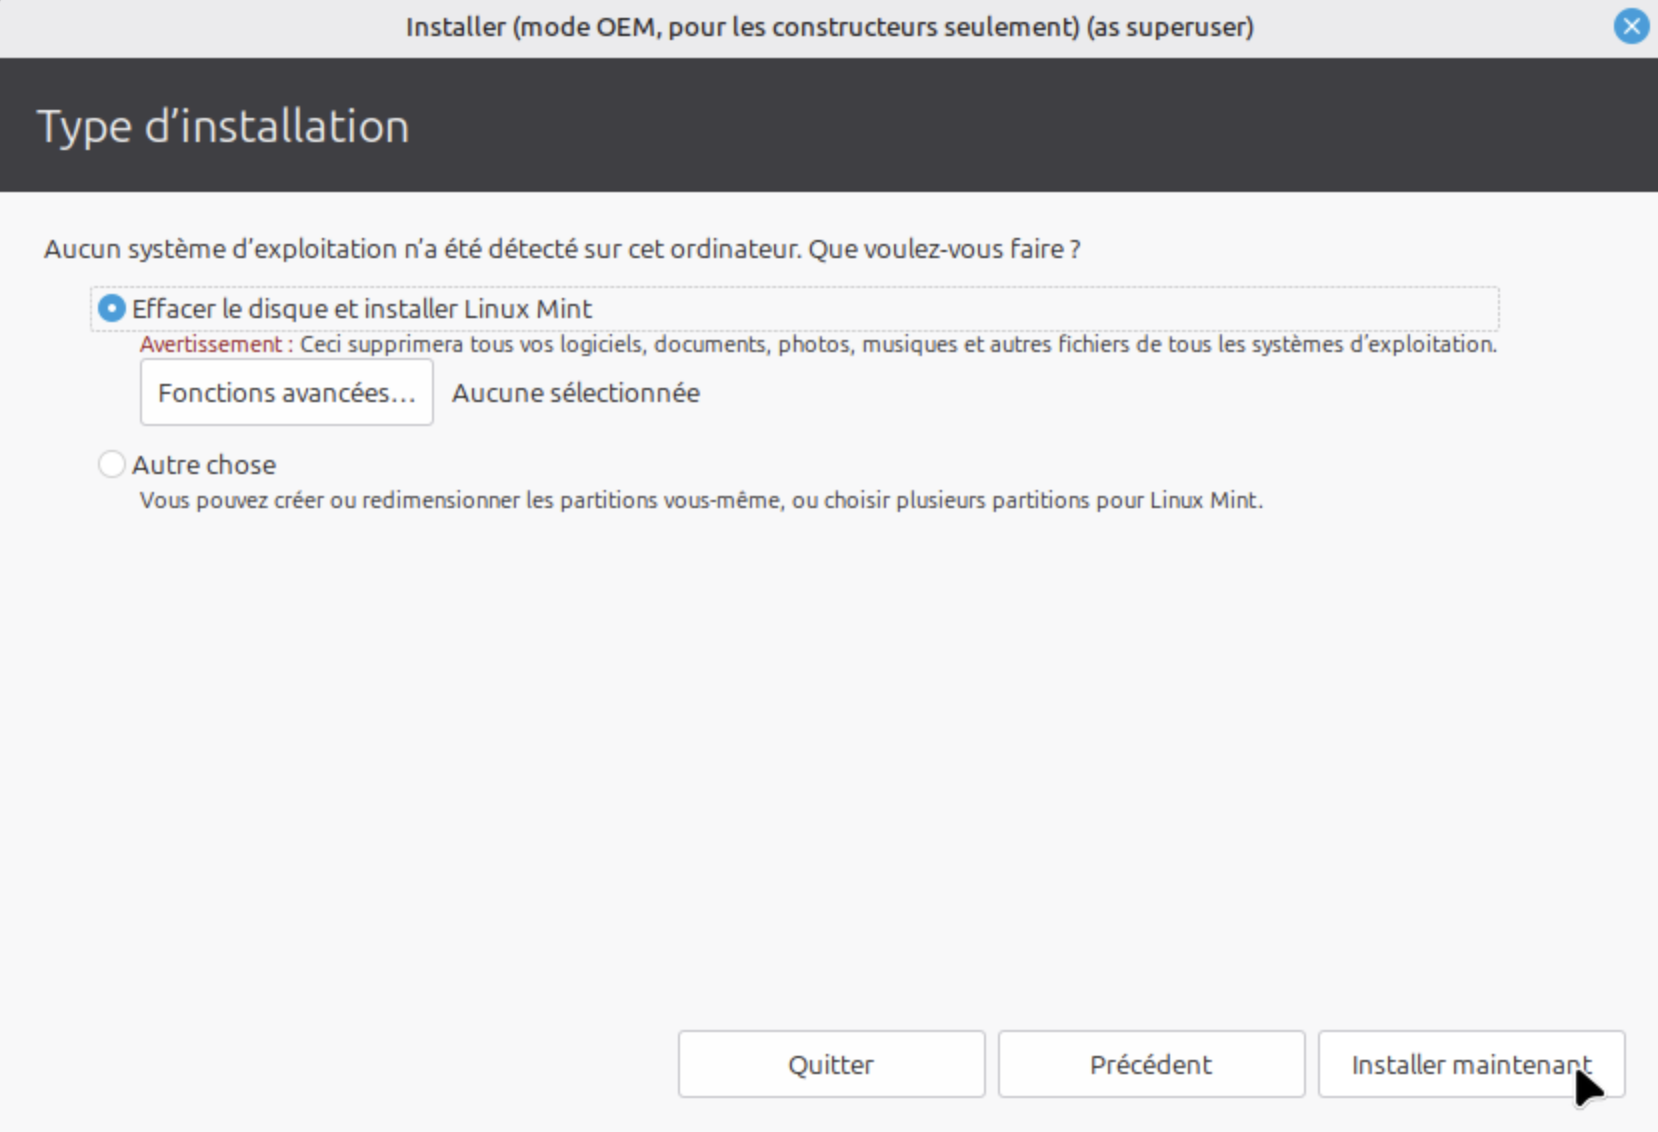
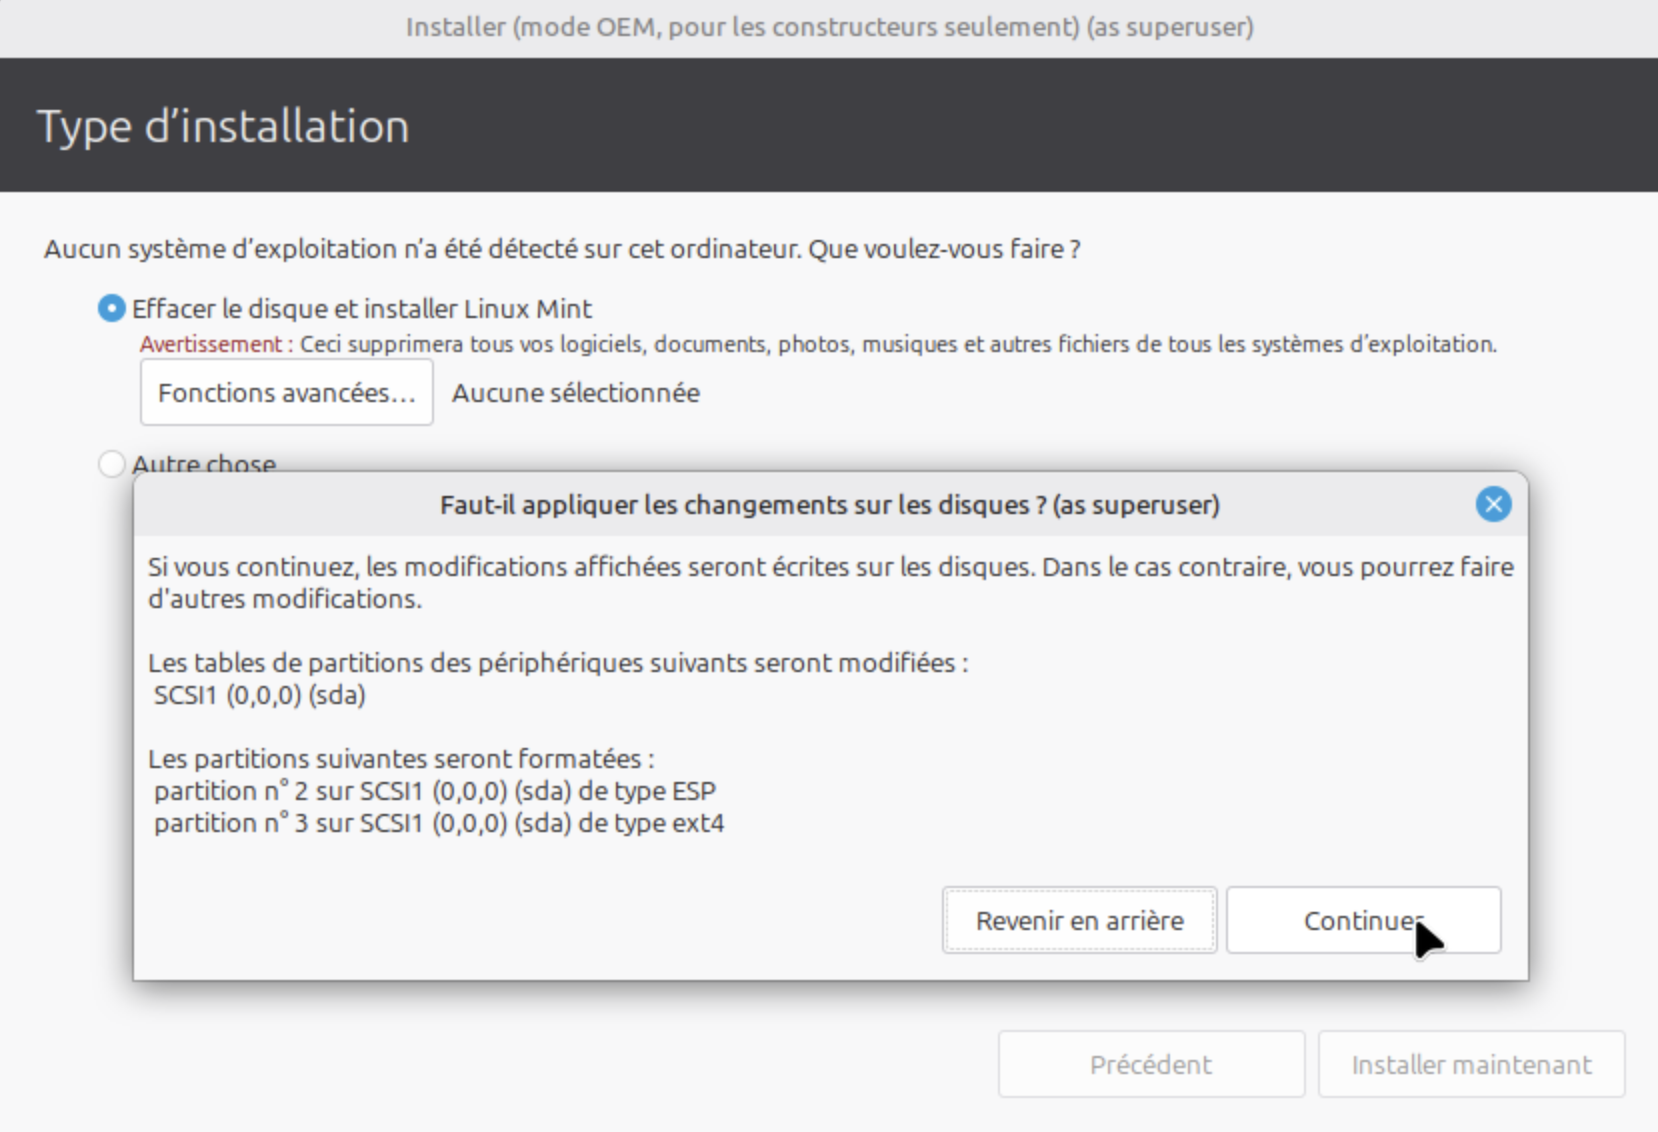
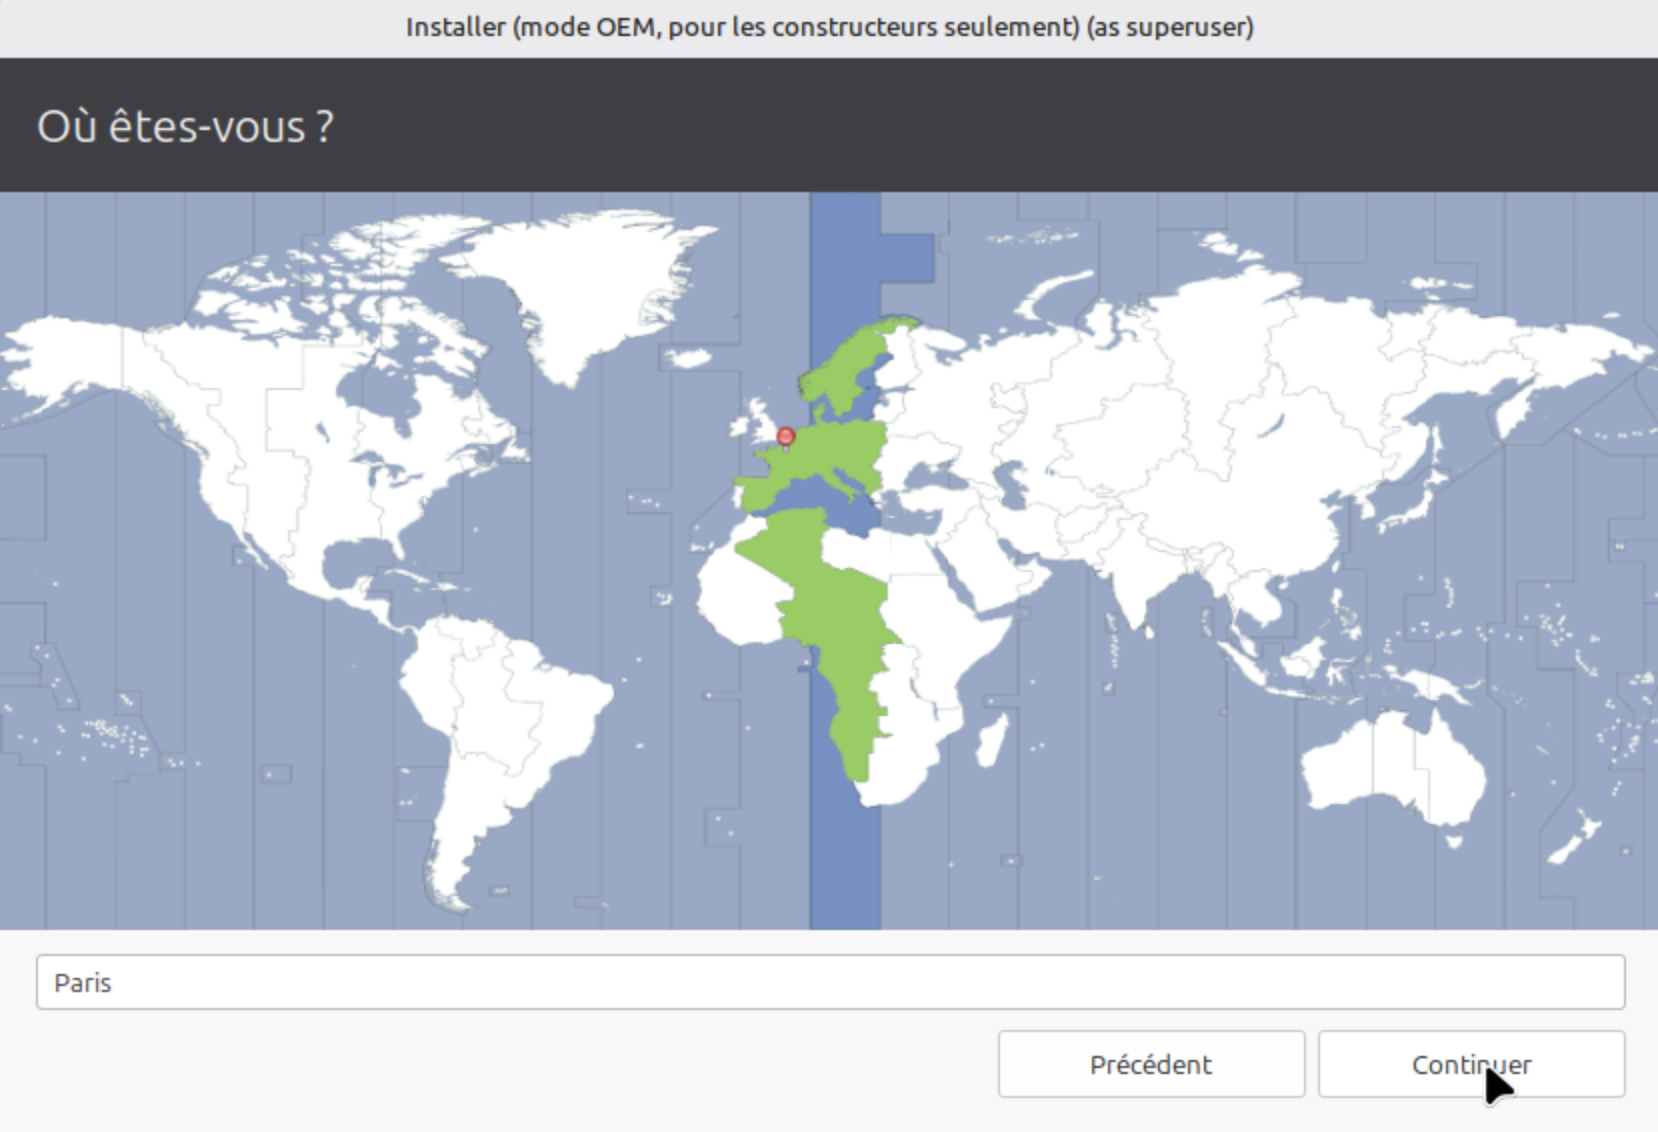
6. Select the time zone
Select the desired time zone.
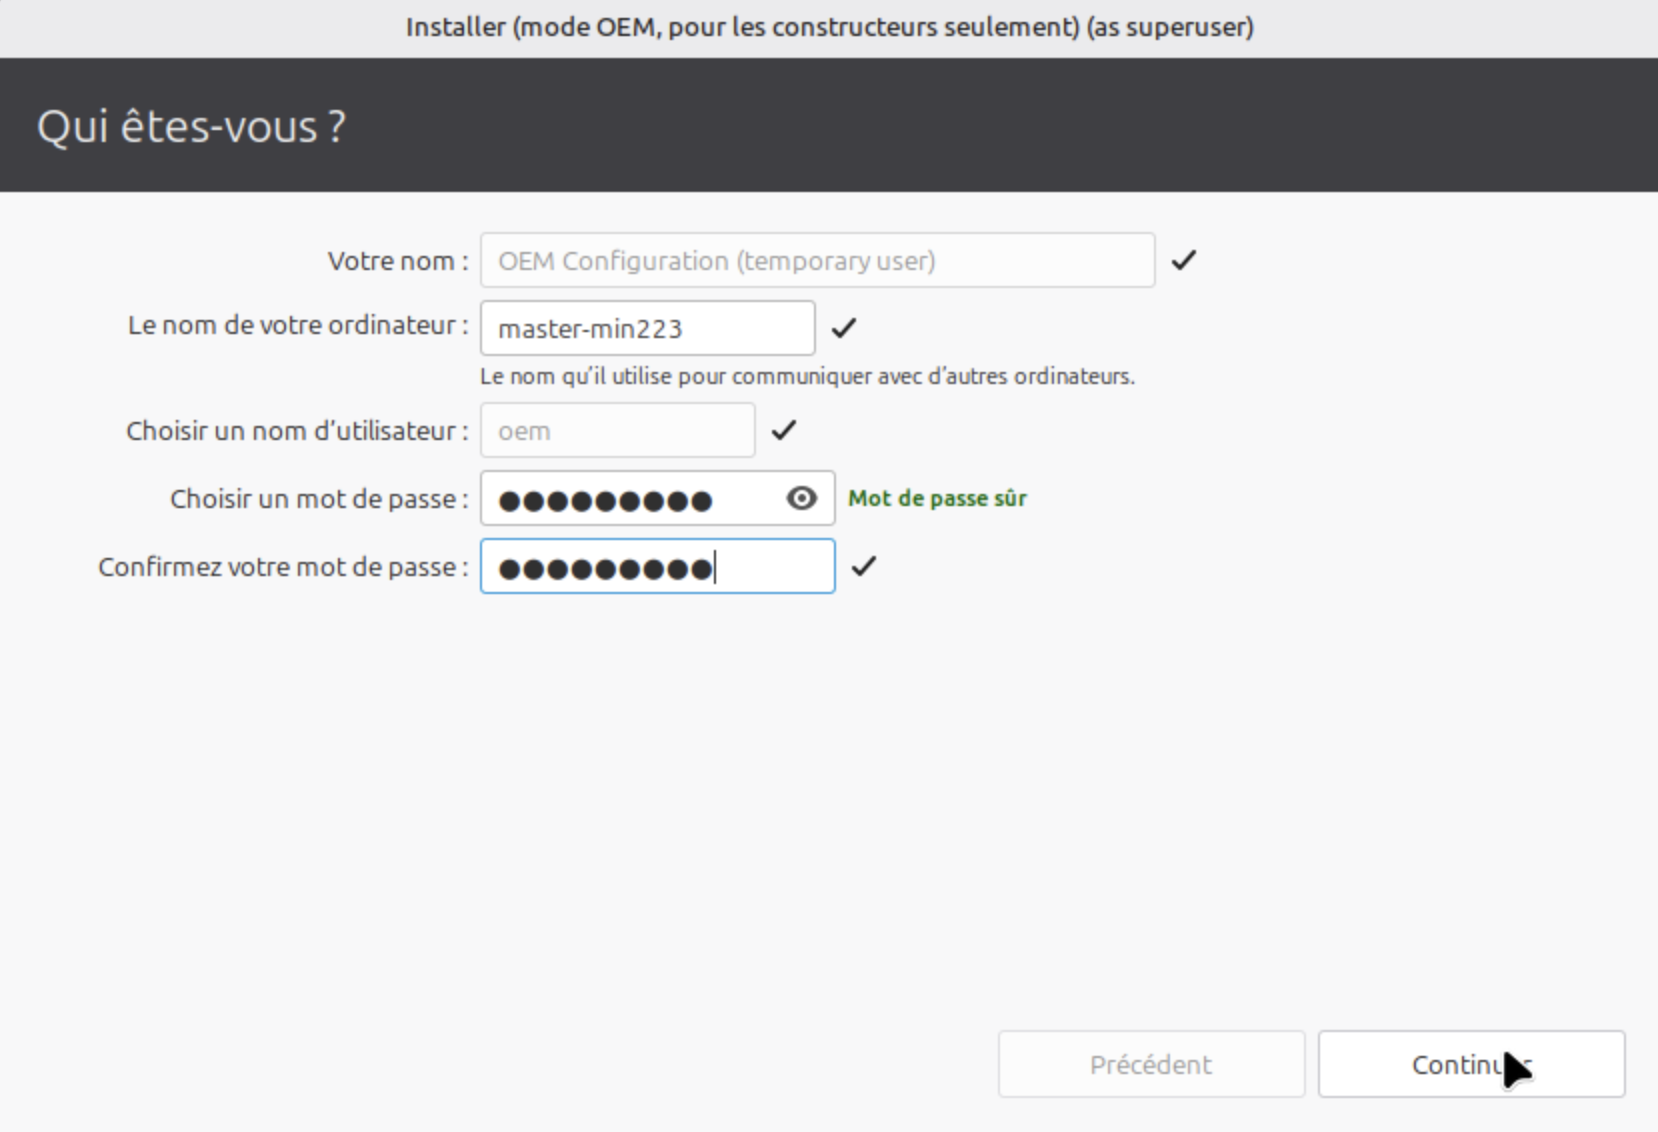
7. Set the machine name
Set:
- The machine name
- The
oemuser’s password
8. Complete the installation
Let the installation run until it is complete.
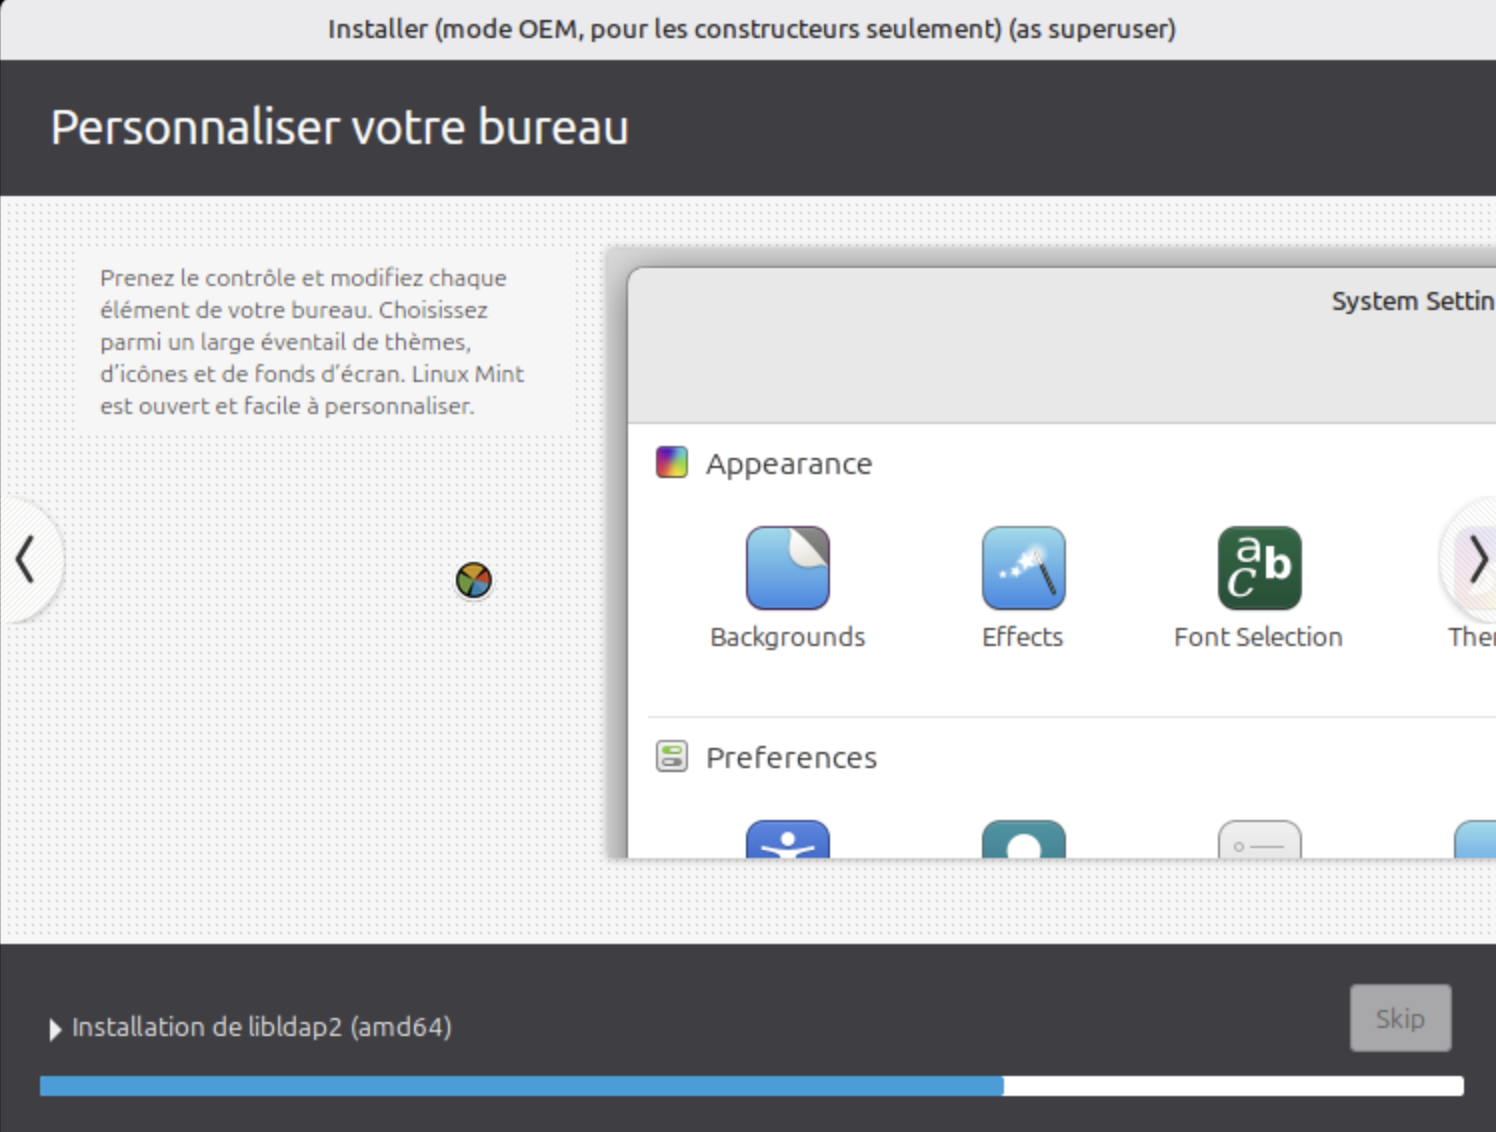
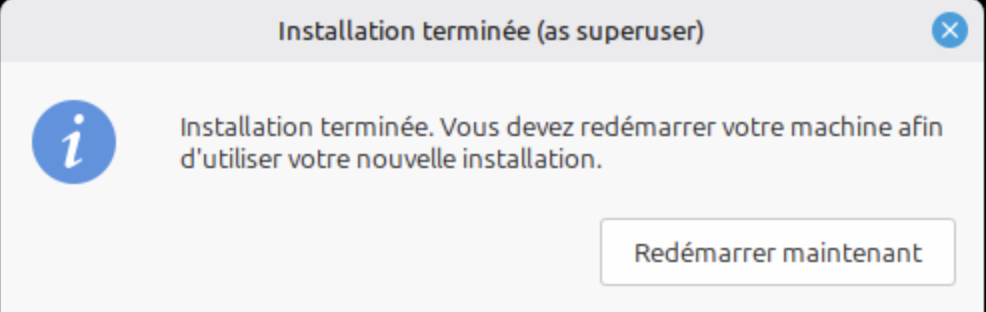
Then restart the virtual machine.
2. Preparing the master
1. Close the startup wizard
Once the machine has restarted, close the window:
First steps2. Install the Medulla Linux agent
Open a terminal and install the Medulla Linux agent according to the official documentation.
https://docs.medulla-tech.io/books/installation-medulla/page/etape-4-installation-de-lagent-medulla
3. Prepare the machine for the end user
Run:
Prepare for shipment to the end user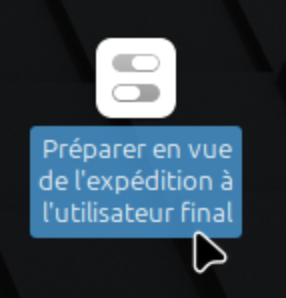
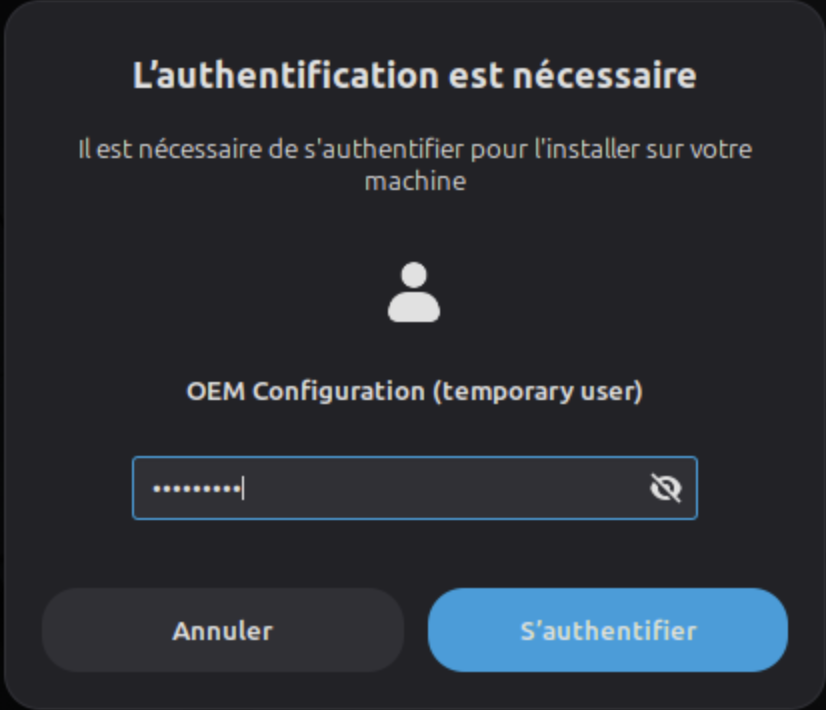
Log in, then shut down the virtual machine.
3. Image capture
Prerequisites
- The VM must be able to boot via PXE first
- The BIOS must be configured for PXE boot
- The DHCP server must point to the Medulla PXE server
1. Check the Medulla PXE menu
In the module:
Imaging → Default boot menu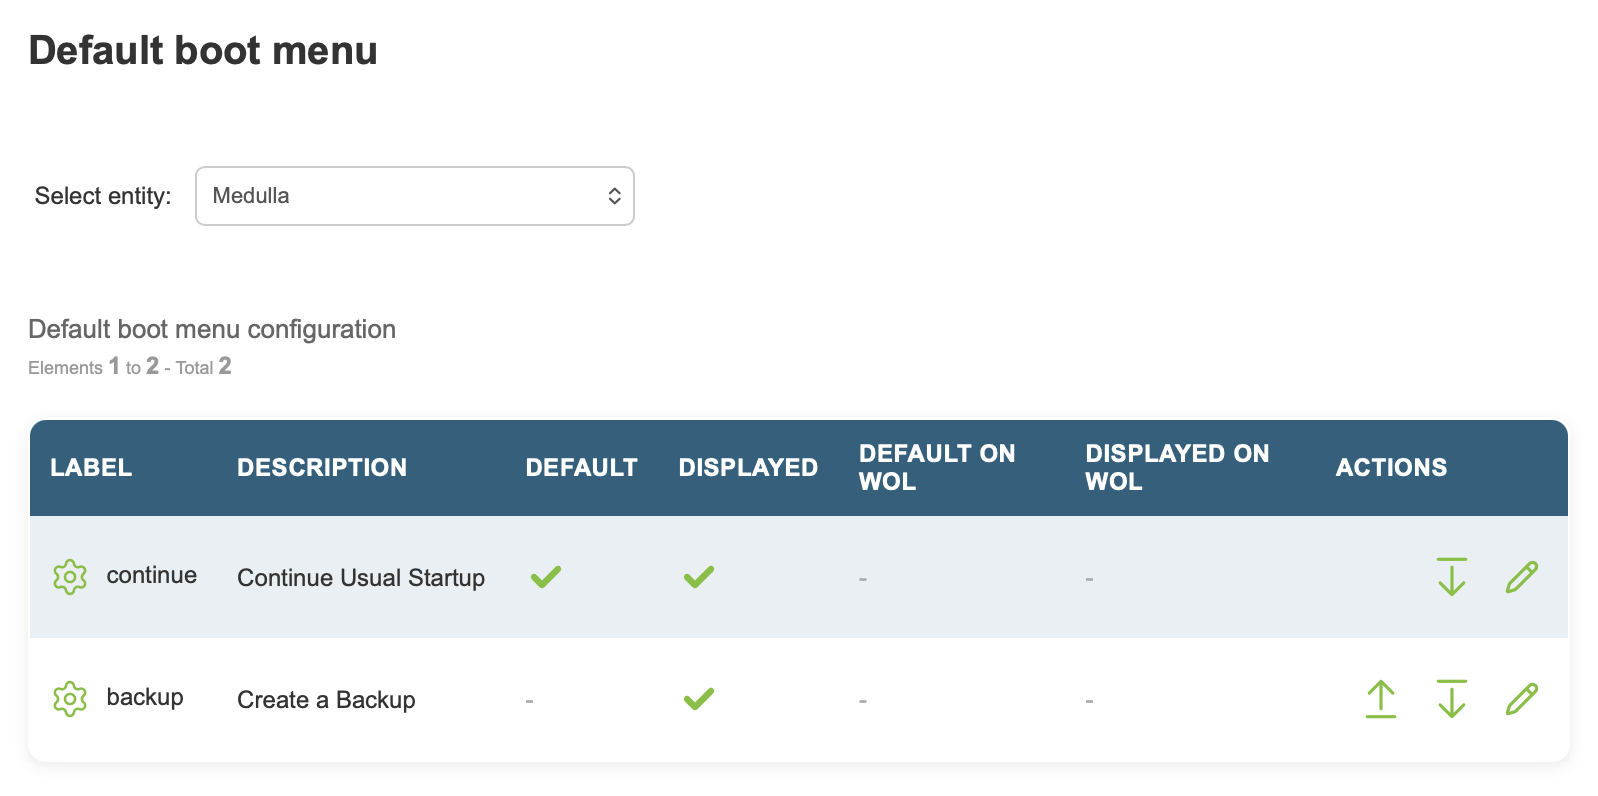
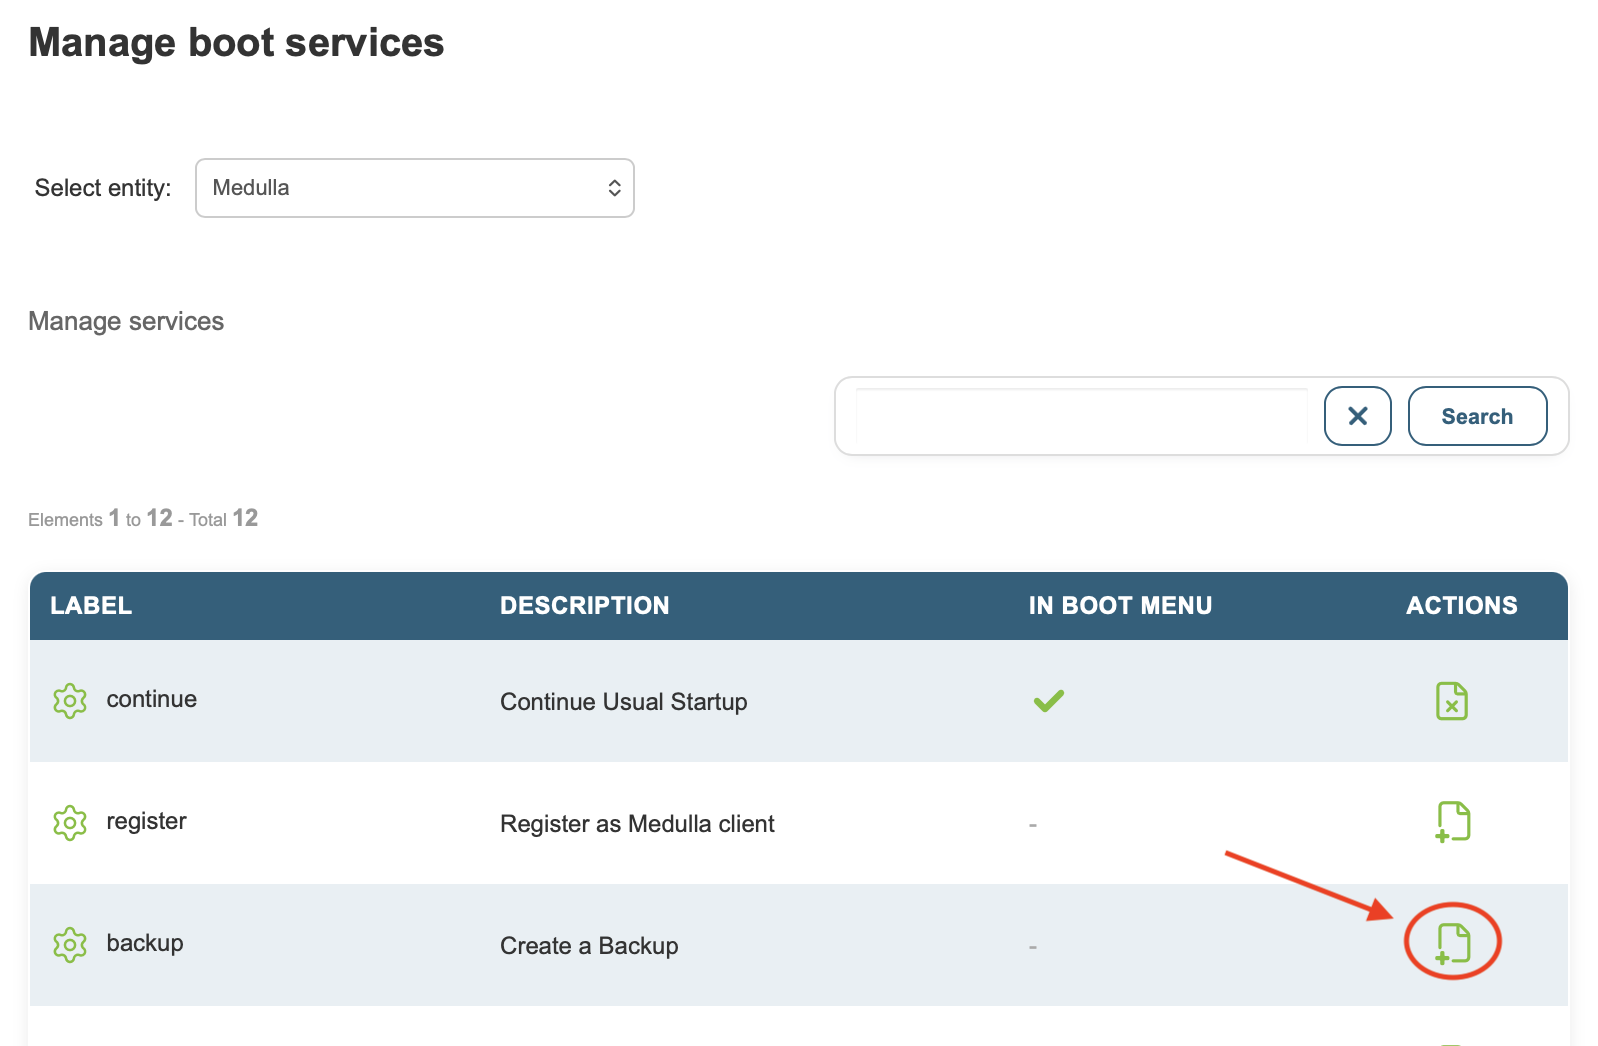
If this is not the case:
Go to:
Imaging → Manage boot servicesClick the action to add the service to the menu to:
continuebackup
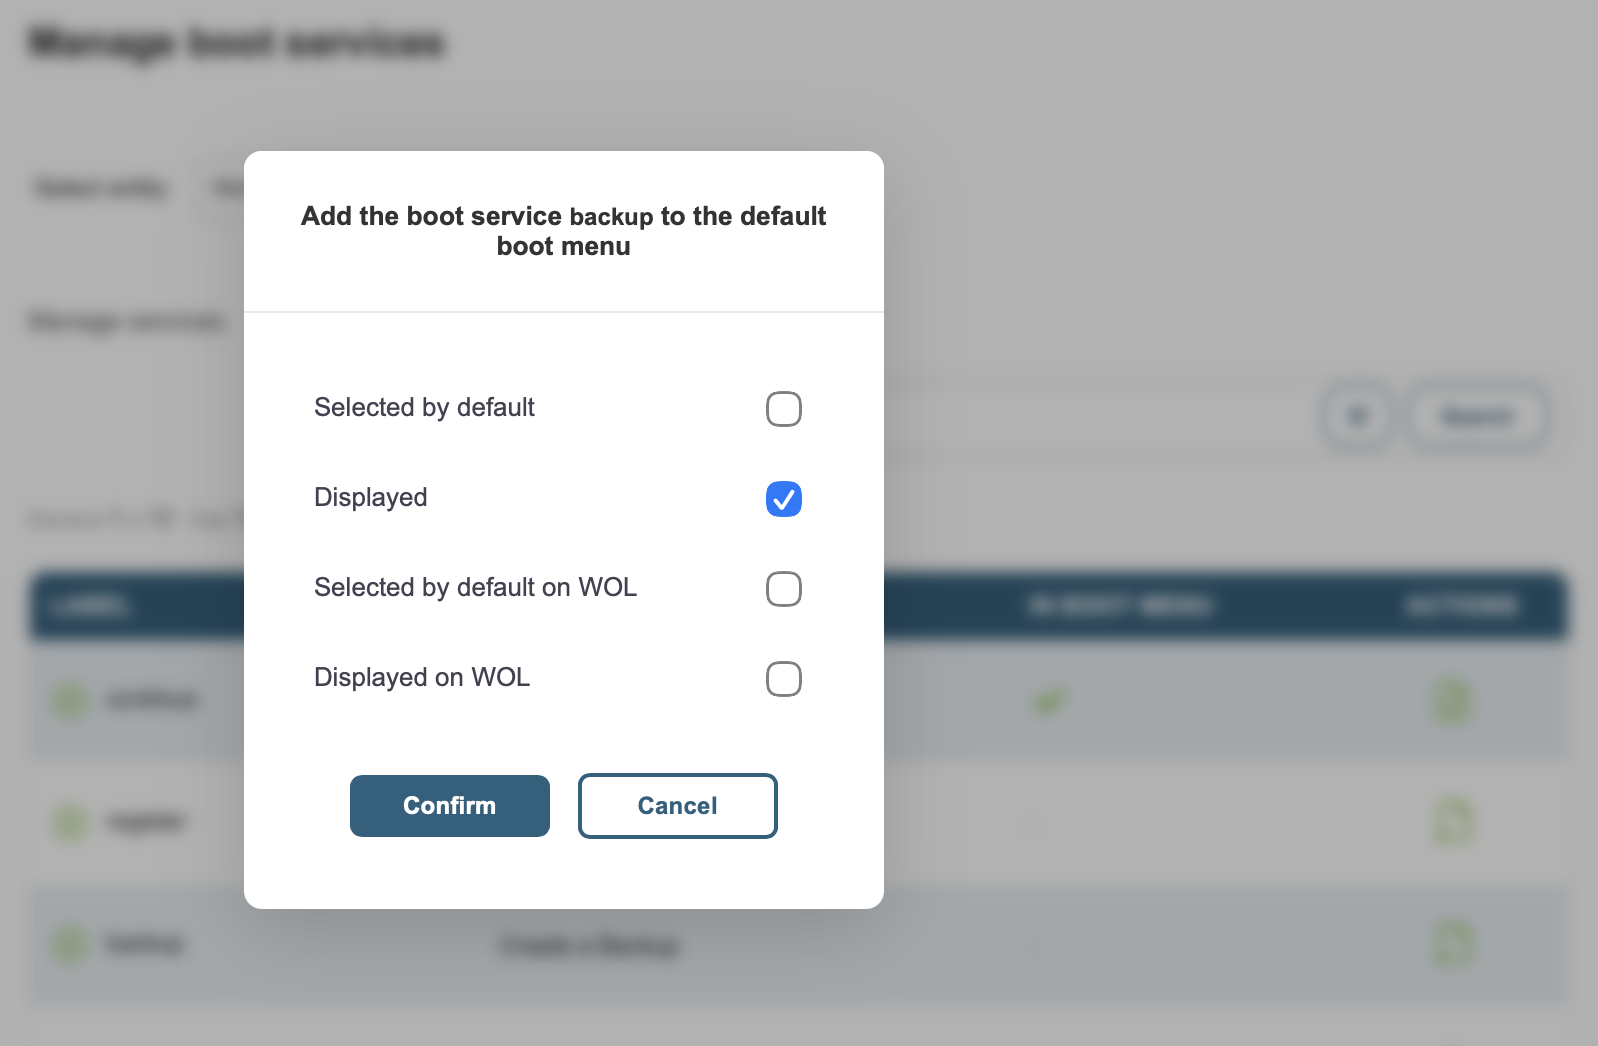
Then return to:
Imaging → Default boot menu- Up
- Down
- Edit
The Edit action allows you to set the selected item as the default.
2. Save the machine
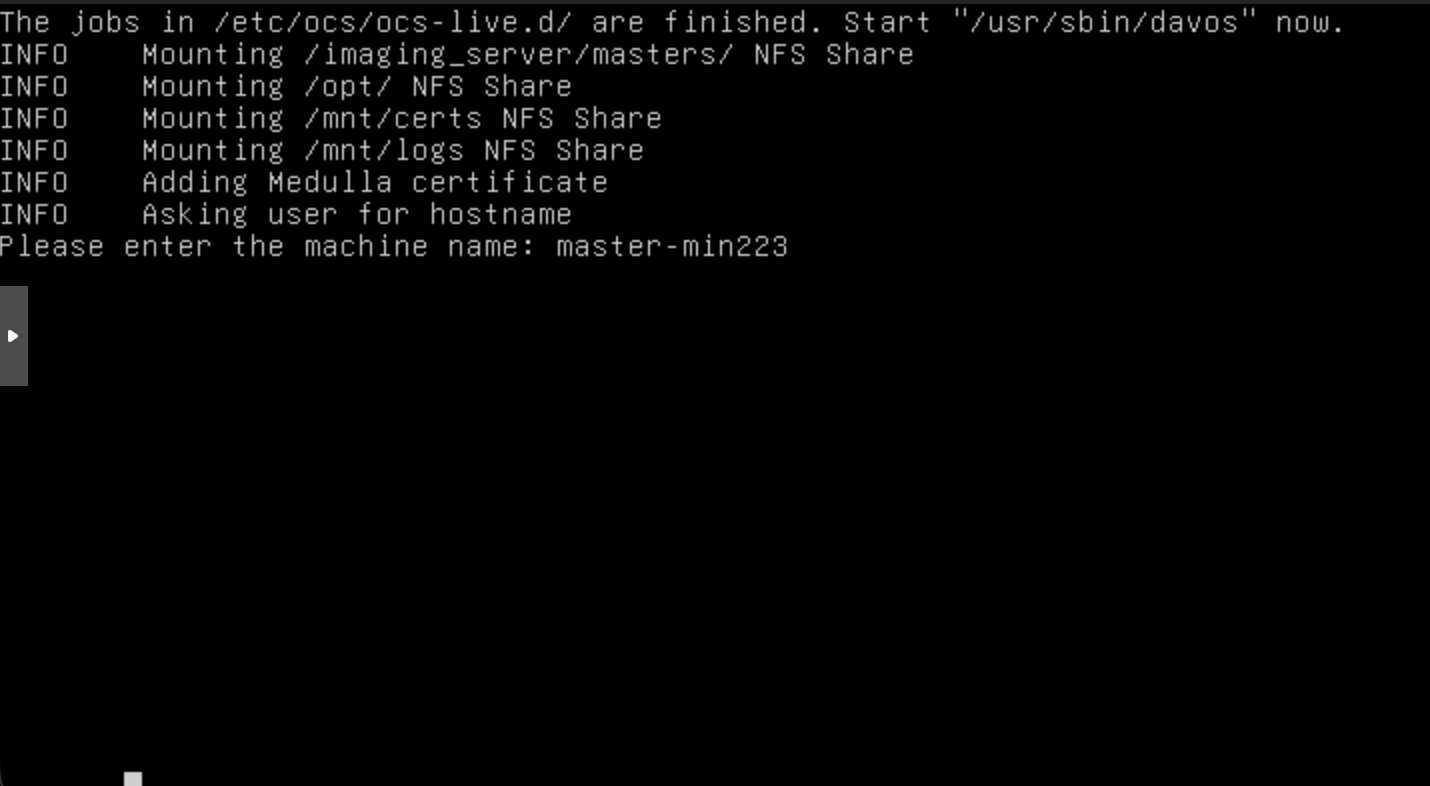
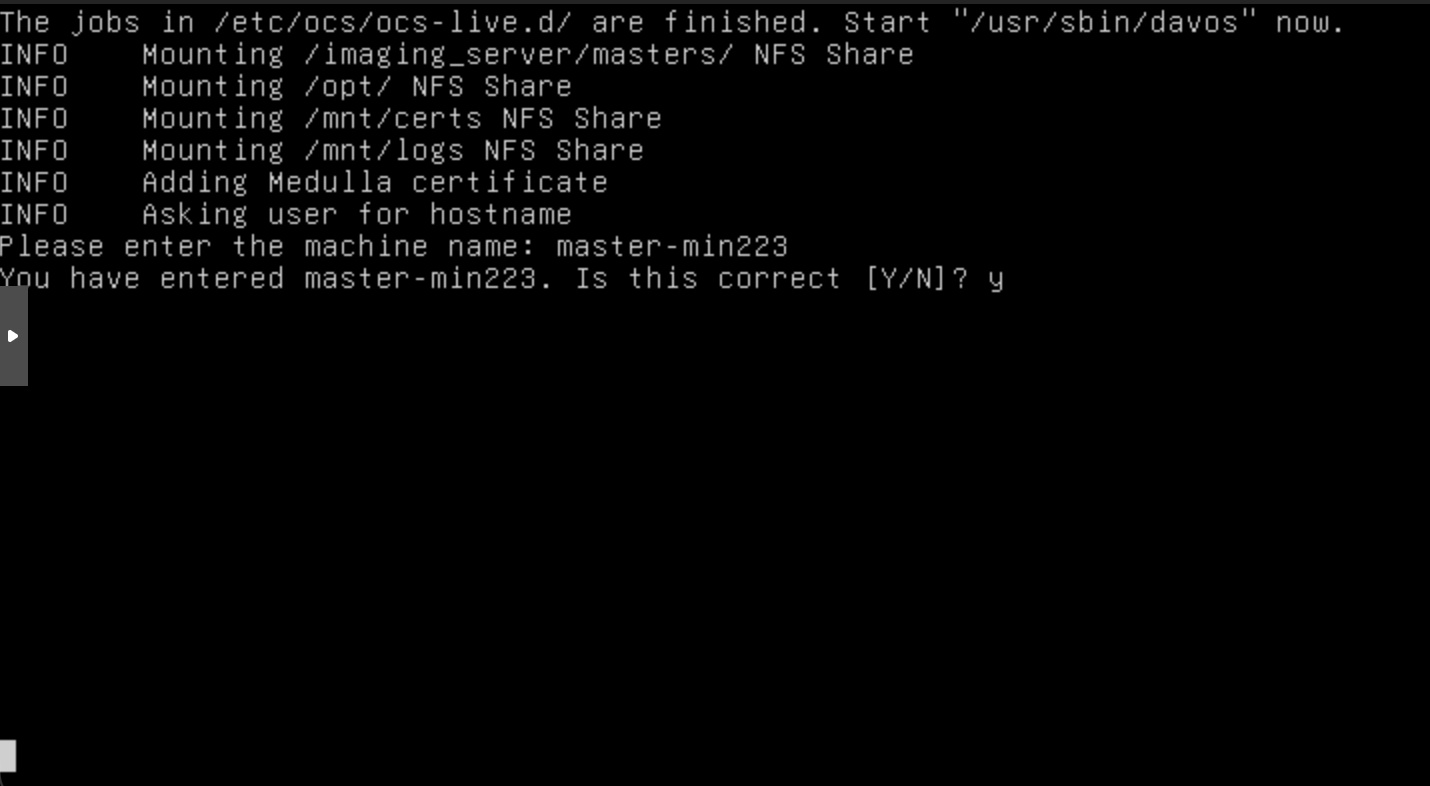
Boot the virtual machine via PXE, then select:
Register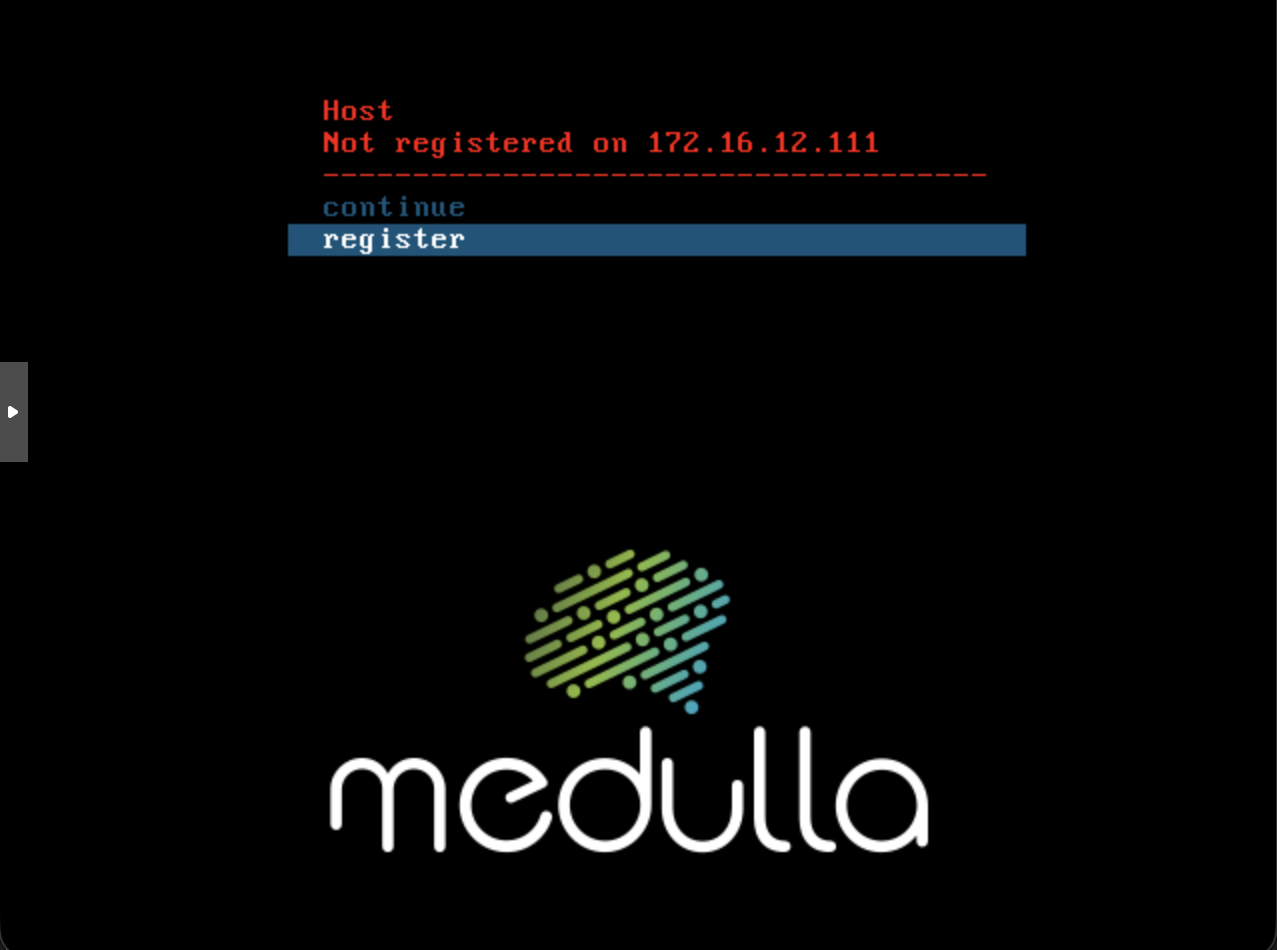
Give the machine a name, then confirm.
3. Start the capture
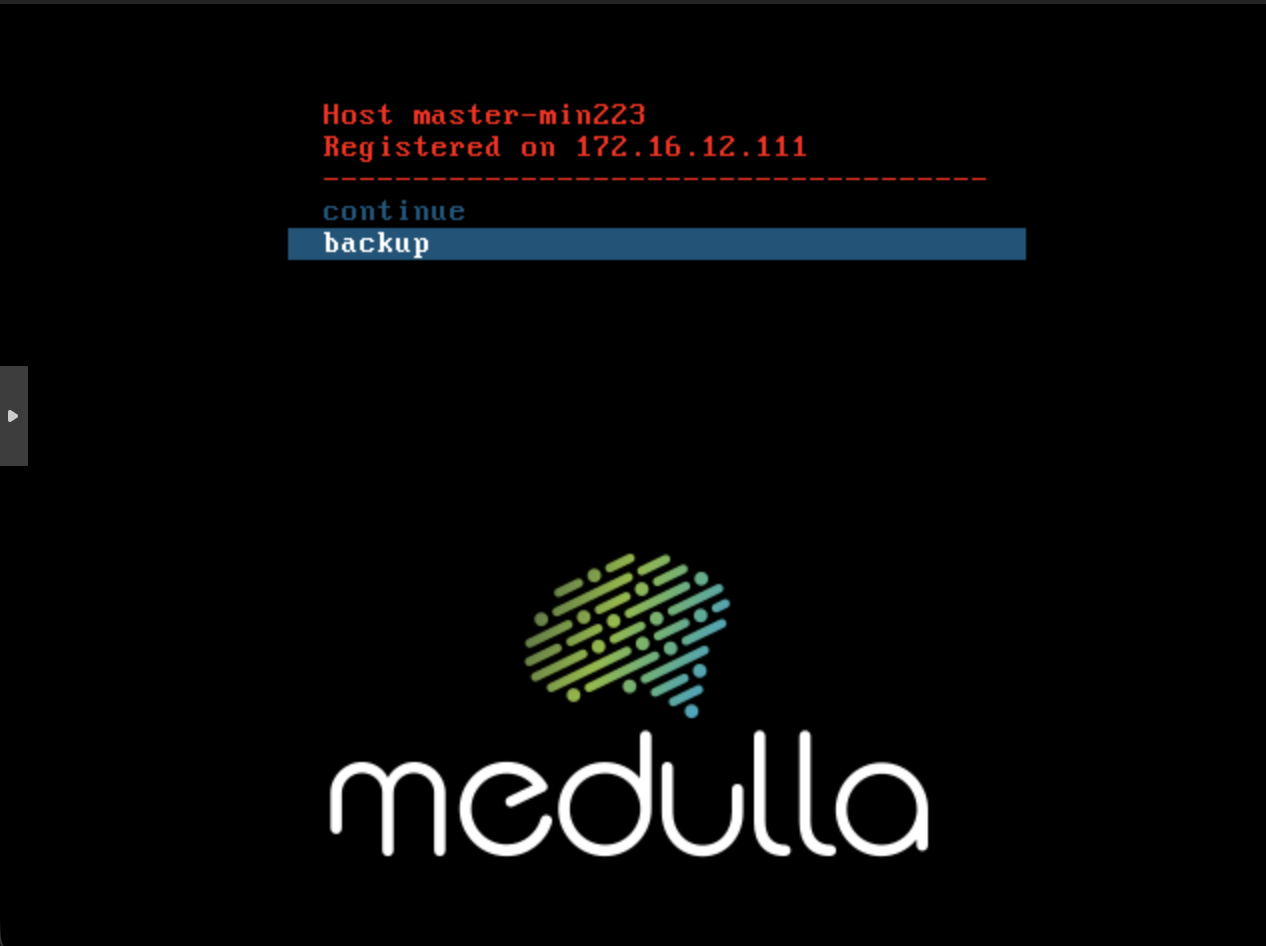
After restarting, select:
backupWait for the disk capture to finish.
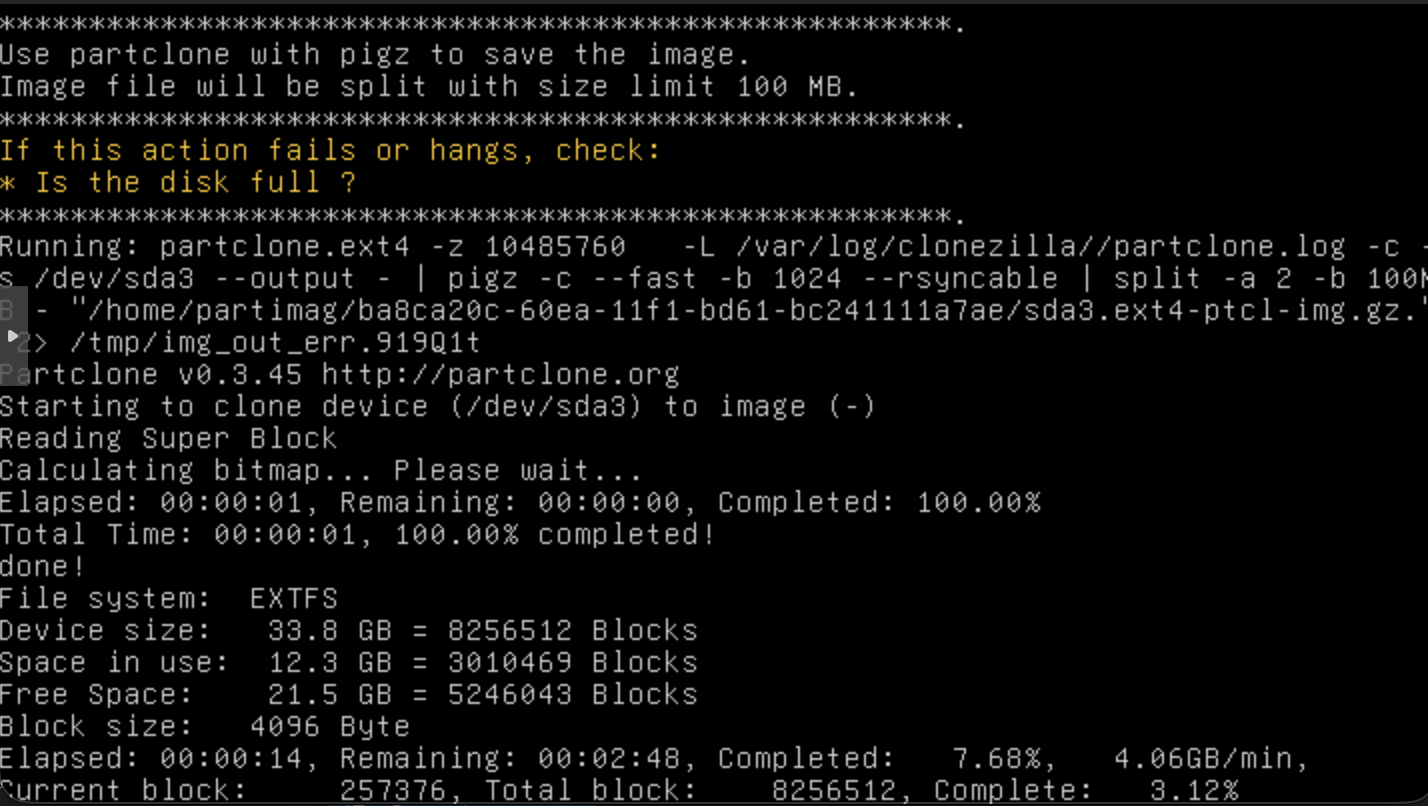
After the capture, the machine will automatically reboot and the PXE menu will appear.
You can then shut down the machine.
4. Creating the master
In Medulla:
Computers → All GLPI ComputersClick on the action:
Imaging managementcorresponding to the machine on which the image was captured.
1. Locate the captured image
In the tab:
Images and MastersLocate the captured image.
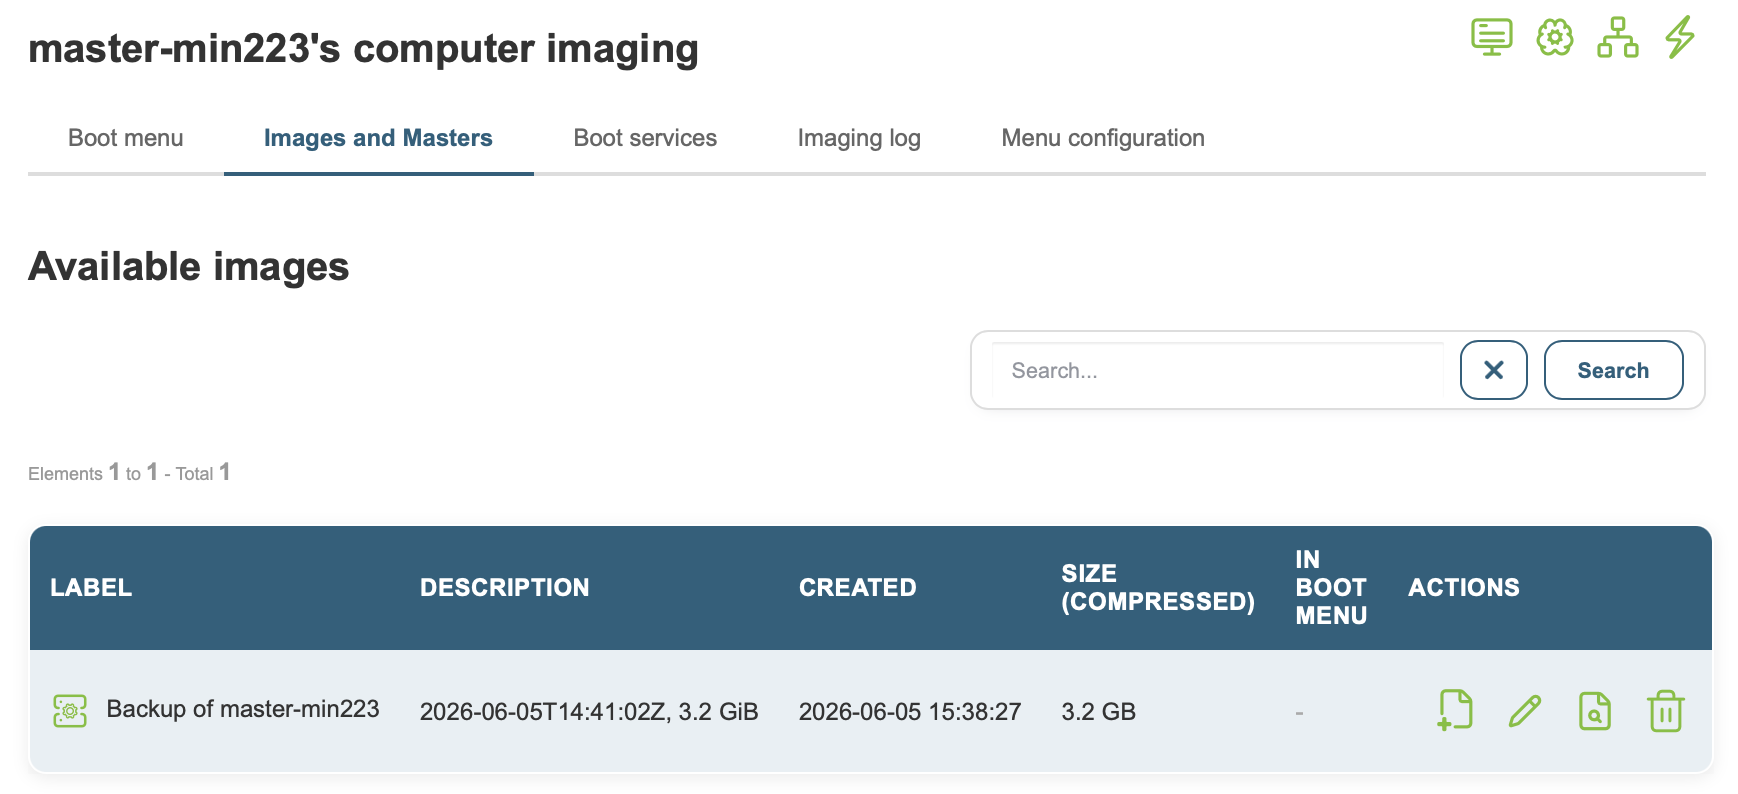
2. Convert the image to a master
Click:
Edit ImageName the master and enter a description.
Then click:
Convert to Master → Save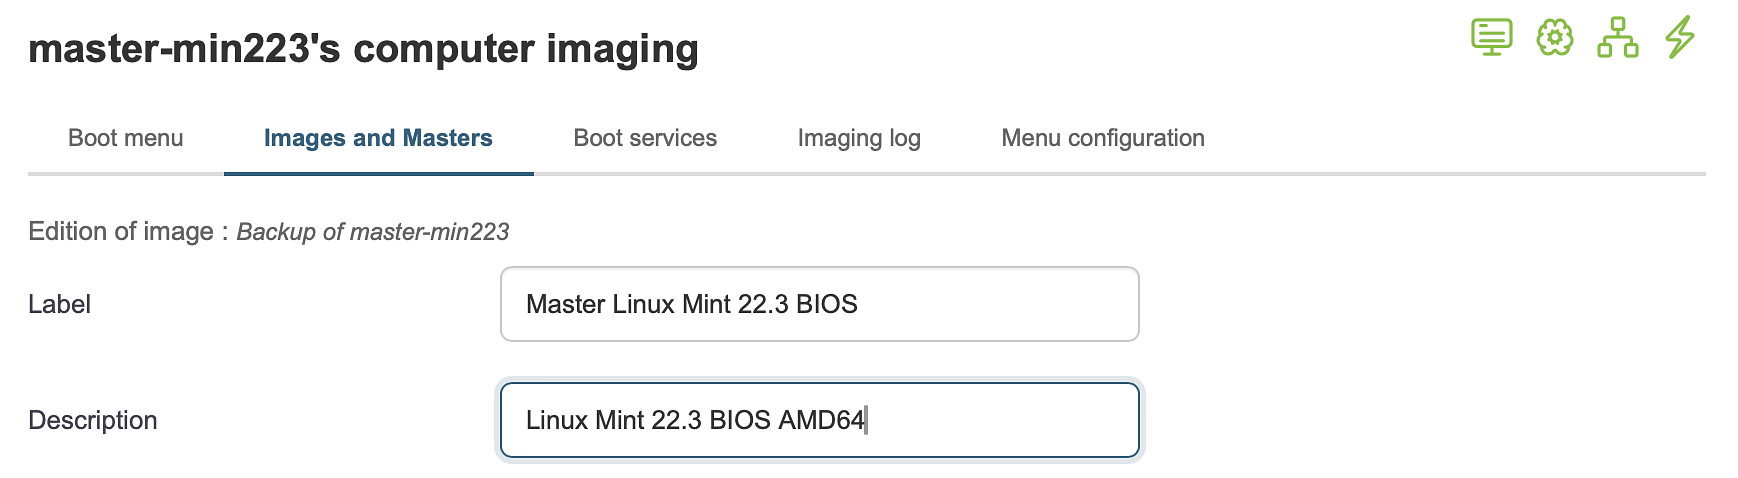
The master will then be available in:
Imaging → Manage masters