Create a package
In the Packages view, click Add Package in the left-hand menu.
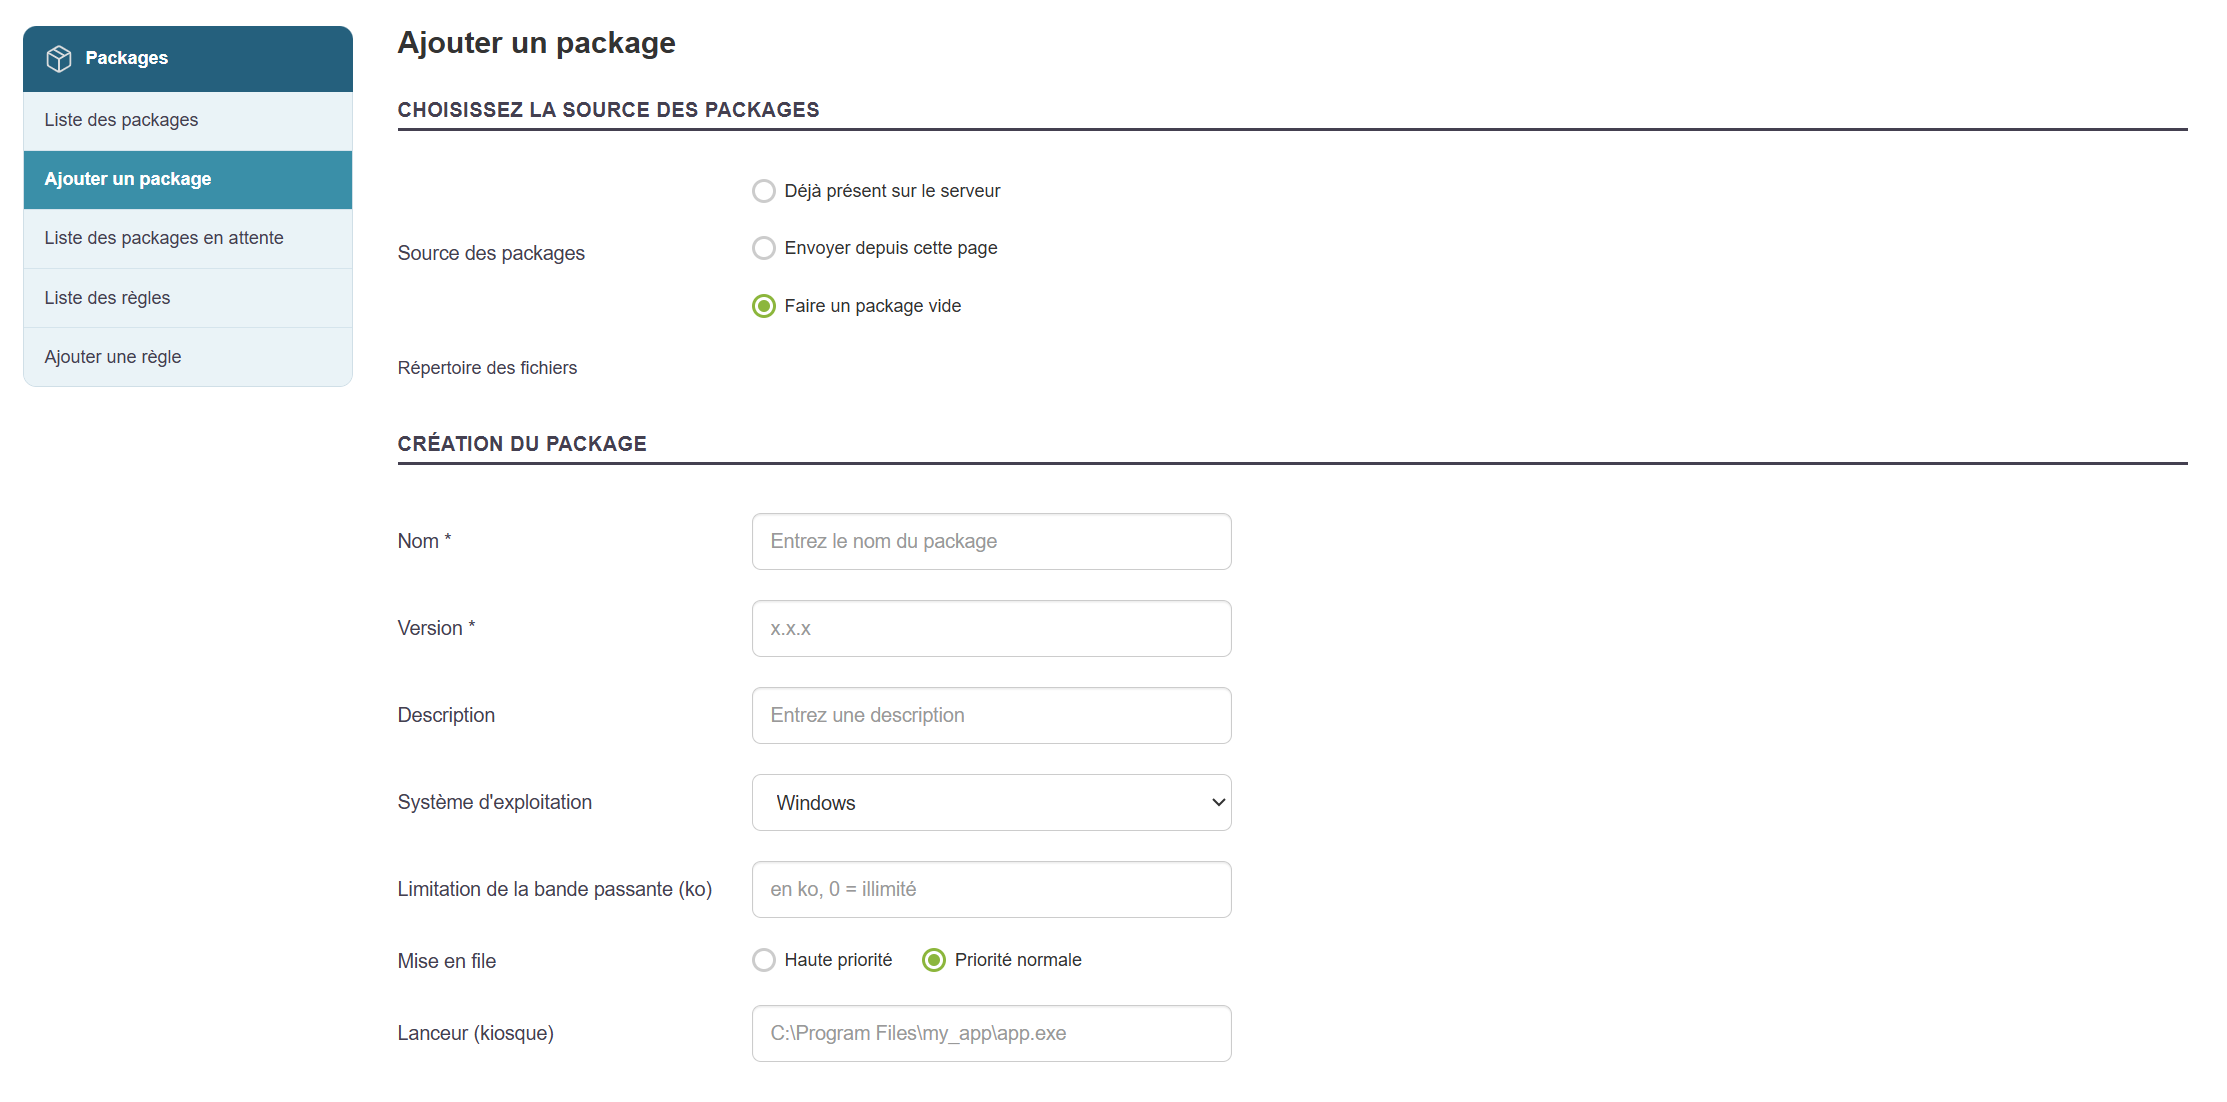
You can choose whether or not to assign a setup file, and click "Upload Pending Files" if necessary.
Fill out the various sections.
You can add other packages as dependencies.
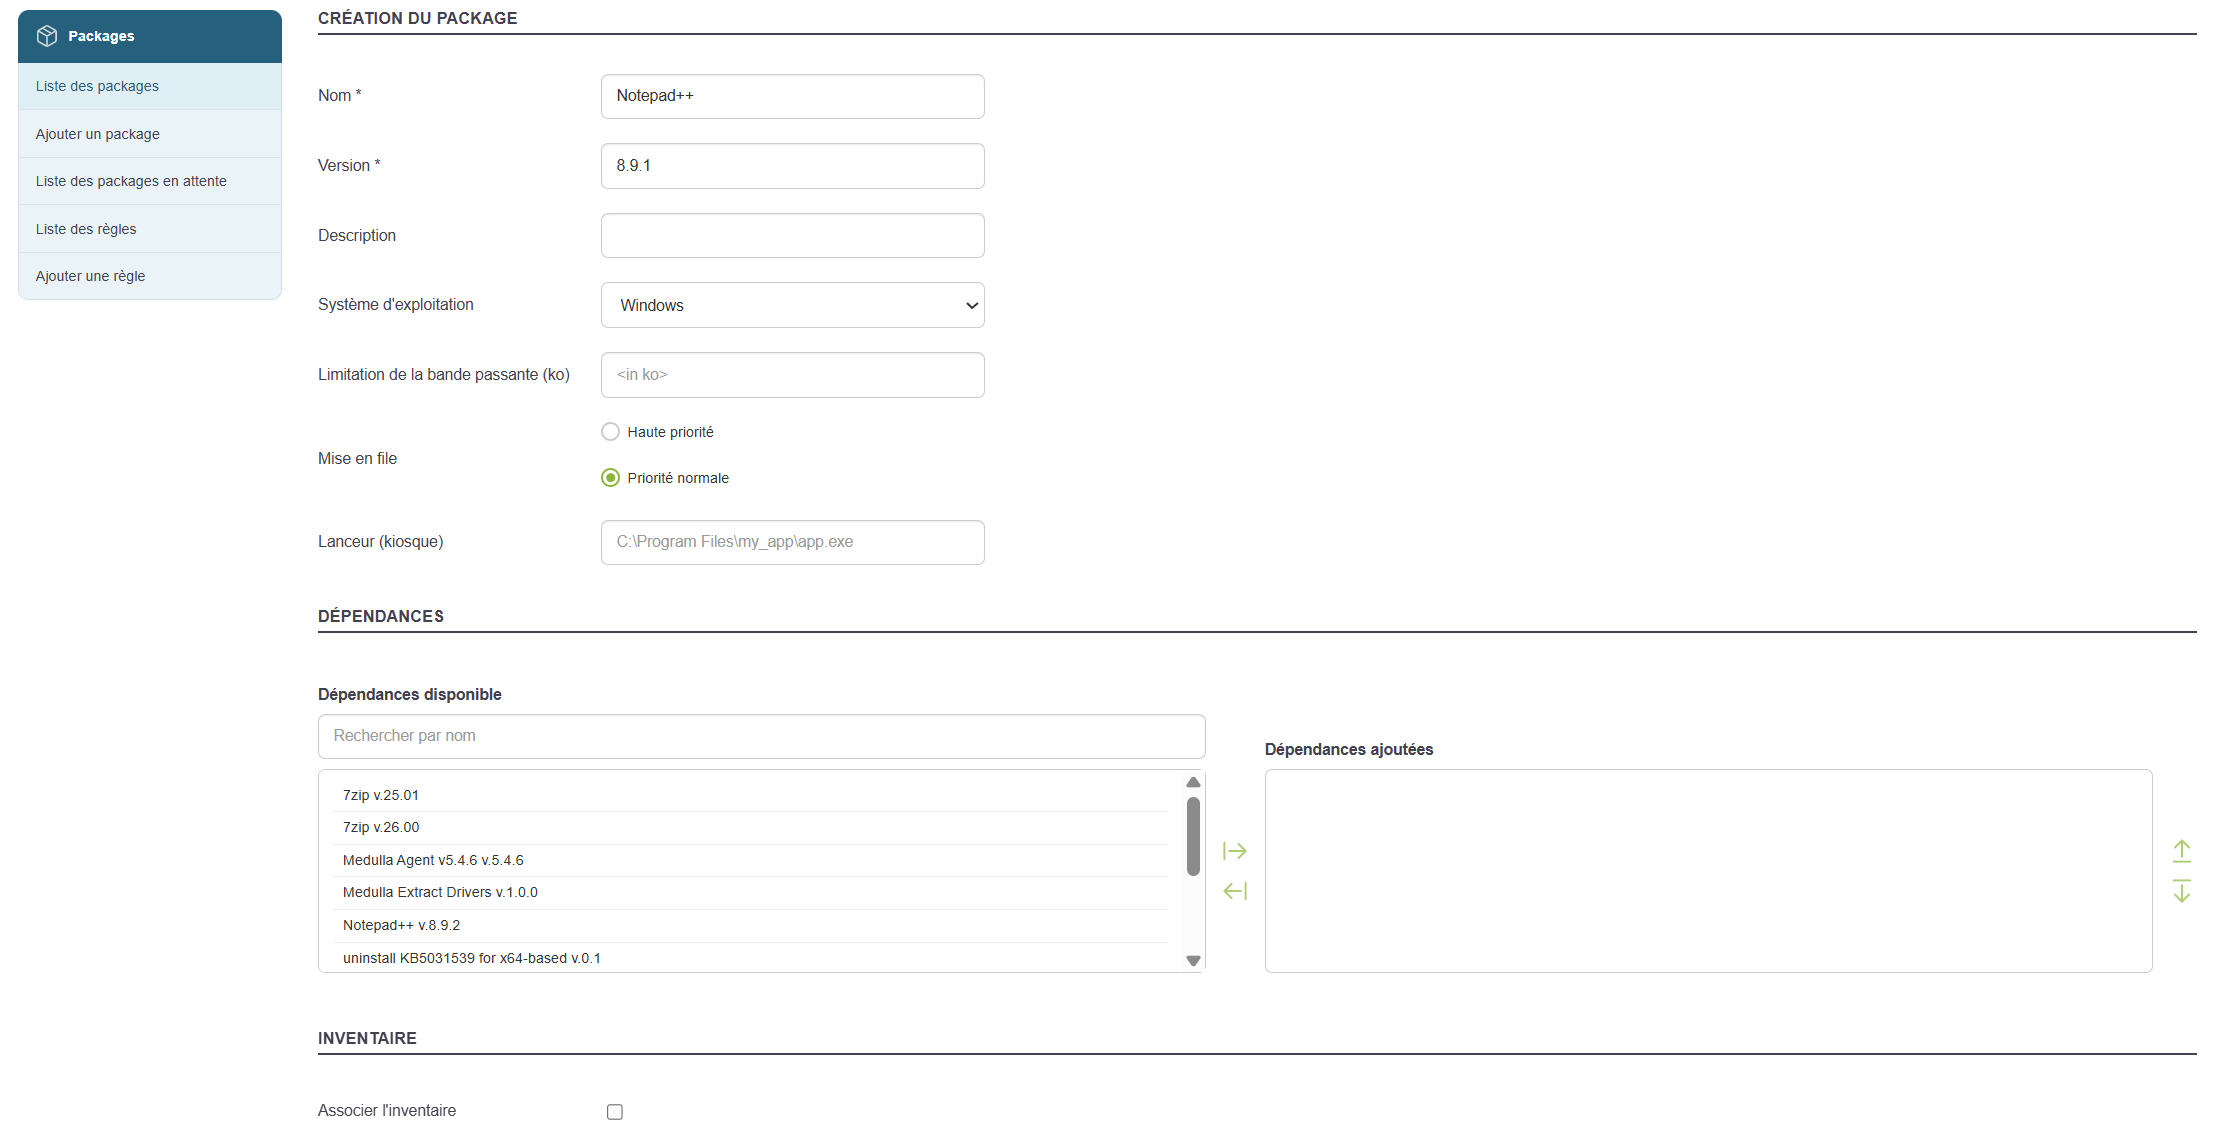
In the example above, I will enter the value for Launcher (Kiosk): "C:\Program Files\Notepad++\Notepad++.exe", if my package is intended for the Kiosk and is to be installed in the default location "C:\Program Files\Notepad++\".
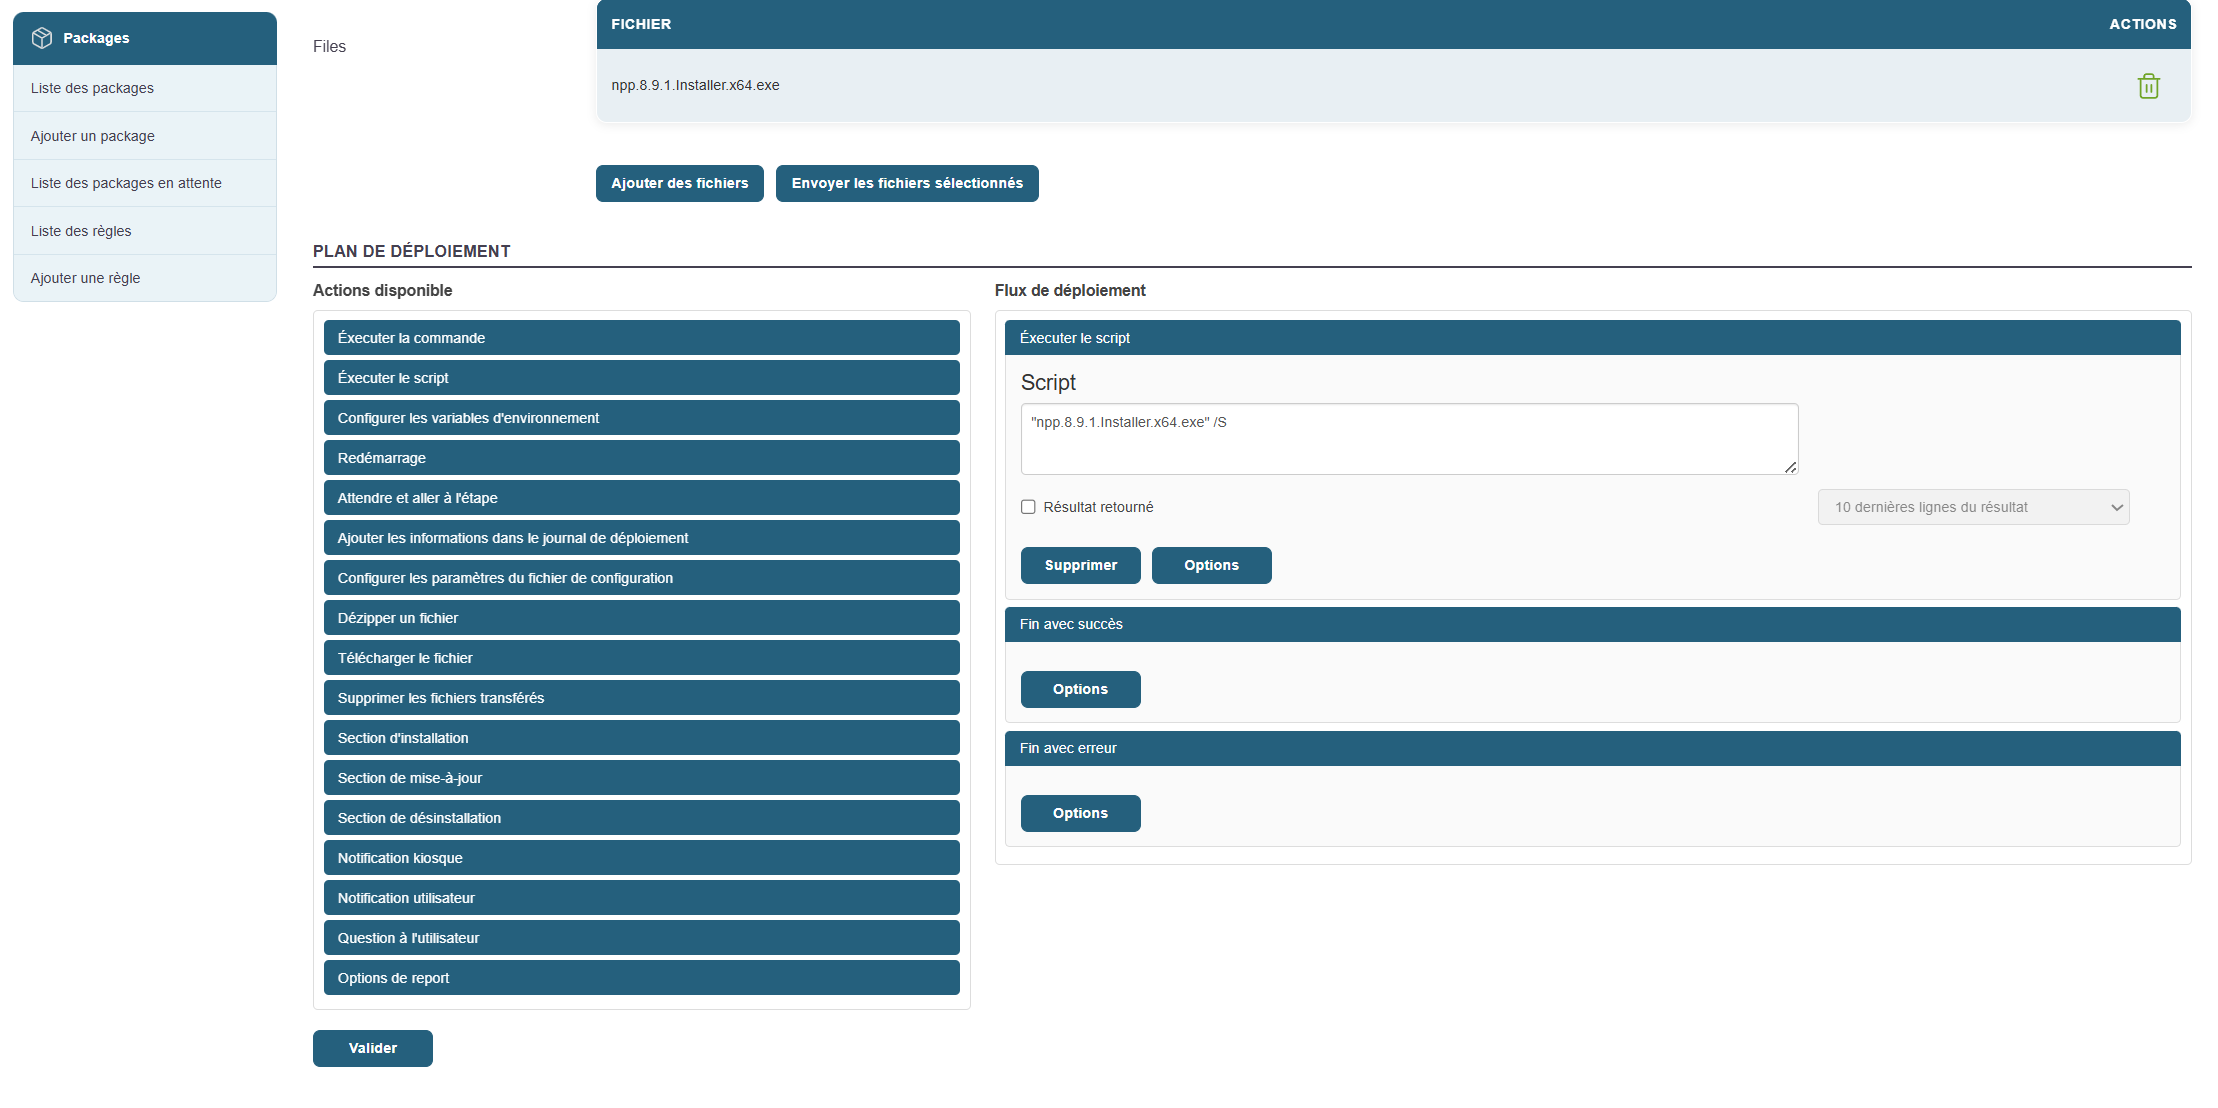
An auto-generated script allows you to silently run the installer file added earlier.
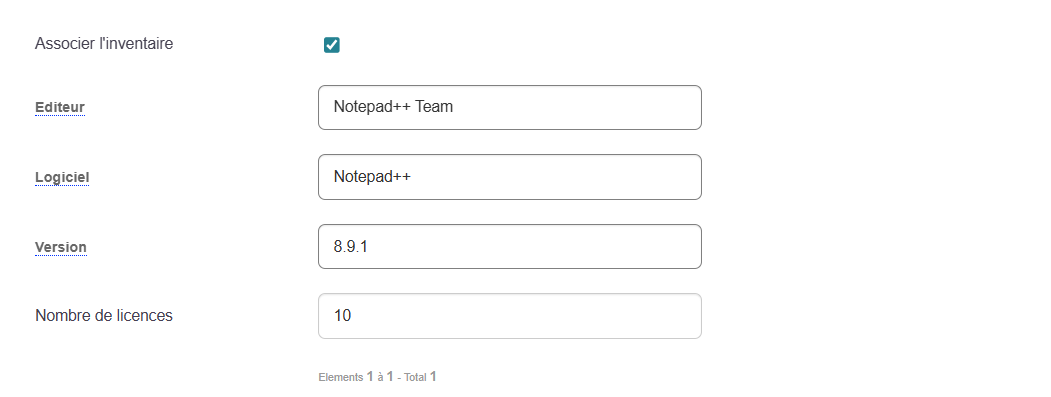
You can associate an inventory with the package using the“Associate Inventory” button, which will make it available in both Kiosk and Convergence.
Fill out the relevant section as follows (auto-complete will appear if other machines in your IT estate have reported this software in their inventory):
To perform a negative convergence with this package, or to make the package uninstall available via the Kiosk, you must perform the following actions:
- You can add uninstallation sections as follows if you want to be able to uninstall the application from the solution via the Kiosk.
- Add an uninstallation section from the left-hand menu.
- Then add a command and set it to the uninstall command.
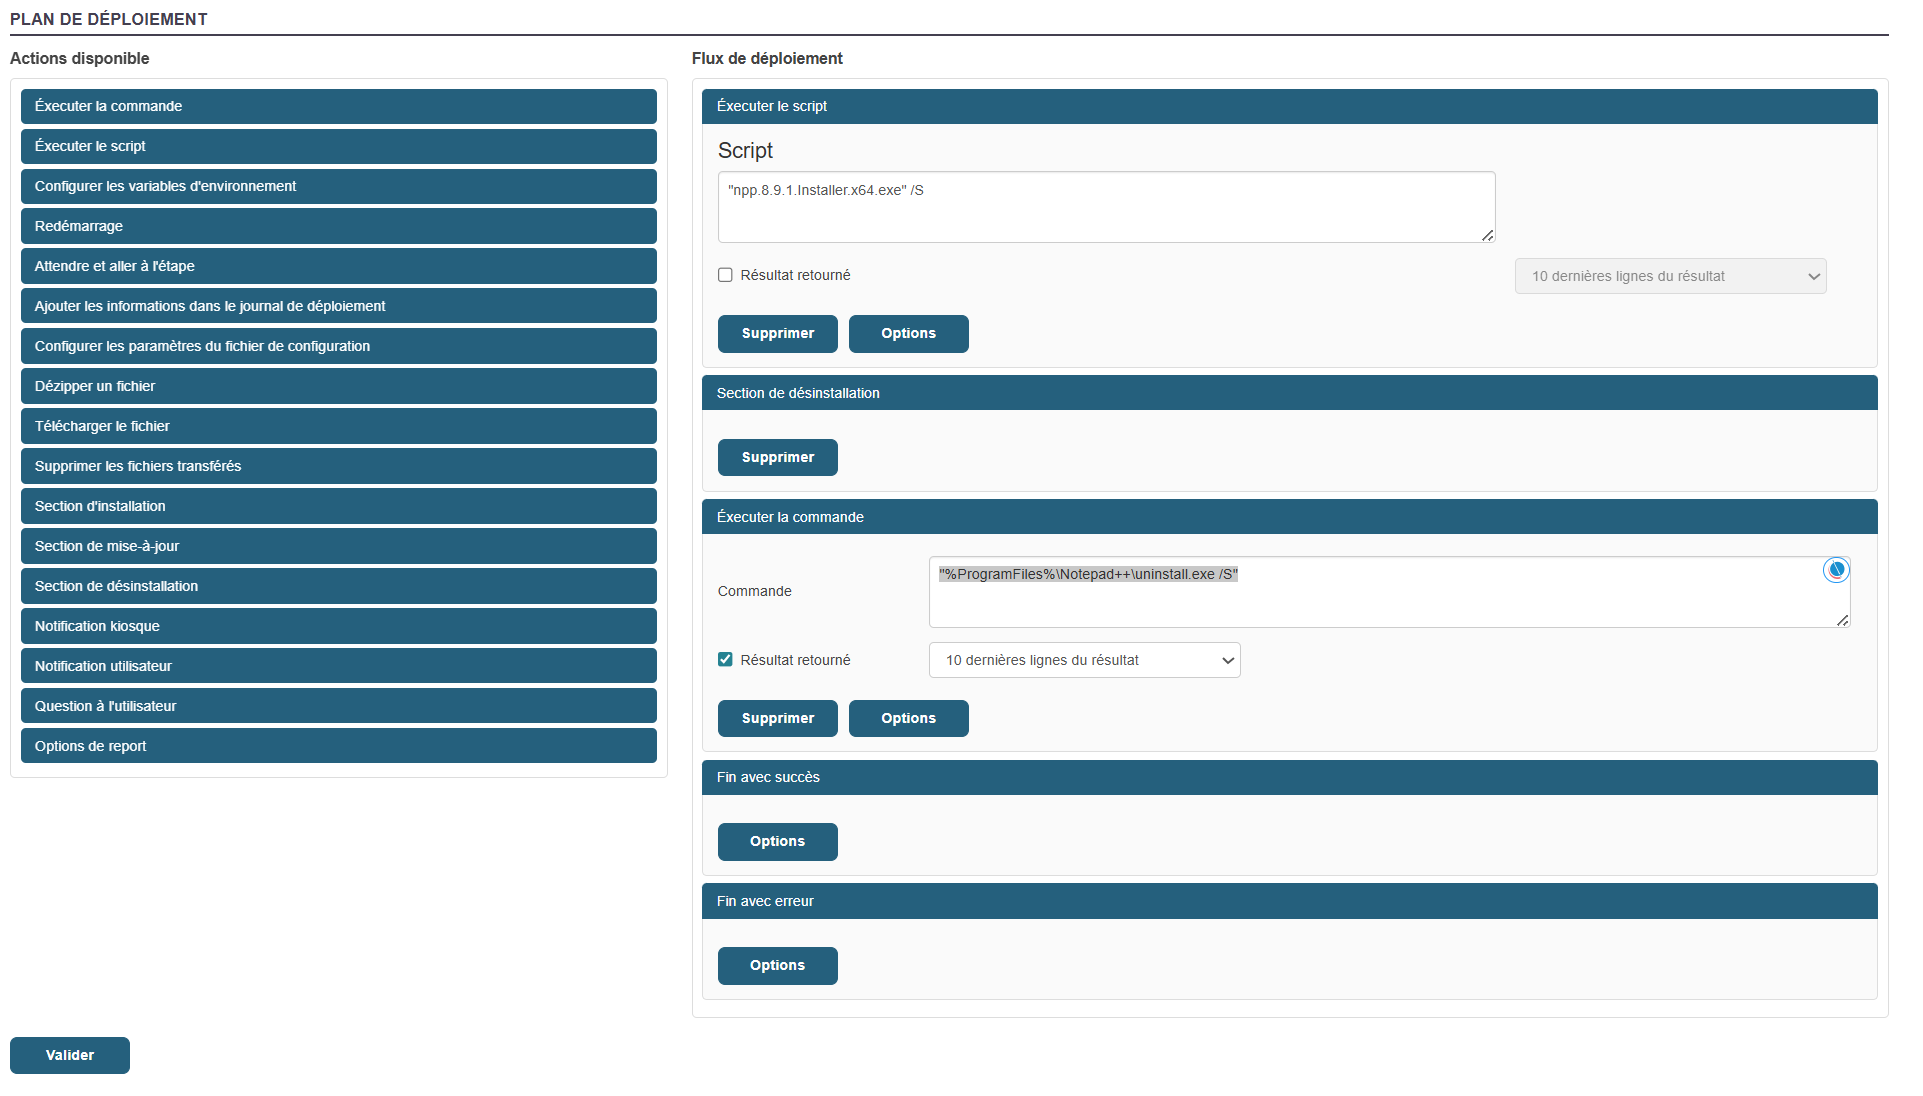
Many actions are possible within a package’s workflow.
Click "Validate. "
The package is ready
Kiosk:
To add my app to the kiosk profiles and create a profile, click on this section of the documentation: Chapter 3: Kiosk
Convergence:
To deploy my package via Convergence, see the Convergence deployment section: Convergence