Add an entity and create users
![]()
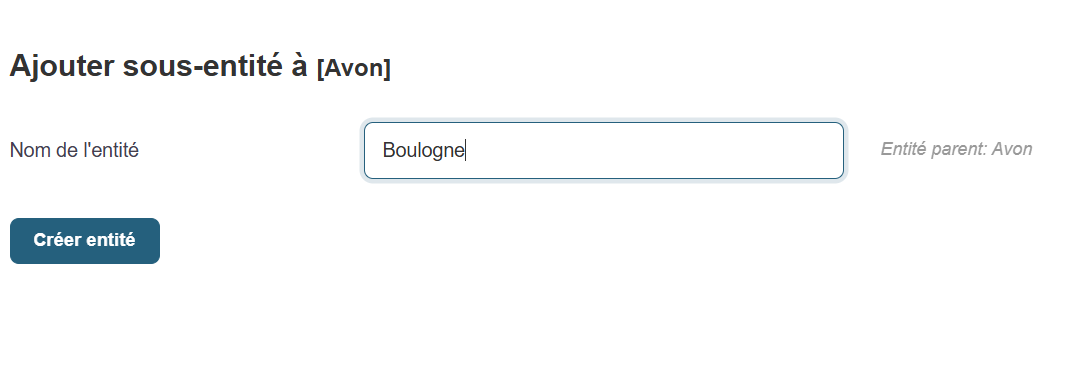
The button above opens the menu for creating a sub-entity of the root entity.
To create a new entity in Medulla, simply fill in the following field and then click the Create Entity button
- Entity Name
Go to the user creation page for an entity.
In the side menu bar on the left side of the screen, click the button

Click the “Add a User” link to open the creation page.
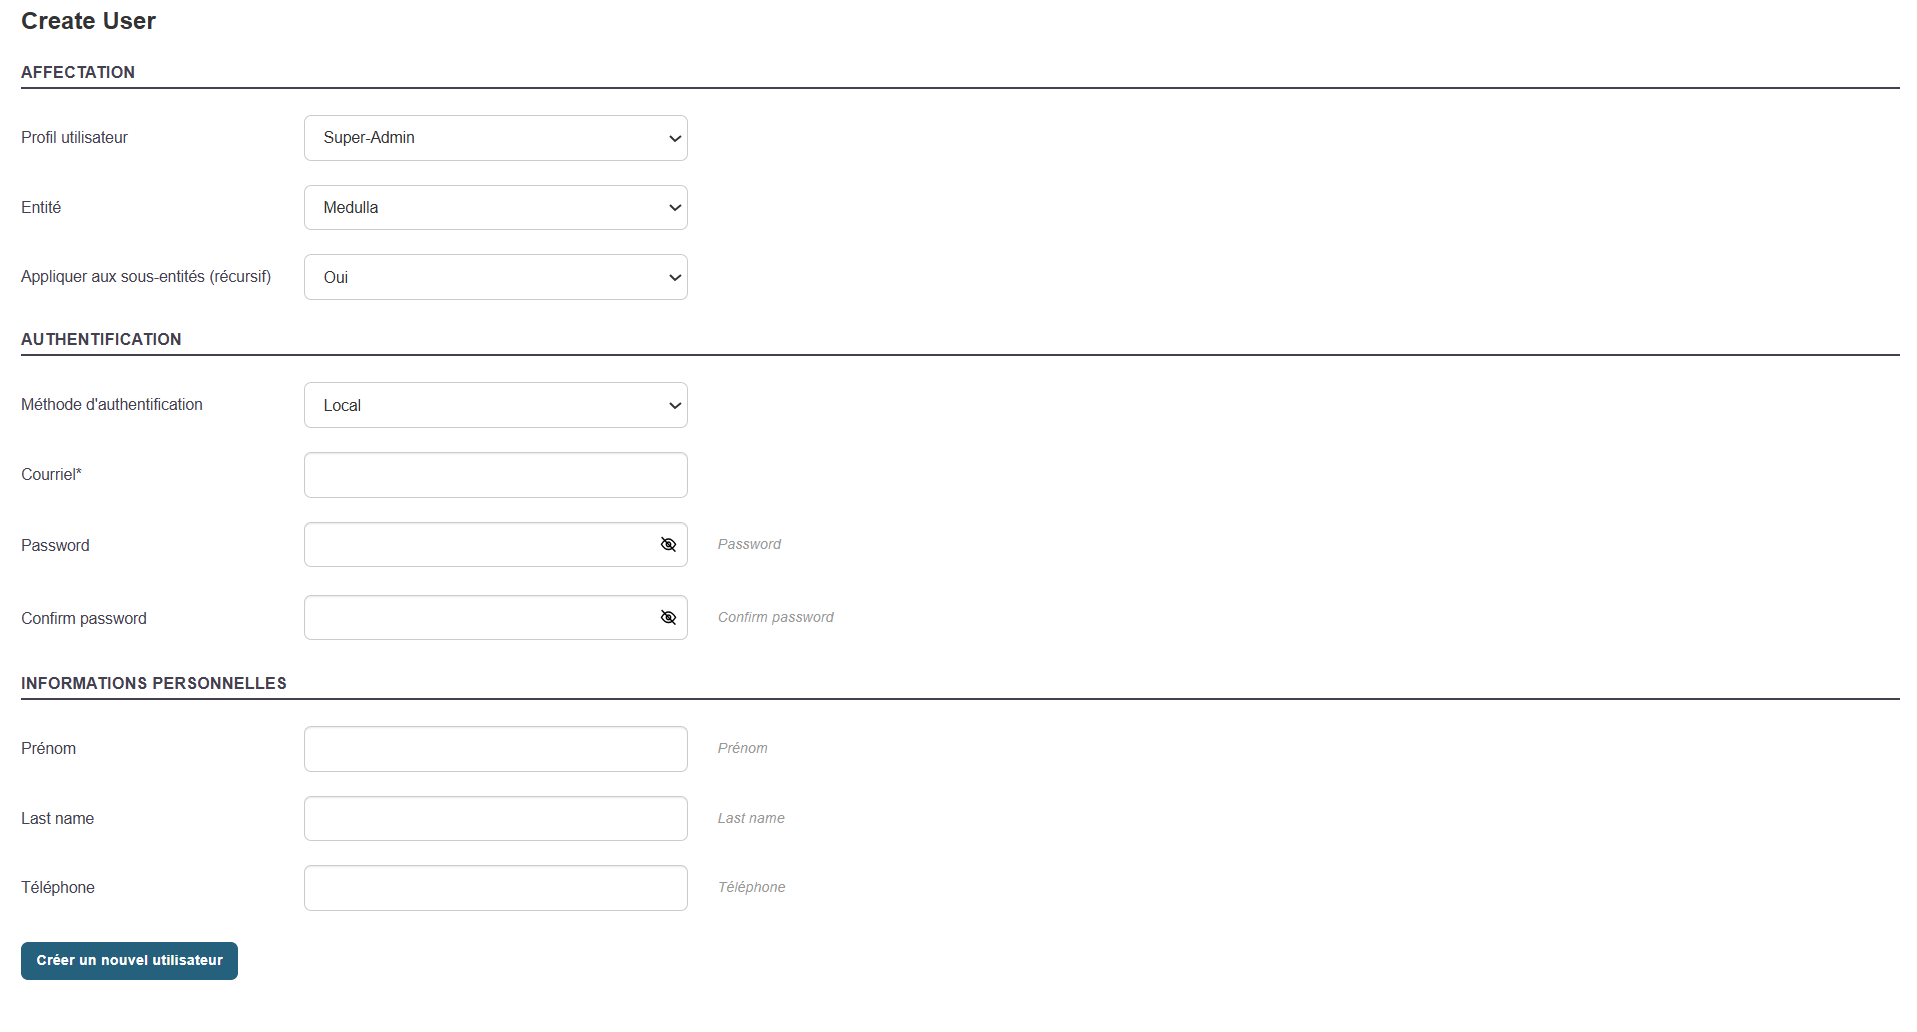
The form will appear in the center of the screen.
Fill out the Creation Form
Here are the fields to fill out
- User Profile: Select the user profile you want to associate with the user.
- Entity: Select the entity you want to map to the user.
- Apply to Sub-Entities: Specify whether you want the profile and user to apply to sub-entities recursively.
- Authentication: Either a local user based on GLPI or ITSM, or a user mapped from AD or OIDC.
-
Email: An email address associated with the user.
-
Password and confirmation: The password that will allow the user to log in.
-
Last Name / First Name
-
Phone and/or Mobile
Then click the "Create New User" button to confirm the user's creation.
Edit an Existing User

You can edit an existing user’s information at any time by clicking the button in “Entity Management”:

-
Go to the User List (in the center of the page).
-
Locate the relevant user.
-
Click " Edit " in the "Actions" column.
-
Update the necessary fields (name, email, etc.).
-
Save the changes.
Modify MMC Permissions
To adjust a user’s access rights in Medulla, you can modify their MMC permissions (also known as ACLs— Access Control Lists).
Currently being revised.
If a user does not have permissions for a module (for example, “Imaging”), they will not be able to view the logs associated with that module in the History, even if access to the History is authorized.